Building the Perfect Fire Pit Area with Sand, Gravel, and Rock
There’s nothing quite like gathering around a crackling fire under the stars. If you’re dreaming of adding a fire pit to your…
There’s nothing quite like gathering around a crackling fire under the stars. If you’re dreaming of adding a fire pit to your mountain backyard, choosing the right materials for the area around it will make all the difference in safety, functionality, and style. Sand, gravel, and rock are excellent choices for creating a fire pit area that’s easy to maintain and blends with a rustic landscape. In this article, we’ll guide you through planning and building the perfect fire pit area using these local materials. We’ll cover site selection, how to prepare the base, what kind of sand or gravel to use underfoot, and how to incorporate larger rocks for seating or ambiance.
Why Use Sand, Gravel, and Rock for a Fire Pit Area?
- Fire Safety: Unlike grass or mulch, sand and gravel won’t catch fire or be damaged by stray embers. They provide a non-flammable ground cover around your fire pit, which is especially important in areas prone to wildfires.
- Drainage: If it rains, a gravel/sand base lets water pass through, preventing puddles around your fire pit. No one wants a muddy ring where they sit.
- Level Surface: A properly prepared gravel or sand area can be made quite level, giving a stable footing for chairs and a flat base for the fire pit itself (be it a metal bowl, stone ring, or other structure).
- Natural Look: Stone and sand are natural elements that suit a mountain or woodland setting. They age well and often look better with time, unlike concrete which can crack or discolor.
- Low Maintenance: Once installed, there’s not much to do. Maybe rake it smooth occasionally or add a bit more sand every few years. Weeds have a harder time (especially if you use a base layer and keep it tidy).
- Local Availability: Sand and gravel are usually easy to get from local sources (e.g., Darby Pit offers Masonry Sand, Arena Sand, and various gravels】. Using local stone for any rock seating or accents also ties the design to your environment.
Planning Your Fire Pit Area
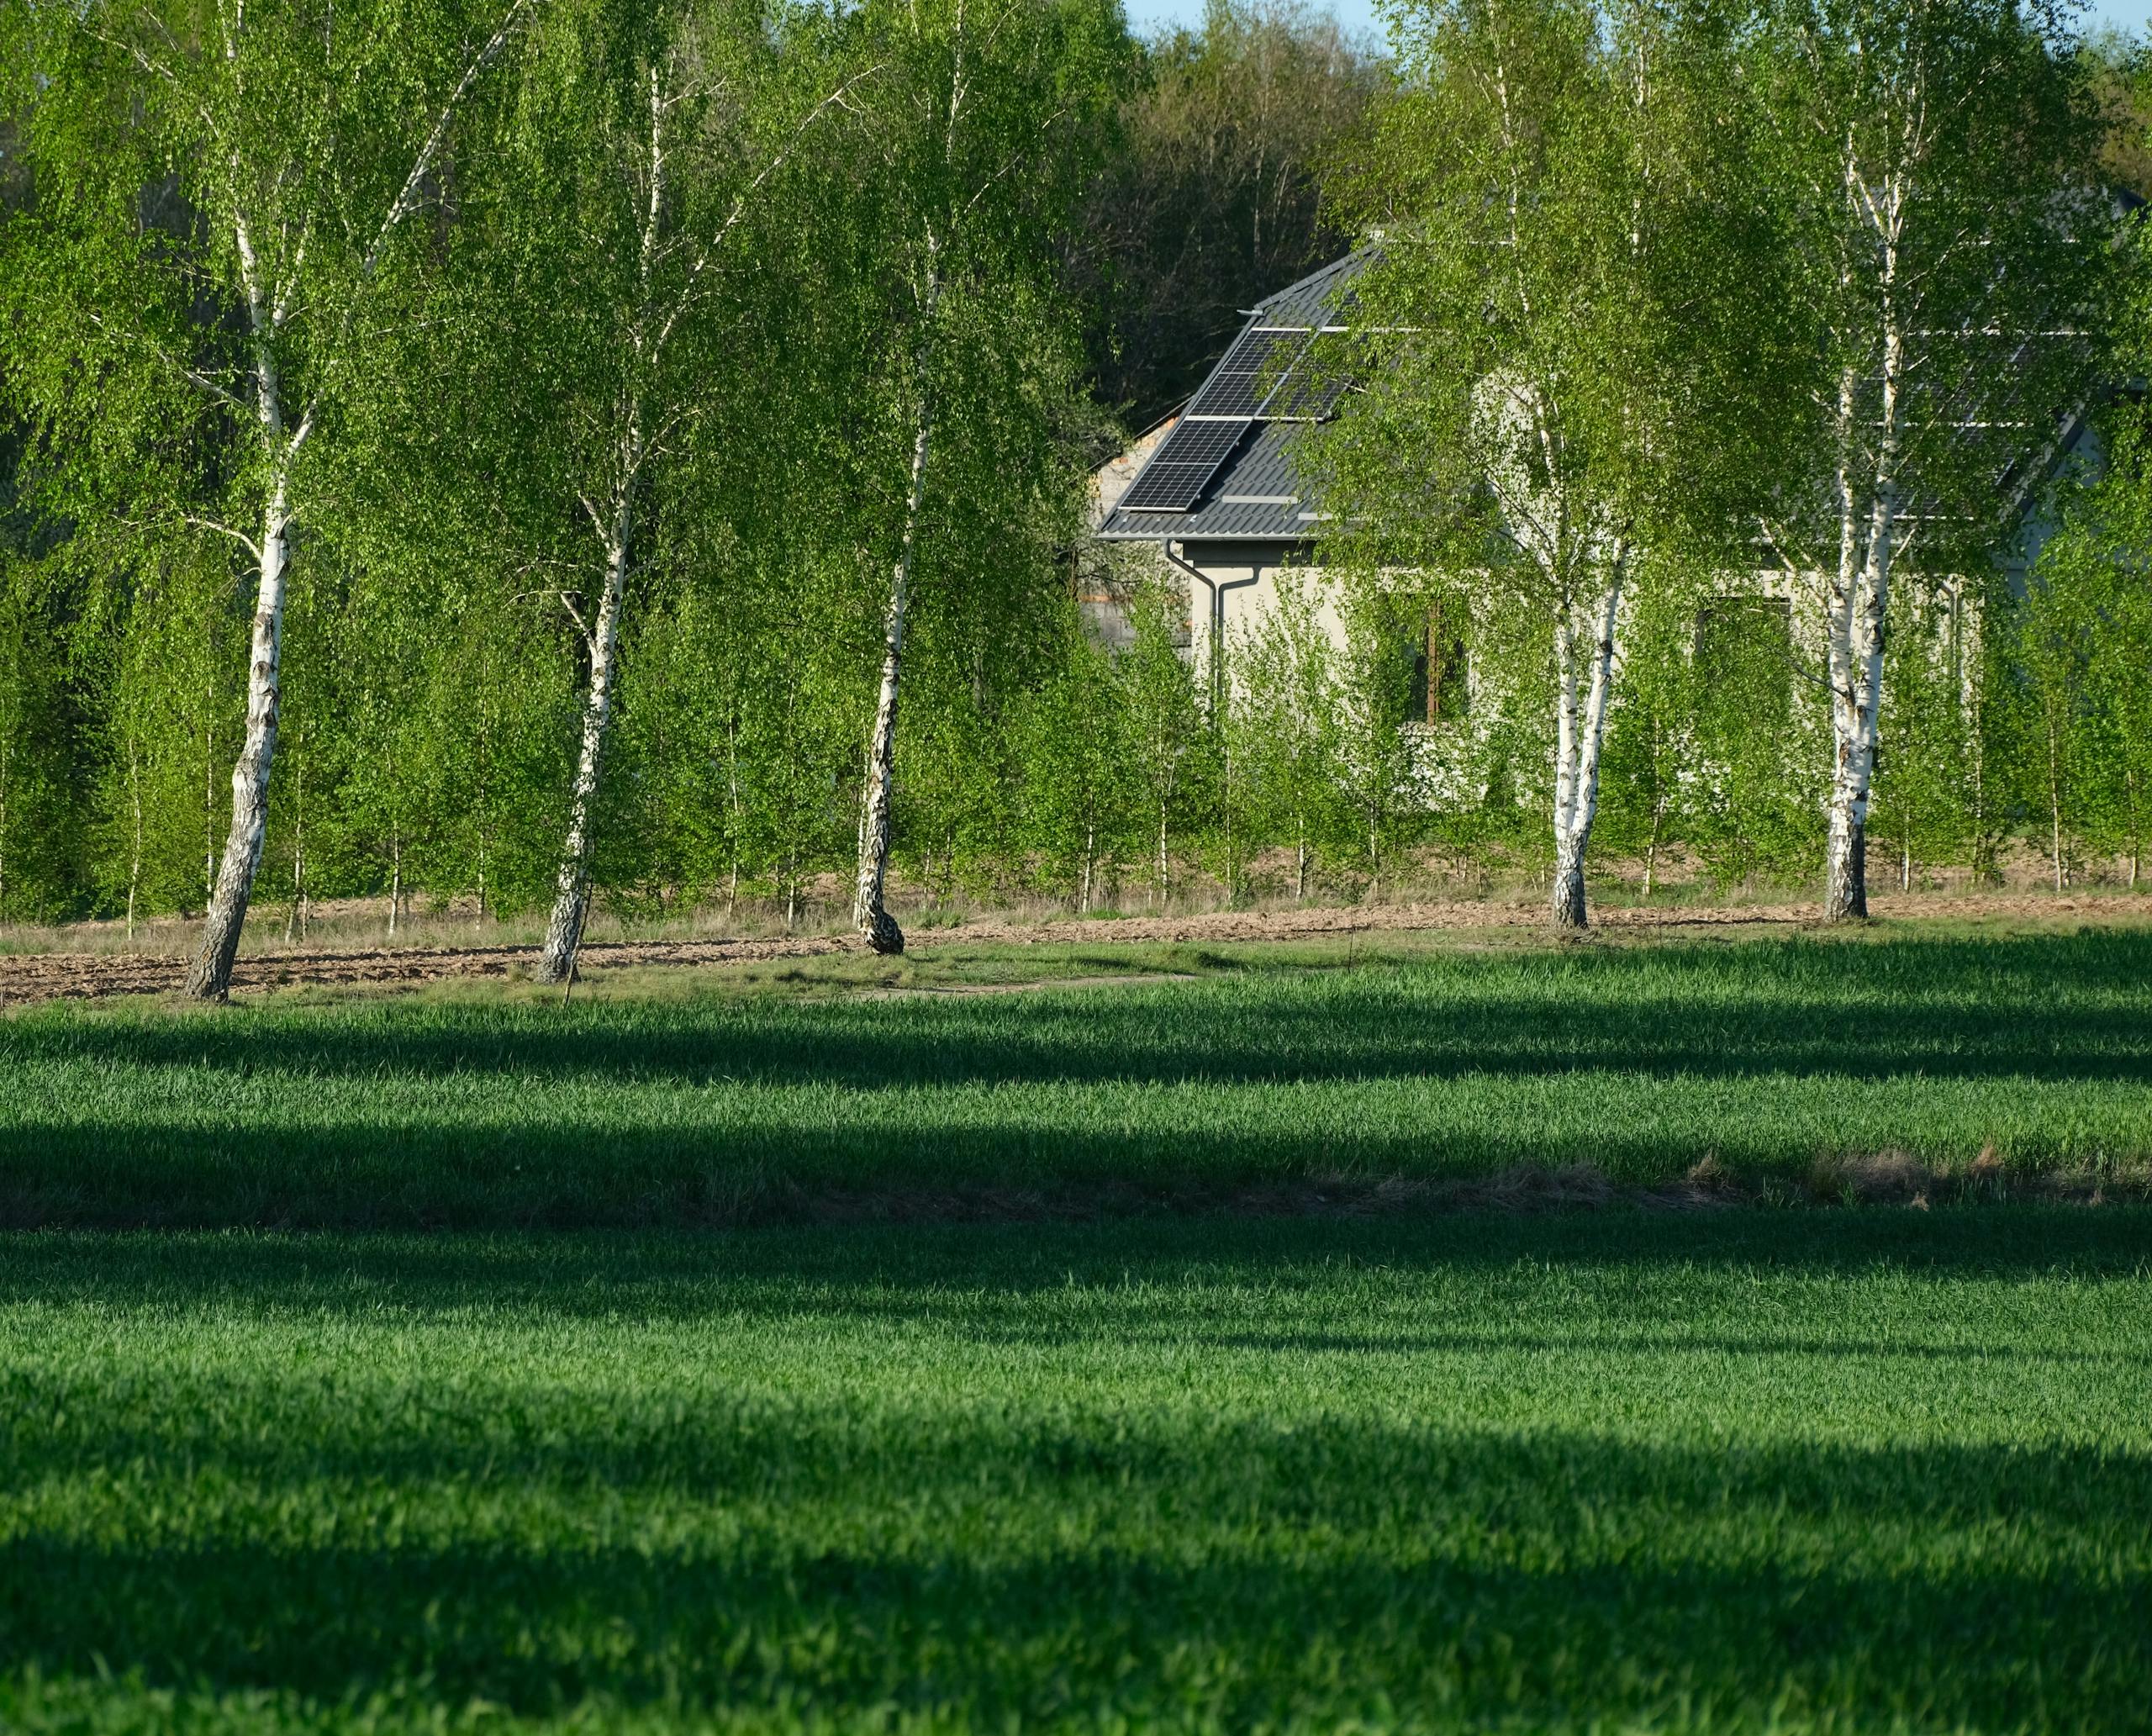
1. Choose the Site: Find a spot at least 10-20 feet away from structures, trees, or anything flammable. Ideally it’s on relatively level ground or a spot you can level. Consider wind direction (avoid a spot where smoke will usually blow toward the house or a neighbor). Also think about views – do you want to face a certain direction when seated? Mark out a circle or square where you envision the fire area.
2. Size and Shape: A common fire pit area might be a circle of 10 to 20 feet in diameter. It needs to be large enough to accommodate the pit itself (typically 3-4 feet diameter for the fire area) plus seating around with safe clearance. If you often have 6 people, ensure you can place 6 chairs with room to scoot back. Alternatively, you could do a square or free-form shape – but circular tends to feel social, like a campfire ring. Mark the perimeter with spray paint or a rope.
3. Permits/Rules: Check local regulations. Some areas require a certain type of fire pit or have rules about distance and base material (especially in fire-prone zones). Many will be happy you’re using non-flammable ground cover, but ensure open fires are allowed and whether you need a permit for the pit.
4. Materials Calculation: For the base area, you’ll likely want a couple of inches of compacted gravel (as a foundation) and then a couple of inches of decorative gravel or sand on top. If using sand right around the pit, that might be a smaller ring within a larger gravel area. Roughly, for a 14’ diameter circle (~150 square feet), 3 inches deep, you’d need about 3/4 of a cubic yard of material. It can add up, so get good measurements. If ordering from a pit, ordering a bit extra is better than shorting yourself. Think also if you want some big rocks or boulders for seating – many people incorporate a few large flat-topped rocks as natural “stools” around the pit. If your local pit has Boulders / Landscaping Rocks, you might pick up a fe】.
5. The Fire Pit Itself: Are you building one from stones, using a metal bowl, or buying a prefab unit? If building from local rock or p … (continuation from above)
The Fire Pit Itself: Decide on the style of your fire pit. Common options include a metal fire bowl, a pre-cast concrete or stone kit, or a DIY pit made from local rock or pavers. If you build one from local stone, use dense, hard rocks that can handle heat (granite, marble, or fire-rated brick – avoid river rocks that may explode when heated unless you line them with a steel ring). Many people use a metal fire ring insert to line a stone pit – this protects the rocks and maintains a perfect circle. Ensure the pit is at least a few inches above the ground or has a small wall, so burning logs can’t roll out. A typical diameter is 3 to 4 feet. You can set your fire pit on the prepared ground (some even partially bury the bowl or ring so its lip is flush with the gravel grade).
Base Preparation: Mark the area for your fire pit seating zone (e.g., a 14-foot diameter circle). Remove all sod and plant matter; you don’t want it decomposing under your area. Excavate a few inches down – typically 4-6 inches. Create a very slight slope outward or flat grade (never sloping towards the fire pit, to avoid water collecting in the pit). Compact the subsoil lightly. If the ground is soft or clayey, lay down a geotextile fabric to separate your gravel layer from the soil (this prevents the gravel from sinking into mud over time). Now add crushed gravel (road base) about 3-4 inches thick and compact 0】. Use a plate compactor or hand tamper. This layer provides a stable foundation. Next, add your top layer: you have choices here:
- Sand Circle with Gravel Perimeter: One popular design is a 3-4 foot radius of sand around the fire pit (where people might put their feet or where embers might fall), and beyond that, pea gravel for the seating area. Sand is comfy for barefoot lounging and easy to rake smooth. The surrounding gravel keeps chairs stable (they won’t sink in sand at the outer area) and provides contrast.
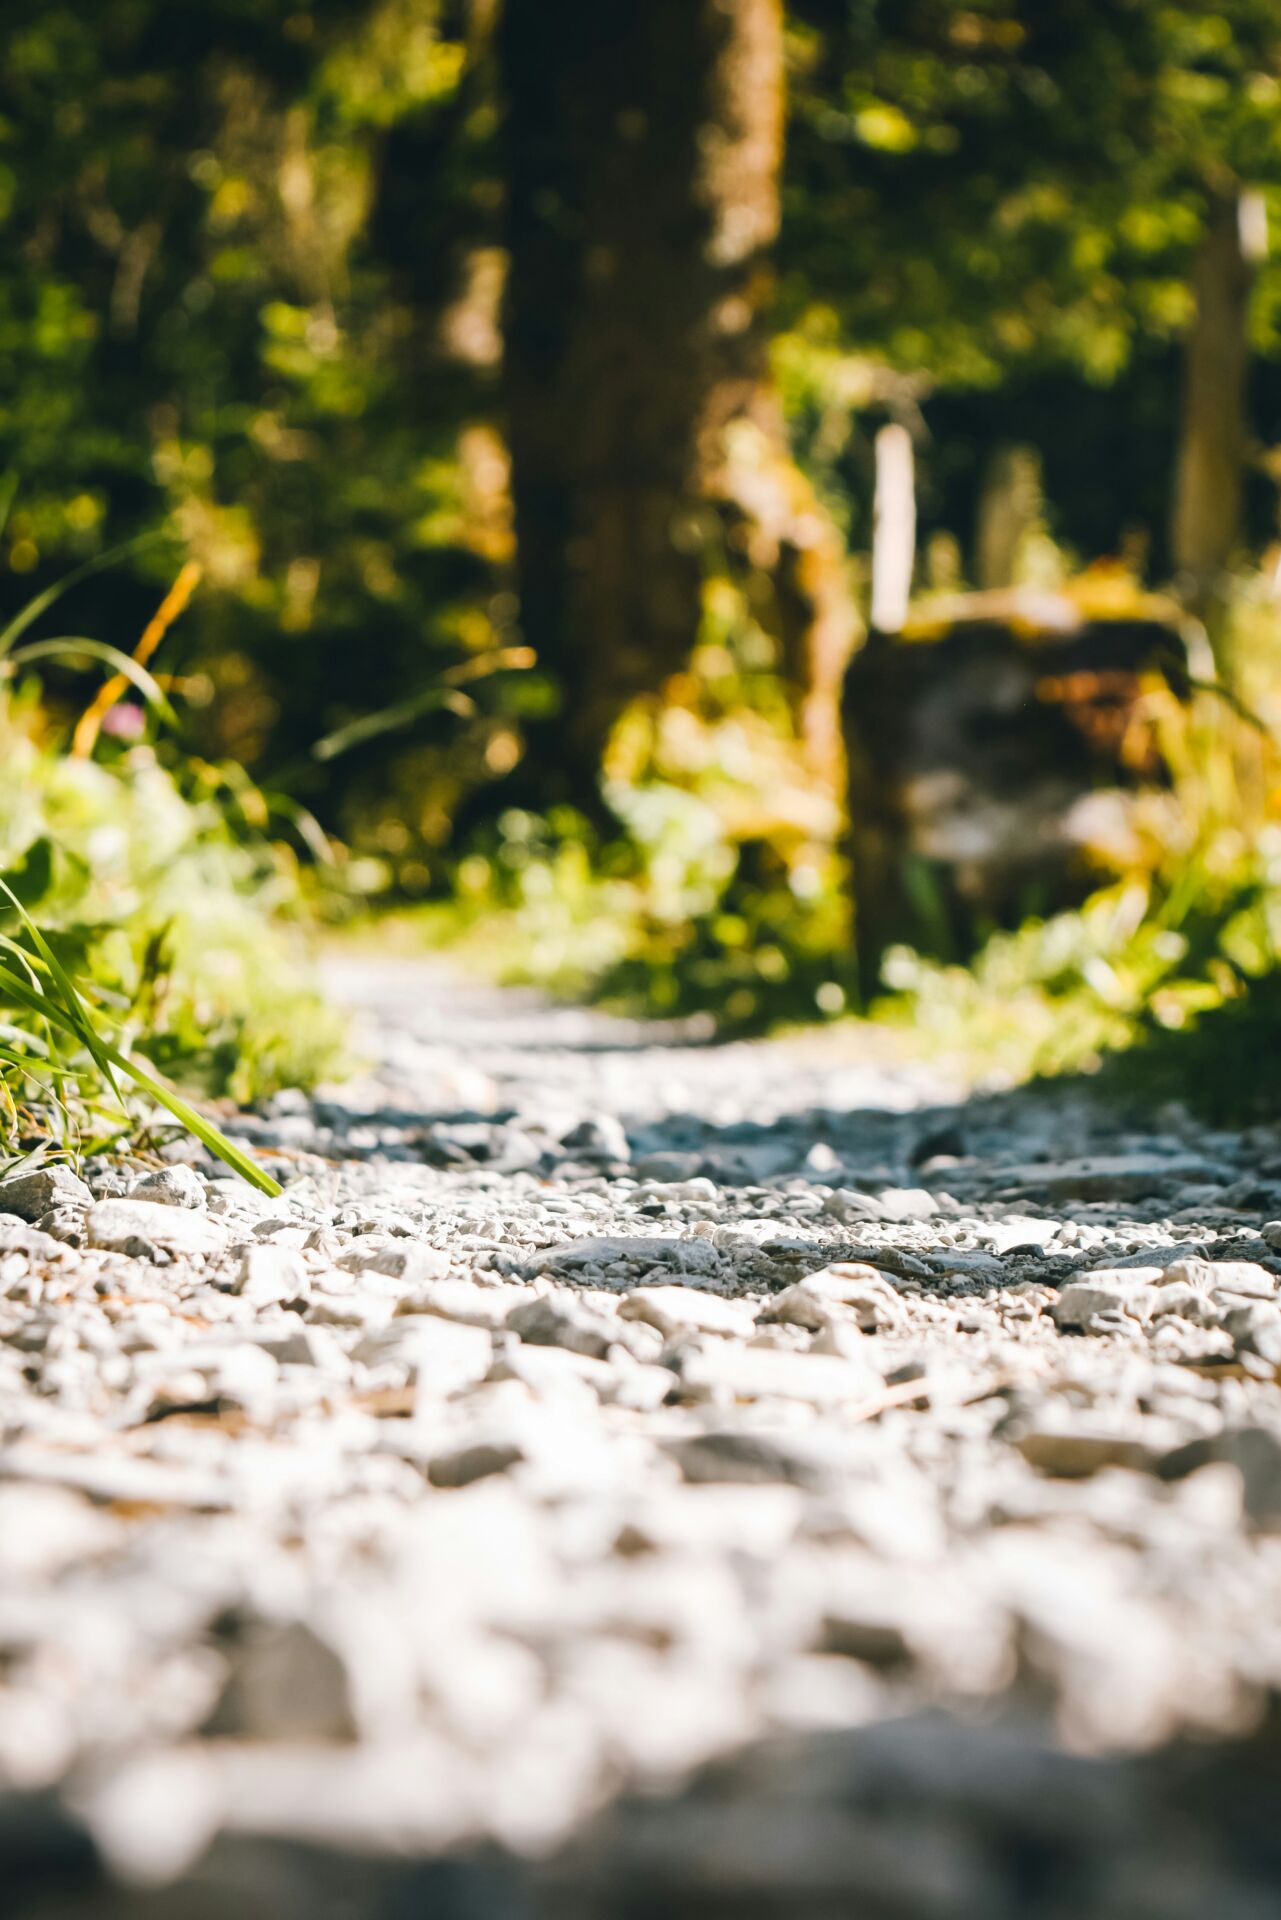
- All Gravel: You could use all one type of gravel across the whole area for simplicity. Pea gravel (small rounded pebbles about 3/8”) is easy on the feet yet firm enough for chairs. It has a smooth look and comes in nice natural colors. Crushed rock (like 1/2” or 3/4” chips) will lock together more firmly (less shifting under chairs), but can be harsher on bare skin. Some designs use a finer gravel (decomposed granite or crusher fines) and wet it/compact it to create a nearly solid patio-like surface. This is also an option if you want a firmer feel.
- Combination Layers: You might do a base of compacted gravel then a thinner top spread of decorative pea gravel for looks, so you get firmness with a pretty finish.
For the fire pit zone, Masonry Sand or Arena Sand is ide7】. These sands are clean (washed) and medium-course, meaning they won’t turn to dust but are fine enough to feel good underfoot. Spread sand 2-3 inches deep in the central area you want it. Dampen it and tamp it slightly to firm it up, but you still want the soft feel. The sand area could extend just a bit beyond the pit or all the way under where people put their feet when seated – up to you.
Rock Seating and Accents: Now for the rustic charm – incorporate local rock and wood as part of the seating area:
- Consider using large flat stones or boulders as natural stools or side tables. Three or four well-placed flat-topped boulders around the fire can serve as extra seating or spots to put a drink. Make sure they are flat and stable (you may need to bury about a third of the boulder in the ground or nestle it in the gravel so it doesn’t shift). This also ties the area into the landscape, as if the fire pit was built among existing rocks. Darby Pit has boulders you can purcha3】, or you may find some on your land.
- Log or Timber Benches: A classic rustic seating idea is using logs. You can cut sections of a large log to make stools, or split a log lengthwise to create a bench (two stumps as supports, with the split log as the seat). If using logs, peel off the bark (bark can harbor pests and will fall off eventually anyway) and set the log on a gravel or rock base so it’s not in constant contact with damp soil (to reduce rot). You might treat the bottom with a wood preservative. Keep log seats a safe distance (at least 3-4 feet from the fire).
- Built Stone Bench: If you’re handy with stone, you could dry-stack a low stone wall in a semicircle as a bench (think mini amphitheater). Cap it with flat stones for a smoother seat. This is more labor-intensive but can be a beautiful permanent feature. Use the same stones as your fire pit for continuity.
- Moveable Chairs: Even with fixed seating, it’s nice to have flexibility. Metal or wooden outdoor chairs work well on gravel (they won’t sink much). The level, compacted gravel will keep them stable. Adirondack-style chairs are a favorite around fire pits, and they look great in a rustic setting. In spring, you can seal or repaint wooden chairs so they’re ready for the season by the pit.
Finishing Touches:
- Define the Edge: If your fire pit area transitions to lawn or forest floor, consider edging to keep your sand/gravel in place. Large rocks can ring the perimeter (looking natural while acting as a border). Or you can use half-buried logs, landscaping timber, or metal edging. In a natural style, irregular edging with stones of various sizes often looks best – almost like the gravel naturally fades out into the ground. But practically, some restraint helps: e.g., a ring of medium-sized rocks can subtly contain the gravel.
- Lighting: String lights or solar lights around the area can add magic for nighttime and also demarcate the space. Tiki torches are another rustic option (but use with care given open flames – always extinguish when the night’s done).
- Fire Pit Pad: If your fire pit is metal on legs, you might set it on a couple of flat stones or a small paver pad so it doesn’t wobble on the sand/gravel. If it’s a stone ring, you might dig out and level that spot separately. Fire pits should ideally sit on sand or stone, not directly on wood or grass of course.
- Accessories: Think about log storage (perhaps a simple stack of firewood on a gravel pad at edge of the area, or a small wood rack – you can create one with two vertical logs and rebar rods between them to stack wood). Also, where will roasting sticks or tools go? Maybe stab a piece of pipe into the ground to hold poker sticks, or have a large flat rock as a “table” for these items.
- Drainage: Your area should already drain well due to the gravel base. If you notice any puddling after rain, add more gravel to low spots or check that the sub-base was sloped. Often, it’s fine to have the center (around the pit) a tad lower than the edges so that any water runs away from chairs and maybe collects where the sand is (if it puddles in sand, it will quickly soak in if you have drainage beneath).
Maintenance: A sand-and-gravel fire pit area is very low maintenance in the long term. Rake the sand occasionally to level it (and to bury any ashes or debris). You might need to scoop out accumulated ashes from the fire pit itself and refresh the sand beneath it every so often if it becomes filled with ash. If you see weeds poking through the gravel, pull them; a pre-emergent herbicide in spring on the gravel can prevent most weeds (or a little vinegar solution for a natural approach). Each spring, you can also top up the gravel or sand if the winter’s snow-clearing scattered some (often, gravel can get thrown outside the area if you shovel snow off it – better to just let snow melt naturally in place or use a leaf blower to blow off light snow). In a mountain climate, you might not use the fire pit in deep winter, but come spring, a quick clean and re-level will set it right.
Enjoying the Space: Now the fun part – light that fire and enjoy. Arrange your chairs or test out the rock seating on a cool spring evening. Perhaps add some cushions on the stone or log seats for comfort (just remember to store them when not in use). The sand around the pit serves as a natural fire-resistant sandbox – if a spark pops out, it lands harmlessly on sand or gravel. You can even let kids roast marshmallows barefoot, feeling the cool sand between their toes while you have peace of mind that they’re not near any sharp or flammable ground cover.
The combination of sand, gravel, and rock creates a tri-tone palette (sand’s pale tan, gravel’s earthy mix, rock’s rugged texture) that looks right at home in the mountains. It’s an inviting spot that almost whispers “campfire” even when no fire is lit. And because you used durable local materials, it will likely outlast many a season of s’mores and storytelling with minimal upkeep. So bundle up on the next crisp spring night, gather your friends or family, and inaugurate your perfect fire pit area – built with nature’s own elements for countless enjoyable evenings to come.