How to Build Raised Garden Beds Using Local Top Soil
Raised garden beds are a boon for gardeners, especially in mountainous or high-elevation areas where native soil might be rocky or poor….
Raised garden beds are a boon for gardeners, especially in mountainous or high-elevation areas where native soil might be rocky or poor. By building a raised bed, you gain control over soil quality, drainage, and you extend your growing season (raised beds warm up faster in spring). Using local topsoil to fill those beds can save money and ensure your garden thrives in its natural environment. In this guide, we’ll walk through the steps to construct raised beds and fill them with quality soil, emphasizing using locally sourced topsoil and other amendments to create fertile growing plots. Whether you’re growing vegetables or flowers, raised beds filled with the right soil blend can yield impressive results.
Benefits of Raised Beds in Mountain Regions
Before we dig into the how-to, it’s worth understanding why raised beds are so advantageous in our context:
- Bypass Poor Native Soil: If the ground in your yard is full of stones, clay, or sand (common in foothills and mountains), raised beds let you start fresh with ideal soil. You’re essentially creating a mini ecosystem above the ground.
- Better Drainage: Mountain areas can get heavy bursts of rain or rapid snowmelt. Raised beds drain excess water more easily, preventing root rot. Yet, they also retain moisture better between rains if you have good organic matter in them.
- Warmth and Extended Season: A raised bed’s soil tends to warm earlier in spring, meaning you can plant sooner (a big plus where summers are short). The elevation of the soil also means cold air (which sinks) may settle around the beds rather than directly on your plants, offering a couple degrees of frost protection.
- Reduced Weed and Pest Intrusion: It’s not that raised beds never get weeds, but you have a defined area with fresh soil – far fewer weed seeds to start. And pests like gophers or some insects may be less of an issue if you add a barrier under or use clean soil.
- Ergonomics: Raised beds can be built tall enough that you don’t have to bend as much. Even a 12-18 inch high bed makes a noticeable difference in comfort when planting or weeding. Plus, neat beds have a pleasing, organized look in the landscape.
- Localized Microclimate: You can tailor the soil in one bed for a particular type of plant (say, a more acidic mix for blueberries in one, a sandy mix for root veggies in another), which is harder to do directly in ground.
Planning Your Raised Bed
1. Choose a Good Location: Find a spot that gets plenty of sunlight (6-8 hours for vegetables). Ensure it’s relatively level or you’re prepared to level it. Think about convenience – near a water source, not too far from the kitchen if it’s a veggie bed, etc. In mountain yards, also consider exposure: a south-facing spot will warm fastest. If wind is an issue at your site, a slightly sheltered spot or adding a windbreak (like a fence panel or shrubs) near the bed can protect tender plants.
2. Determine Bed Size: Common raised bed dimensions are 4 feet wide (so you can reach the middle from either side) and anywhere from 4 to 12+ feet long. In smaller spaces, 3×6 foot or 4×8 foot beds are popular. Width: Keep it at most 4 feet for accessibility. Length: Whatever fits your space; longer is fine but consider lumber lengths (8 or 12 feet boards are standard, so 8×4 or 12×4 beds avoid excess cuts). Height: A minimum of 10-12 inches of soil depth is recommended for most vegetables. Taller is even better for root crops or if you want less bending. You can do 12-18 inches easily with two boards high, or go up to waist height (30+ inches) if you build a more structural bed (but that requires a lot more soil to fill).
3. Material for Bed Walls: Common materials are wood (cedar, redwood, or treated lumber), concrete blocks, stone, or even corrugated metal in frames. Wood is most popular for DIY – just ensure it’s rot-resistant or treated. Modern pressure-treated lumber is considered safe for veggies (the chemicals have changed from old arsenic-based ones). Cedar and redwood are naturally rot-resistant and beautiful (though pricier). Pine can be used if treated or if you accept it may rot in 5-10 years and need replacing. Stone or Rock: Given our theme of local materials, you might even create a rustic bed using rocks or boulders from your property. Just be aware that without mortar, rocks can shift, and a rock wall bed will be wider. If you have access to Boulders / Landscaping Rocks locally, they can be artfully arranged to form a bed perimeter. It gives a lovely rustic look that blends with a mountain setting. Darby Pit, for example, offers large boulders perfect for retaining walls or raised bed borders – these can make a statement in your garden design.
4. Gather Tools and Supplies: You’ll need a saw (if cutting wood), screws or nails (outdoor/deck grade), a drill or hammer, a level, and possibly rebar or stakes to secure corners (for wood beds) or to drive behind rock edges for stability. Also, if using wood, some weed barrier fabric or hardware cloth is useful for lining the bottom.
Once you have a plan and materials, it’s time to build!
Building the Raised Bed Structure
Note: We’ll describe a basic wooden raised bed, as that’s simplest. Adapt steps if using other materials.
Step 1: Build or Place the Sides
Cut your lumber to length (if you bought 8’ and 4’ pieces, you might not need any cuts). A 4×8 bed uses two 8-foot and two 4-foot boards. For a 12 inch height, you’d stack two 2×6 boards or use two 2x12s. For 18 inches, maybe a 2×6 + 2×12 stacked, etc.
Lay out the boards on edge to form a rectangle. Use 3-4 wood screws at each corner to join the short side to the long side (pre-drill to avoid splitting). It often helps to have an assistant hold the boards, or temporarily stake them up, to get clean corners. Ensure corners are square (a quick check: measure diagonals, they should be equal).
If stacking boards for height, you can screw the layers together by running screws at an angle down, or attaching a short vertical scrap in the inside corners that spans the joint between upper and lower board, then screwing both to that scrap.
For extra strength on long sides (over 6 feet), consider adding a stake or piece of scrap wood mid-length on the inside as a brace to prevent bowing when soil is filled in. Simply drive a stake (like a 2×2 piece) into the ground at the center of the board, inside the bed, and screw the board to it.
If using rock or cinderblocks: place the first layer in your shape, ensure it’s relatively level (you might have to dig them in a little), then stack subsequent layers like building a short wall. Aim for at least 2 rocks or block levels high to get a good depth.
Step 2: Site Prep
Mark the outline of the bed on the ground. Remove any grass or weeds inside that area – you can dig out sod or smother it. Since you’ll add a lot of soil on top, some people simply line over grass with cardboard or a couple layers of newspaper to smother it; it will decompose under the bed.
It’s a good idea to loosen the native soil at the bottom with a garden fork, especially if it’s compacted. Just poke and pry a bit – roots may penetrate into this subsoil later for deeper reach. Optional: If gophers or voles are a problem, line the bottom of the bed with wire mesh (hardware cloth) before filling. This barrier keeps burrowing pests from coming up into your delicious carrots. Also, laying down weed barrier fabric can help prevent aggressive weeds from coming up, though it’s less crucial if you cleared well.
Step 3: Level and Secure
Place your assembled frame onto the prepared ground. Use a carpenter’s level to check that the bed is fairly level along its length and width. It doesn’t have to be perfect, but avoid one end being significantly higher – that could cause uneven water distribution. If needed, you can dig a trench under the high side and recess it a bit, or prop up a low end on an inch or two of soil. Once satisfied, drive a stake at each corner (on the inside, flush with the walls) to ensure the bed can’t shift or rack. Screw the bed walls into these stakes. Now you have a sturdy, level raised bed ready to fill.
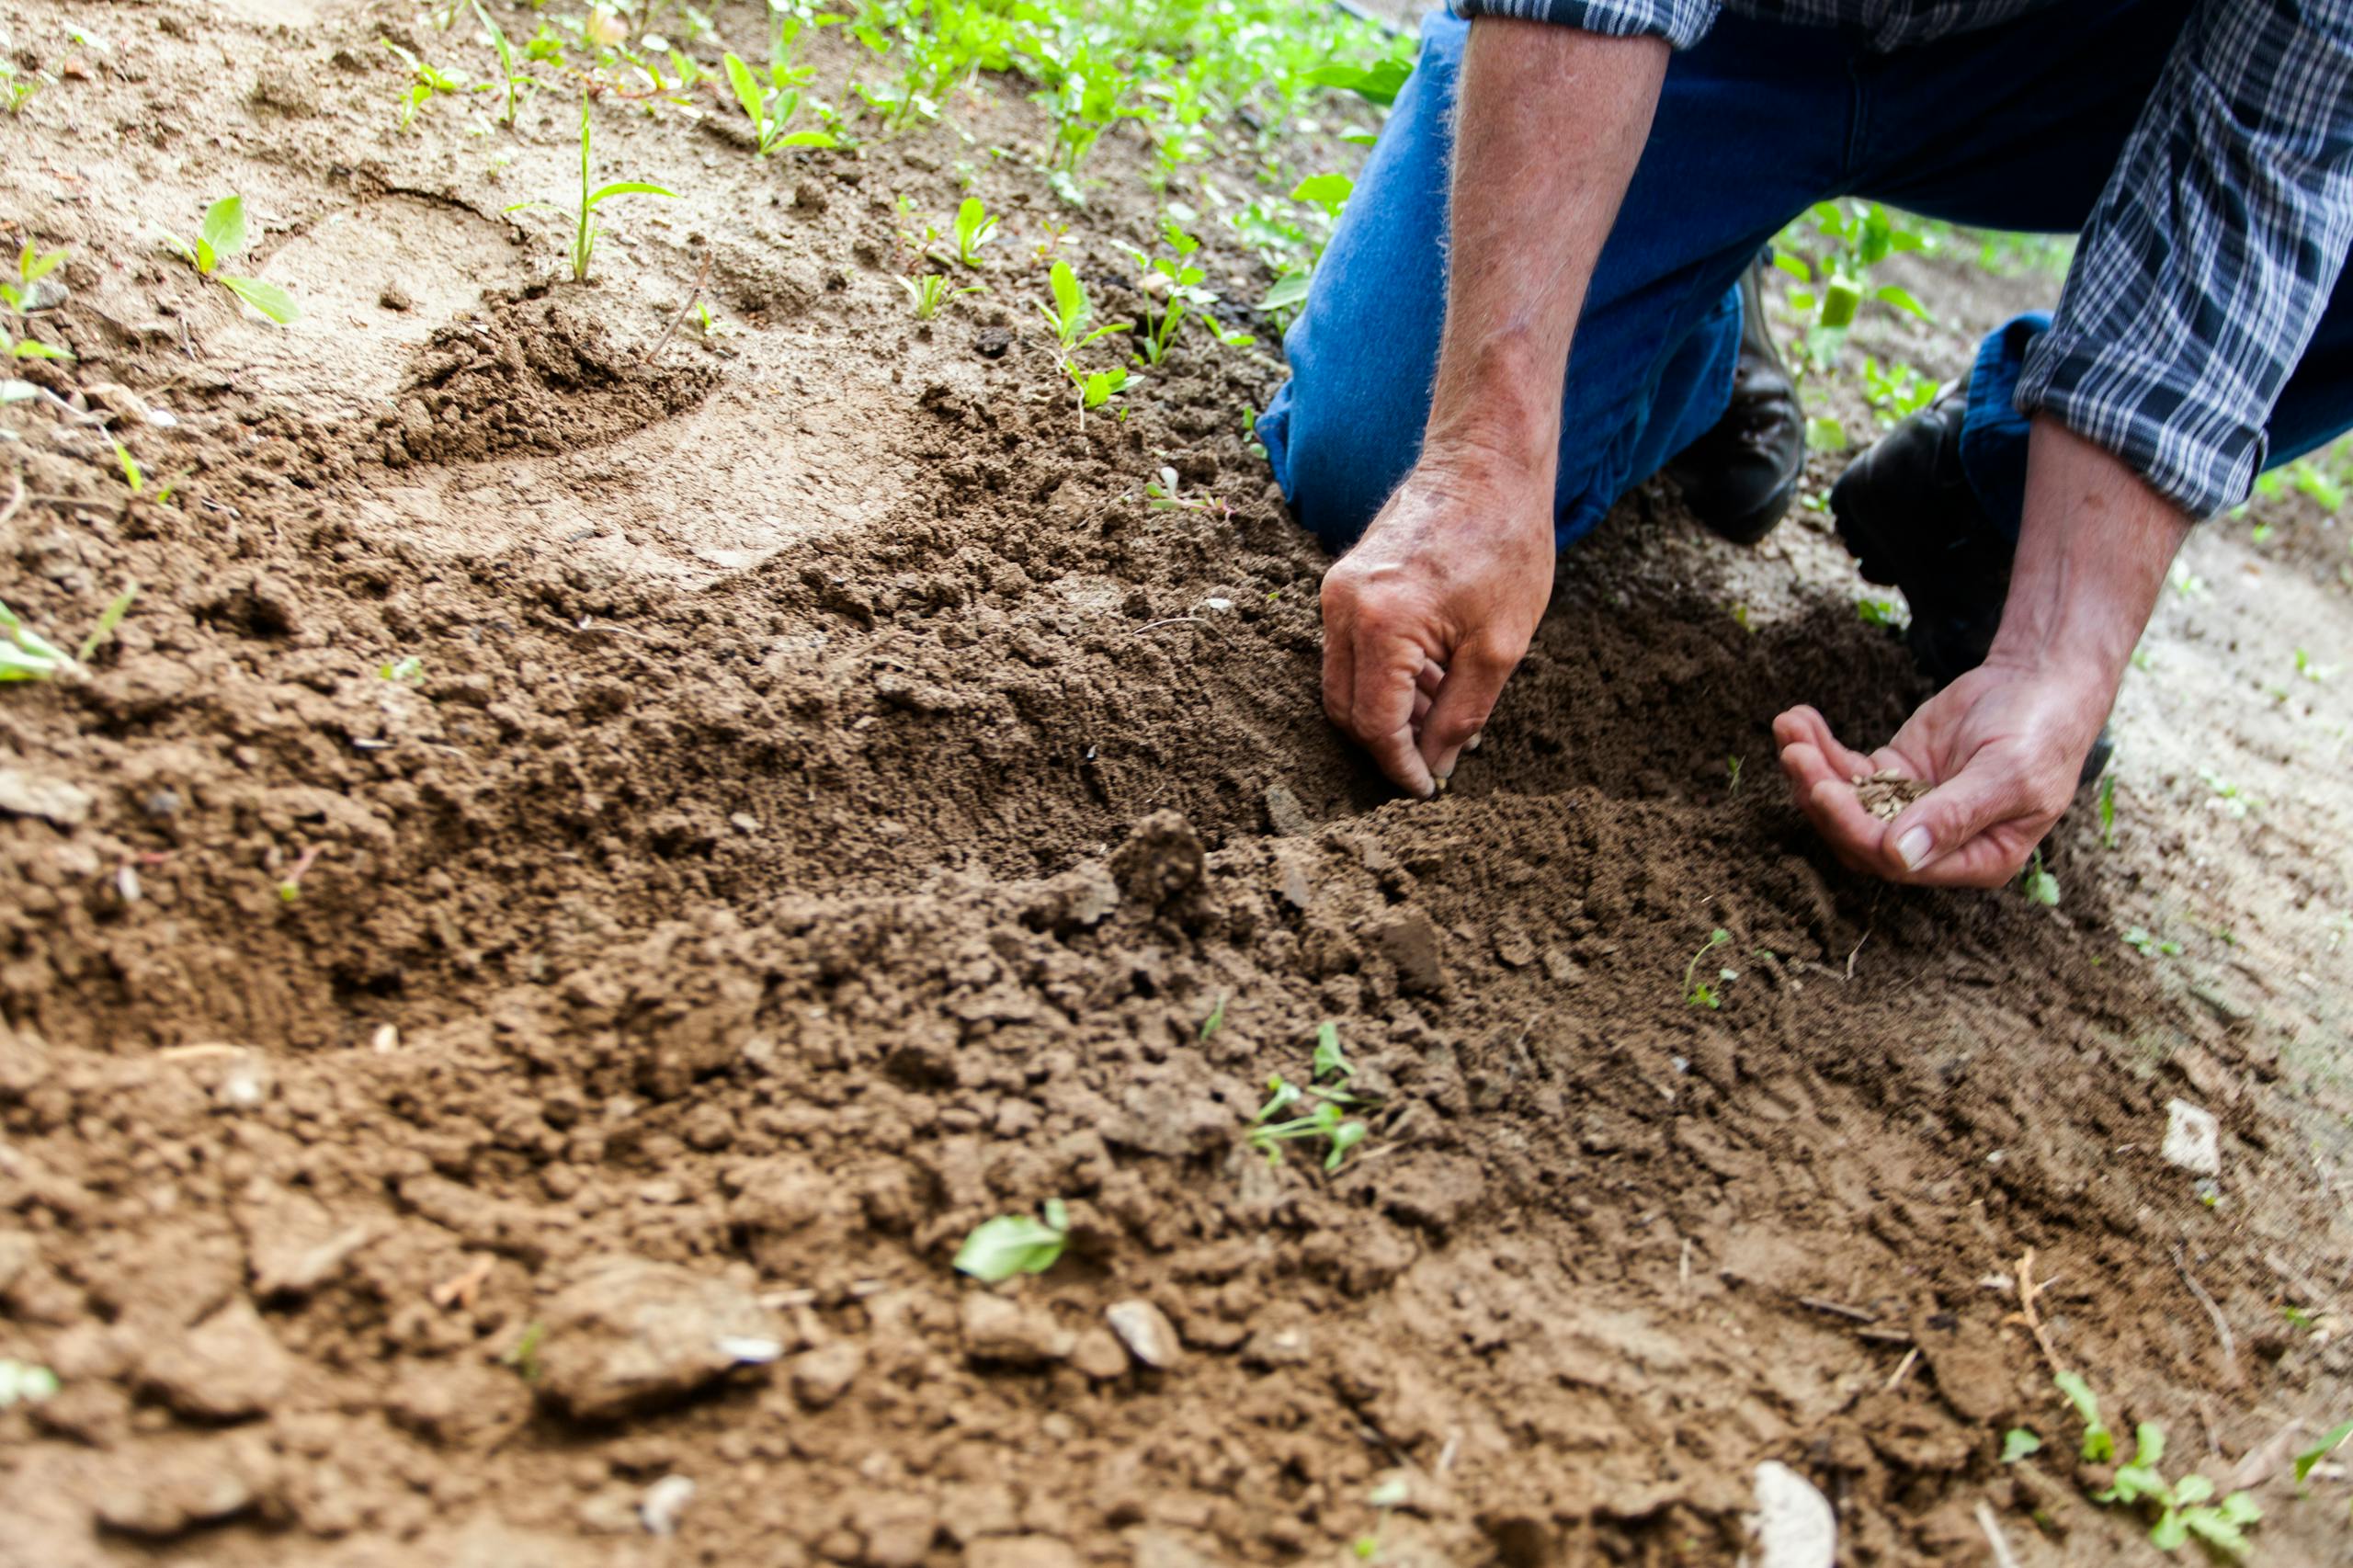
Filling the Bed: Use Local Topsoil and Amendments
Now for the important part: filling your new raised bed with a rich soil mix. This is where local topsoil comes in.
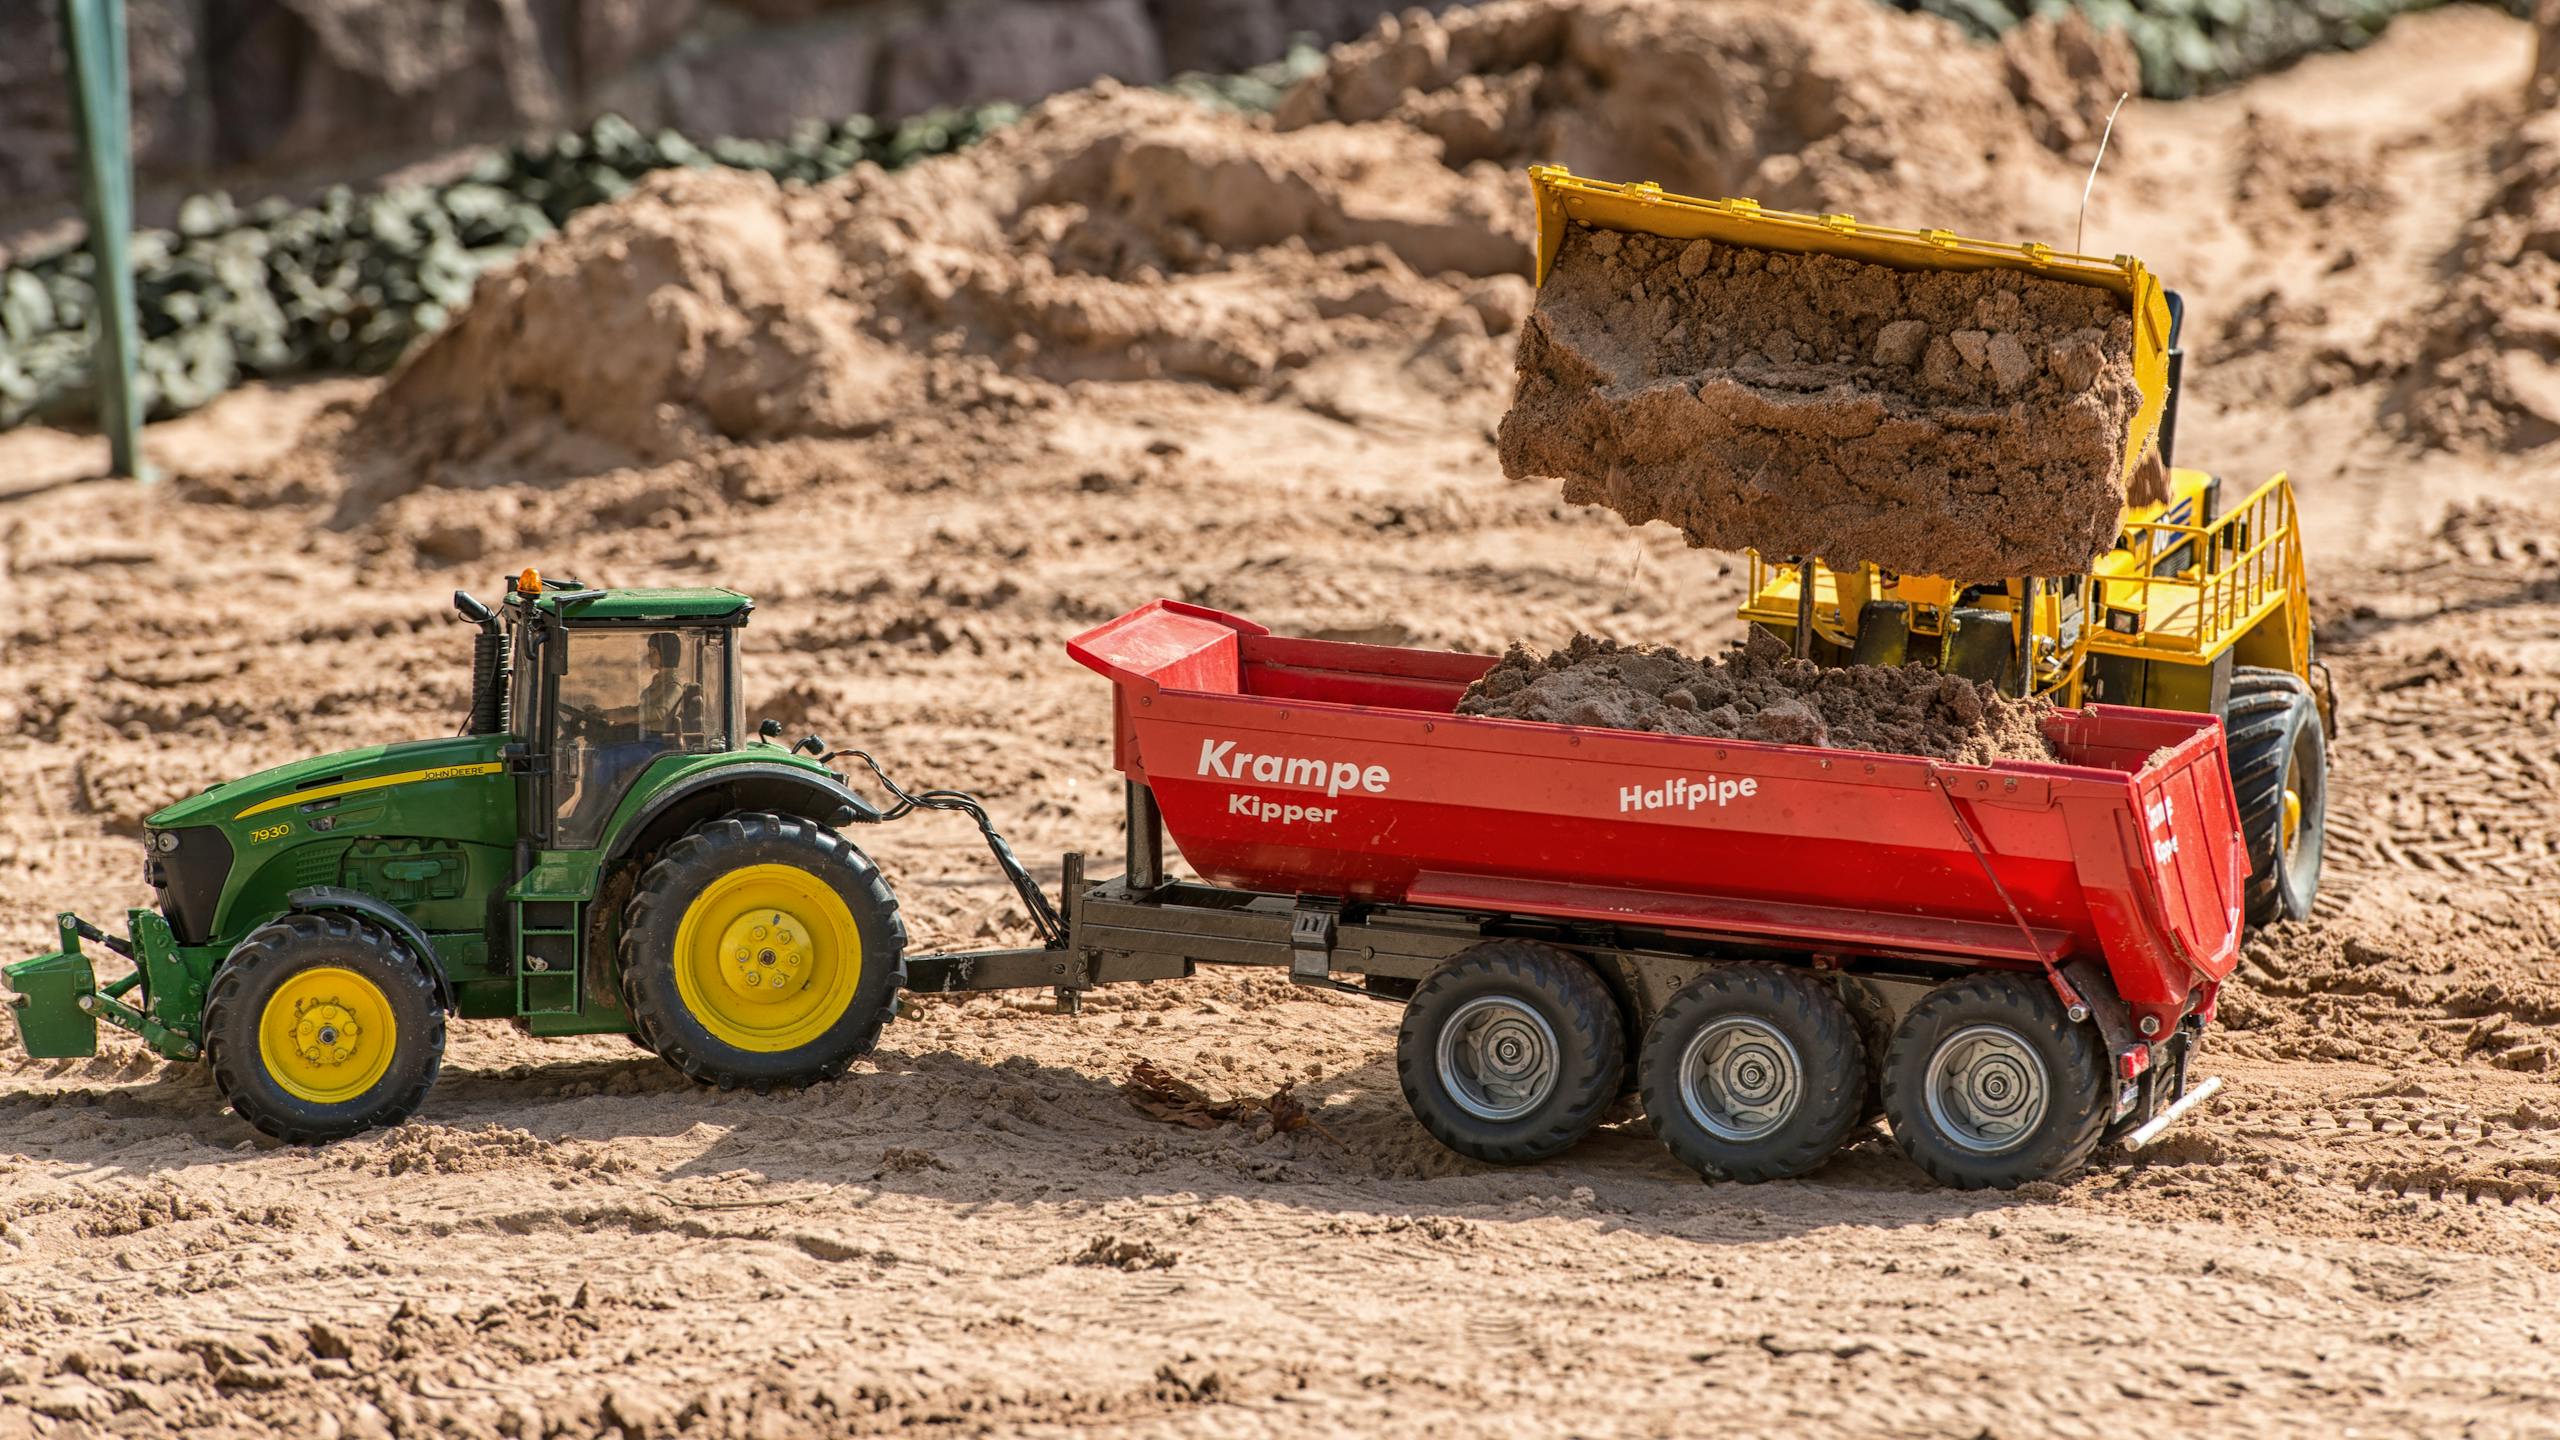
1. Source Your Soil: You’ll need a surprising amount of soil to fill a raised bed, especially a larger or taller one. For example, a 4 ft x 8 ft bed 1 ft high is 32 cubic feet, which is about 1.2 cubic yards. At 18 inches high, that’s 1.8 cubic yards. Bagged soil from a garden center is convenient for small beds but gets expensive fast for larger volumes. Instead, consider buying soil in bulk. Your local landscape supply or gravel pit may offer topsoil by the cubic yard. Screened Topsoil from a local pit (like Darby Pit’s Screened Topsoil) is ideal because it’s been filtered to remove rocks – you get a smooth, ready-to-plant mediu】. Using local soil means it’s adapted to your regional conditions (pH, mineral content) and often more affordable.
Many people choose a mix of topsoil and compost (often 2 parts topsoil, 1 part compost). This way you combine the mineral soil (for body and water-holding) with organic matter (for nutrients and improved texture). If your local topsoil is heavy (clay), up the compost ratio and even add a bit of coarse sand or fine gravel to the mix. If it’s very sandy, add more compost or even some loamy native soil to balance it.
2. Layer or Mix: An easy way to fill is to layer materials in “lasagna” style: some compost or aged manure at the bottom, then topsoil, sprinkling in more compost as you go, and mix somewhat with a shovel. Alternatively, if you have a wheelbarrow or tarp, you can mix the components before dumping in. For most purposes, a well-mixed soil is best so plant roots don’t hit distinct layers. You might do something like: fill half the bed with topsoil, add a bunch of compost on top, then use a pitchfork to stab down and twist, mixing them. Then fill the rest with more topsoil and compost, and mix again.
3. Don’t Overfill (Allow to Settle): Initially, fill the soil to about 1-2 inches above the top of the bed (heap it up slightly). In a few weeks, it will settle down to just below the rim, which is perfect. You want the soil level to end up slightly below the top of the bed so water doesn’t run off too quickly and so you have space to add mulch later. If you fill exactly level with the top, after settling you might end up 2-3 inches down, which is okay too – you can always top up with more compost. Keep any leftover soil in a pile; you might need to add a bit after it settles or for other gardening projects.
4. Add Other Amendments: This is a prime time to also mix in other goodies:
- Organic Fertilizer: Since this is essentially a new garden, you might throw in some all-purpose organic fertilizer (like a 4-4-4 or 5-3-4 NPK) according to directions, so the soil has some nutrient reserves. Compost provides a lot, but a bit extra, especially phosphorus and potassium, can help in raised beds for fruits or blooms.
- Minerals: If you suspect any deficiency (say your local soil is lacking calcium or is too acidic), adjust now. For example, a cup of bone meal for phosphorus, a cup of dolomite lime if you need to raise pH and add magnesium, or greensand for potassium and micronutrients. These are optional tweaks.
- Moisture Retention Crystals (if arid): Some gardeners in dry mountain areas use water-storing polymer crystals mixed in to help soil hold moisture. With a well-composted soil, these usually aren’t necessary, but it’s an option if you find beds drying too fast.
- Micorrhizae: When planting, you can sprinkle mycorrhizal fungi in the planting holes or throughout the soil. These beneficial fungi will attach to plant roots and help them absorb water and nutrients – a great boost in a new raised bed.
Planting and Maintaining Your Raised Bed
With your raised bed built and filled, you’re ready to plant! A few tips specific to raised beds:
- Plant Intensively, but Mind Spacing: One advantage of raised beds is you don’t need rows with space for walking; you only need to leave space between plants for their growth. This means you can often plant a bit closer together than in a traditional row garden, which results in higher yield per square foot. For example, rather than rows of carrots 12 inches apart, you could plant a grid of carrots with 2-3 inches between each in all directions across the bed. Closer planting also shades soil and reduces weeds. Just don’t overcrowd such that plants compete too much.
- Mulch: Even in a raised bed, mulch is beneficial. Once your plants are up, add a layer of straw, shredded leaves, or composted bark (like Soil Pep) on the surface. This conserves moisture and keeps the soil temperature more even (raised beds can fluctuate more since they’re above ground). Mulch also prevents those few weed seeds that do blow in from getting sunlight to germinate.
- Consistent Watering: Raised beds can dry out faster than ground plots because they have more air exposure. Keep an eye on moisture, especially in summer. Drip irrigation or soaker hoses work wonderfully in raised beds – you can snake a line through the bed and even put it on a timer. If hand watering, try to water deeply and less frequently to encourage roots to go down. The organic content you added will help retain water, but in hot spells, daily watering might be needed for thirsty veggies.
- Season Extension: One of the joys of raised beds is how easy they are to fit with covers. You can bend wire or PVC into hoops over the bed and drape row cover fabric or even plastic to create a mini-greenhouse or frost shelter. This is particularly useful in mountain areas where an unexpected frost can hit in late spring or early fall. Simple old blankets or tarps on standby to throw over beds (with stakes to keep them off the plants) can save your harvest during a cold snap.
- Renewing Soil Each Spring: Over time, soil in raised beds can settle and compress, and nutrients get used up. Each spring, “refresh” your beds by topping up with a few inches of new compost or topsoil mix and lightly turning it in. Think of it as refueling the bed. Because of natural decomposition, you might notice the soil level drops a bit each year – adding new material keeps the bed full and fertile. A great practice is to have a compost pile and add that compost to beds annually. Also, consider crop rotation even in a small bed (don’t plant tomatoes in the same spot every year, for example) and perhaps sow a cover crop in fall (like winter rye or peas) which you can turn under in spring to enrich the soil further.
By using local top soil in your raised beds, you ensure that you’re gardening with soil that’s accustomed to your climate and likely compatible with your native plants and microbes. Plus, you avoid the expense and environmental footprint of shipping in bagged mixes from far away. Local topsoil, combined with compost and a little know-how, creates a living soil that will continue to improve year after year.
Raised beds do require an upfront effort – the building and the bulk soil – but once they’re in place, many gardeners find them easier to manage and more productive than in-ground plots. You’ll spend less time battling the inherent issues of mountain ground (rocks, poor soil, critters) and more time enjoying planting, tending, and harvesting.
So gather some local soil, cut some boards or haul some rocks, and build that raised bed you’ve been dreaming of. With a weekend’s work, you can create an attractive, efficient growing space filled with rich earth. When you see the difference in plant health – deep green leaves, vigorous growth, ample flowers and fruit – you’ll know it was worth every shovelful. In a raised bed of good soil, even a mountain garden can truly flourish.