How to Create a Rustic Outdoor Seating Area with Local Materials
When it comes to outdoor seating areas, there’s a special charm in using local, natural materials to achieve a rustic aesthetic. Instead…
When it comes to outdoor seating areas, there’s a special charm in using local, natural materials to achieve a rustic aesthetic. Instead of store-bought patio sets and manufactured pavers, imagine an inviting nook with stone benches, log stools, gravel floors, and perhaps a pergola of rough-hewn timber – all fitting organically into the landscape. In this article, we’ll explore how to design and build a rustic outdoor seating area using materials you can often source right from your area: think native stone, wood from local forests or mills, gravel from a nearby pit, and other touches that make the space feel like an extension of the environment. This approach is sustainable, often cost-effective, and results in a one-of-a-kind retreat that Martha Stewart herself might envy for its natural beauty and thoughtful craftsmanship.
Planning the Space
1. Purpose and Placement: First, decide what the seating area is for – intimate conversations, outdoor dining, a reading retreat, or all of the above? Its purpose will influence size and features. Scout your property for a suitable spot:
- Look for a nice view or a pleasant natural backdrop (rustic seating under a big pine tree or beside a rock outcrop can be magical).
- Ensure the ground is relatively level or can be made level (it’s easier to build on gentle terrain).
- Consider sun and shade. If it’s a place to sip morning coffee, an eastern exposure is nice; for sunset gatherings, face west. If there’s little natural shade, you might incorporate a pergola or overhead structure (more on that later).
Mark the area. Rustic doesn’t mean haphazard – a good design often has a defined shape like a circle, oval, or organic kidney shape that you can lay out with a garden hose or rope.
2. Materials Inventory: What do you have available or can easily get?
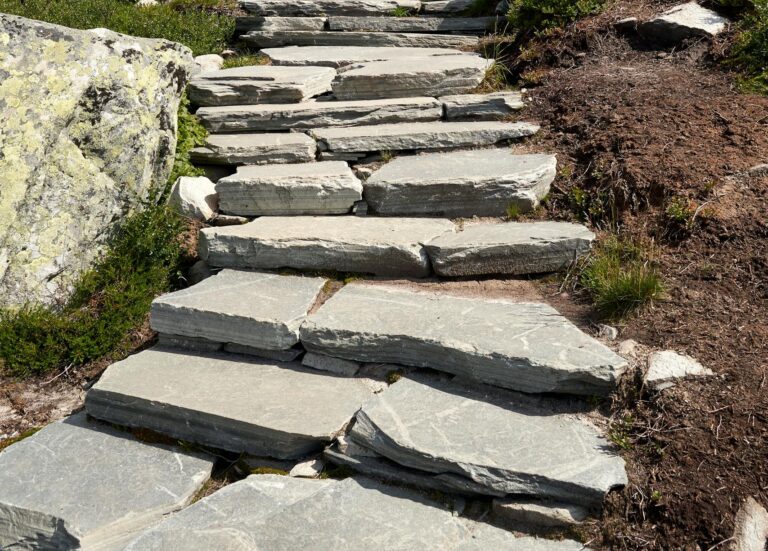
- Stone: Do you have stones on your land? Perhaps a pile of fieldstones from clearing, or accessible river rocks? If not, local quarries or gravel pits like Darby Pit may sell **landscaping rocks and boulders3】. Common choices are flat sedimentary rocks for making benches or low walls, rounded boulders for accents, or even slate/flagstone for flooring. Using one type of stone repeatedly will unify the look, but mixing can also be rustic if done thoughtfully (e.g., rounded boulders as seat supports with flat stones as seat tops).
- Wood: Are there fallen trees or deadwood you can harvest? Or local sawmills that sell logs or slabs? Rustic wood can be logs (for bench legs or supports), thick slabs (for tabletops or bench tops), or even reclaimed barn wood. Cedar, oak, pine, whatever is common locally – just ensure it’s fairly durable or be prepared to replace it after many years. Logs can be used with bark on (very rustic) or peeled for a cleaner look. Reclaimed fence posts or railroad ties can also be repurposed (ties have creosote though, be cautious where you use them).
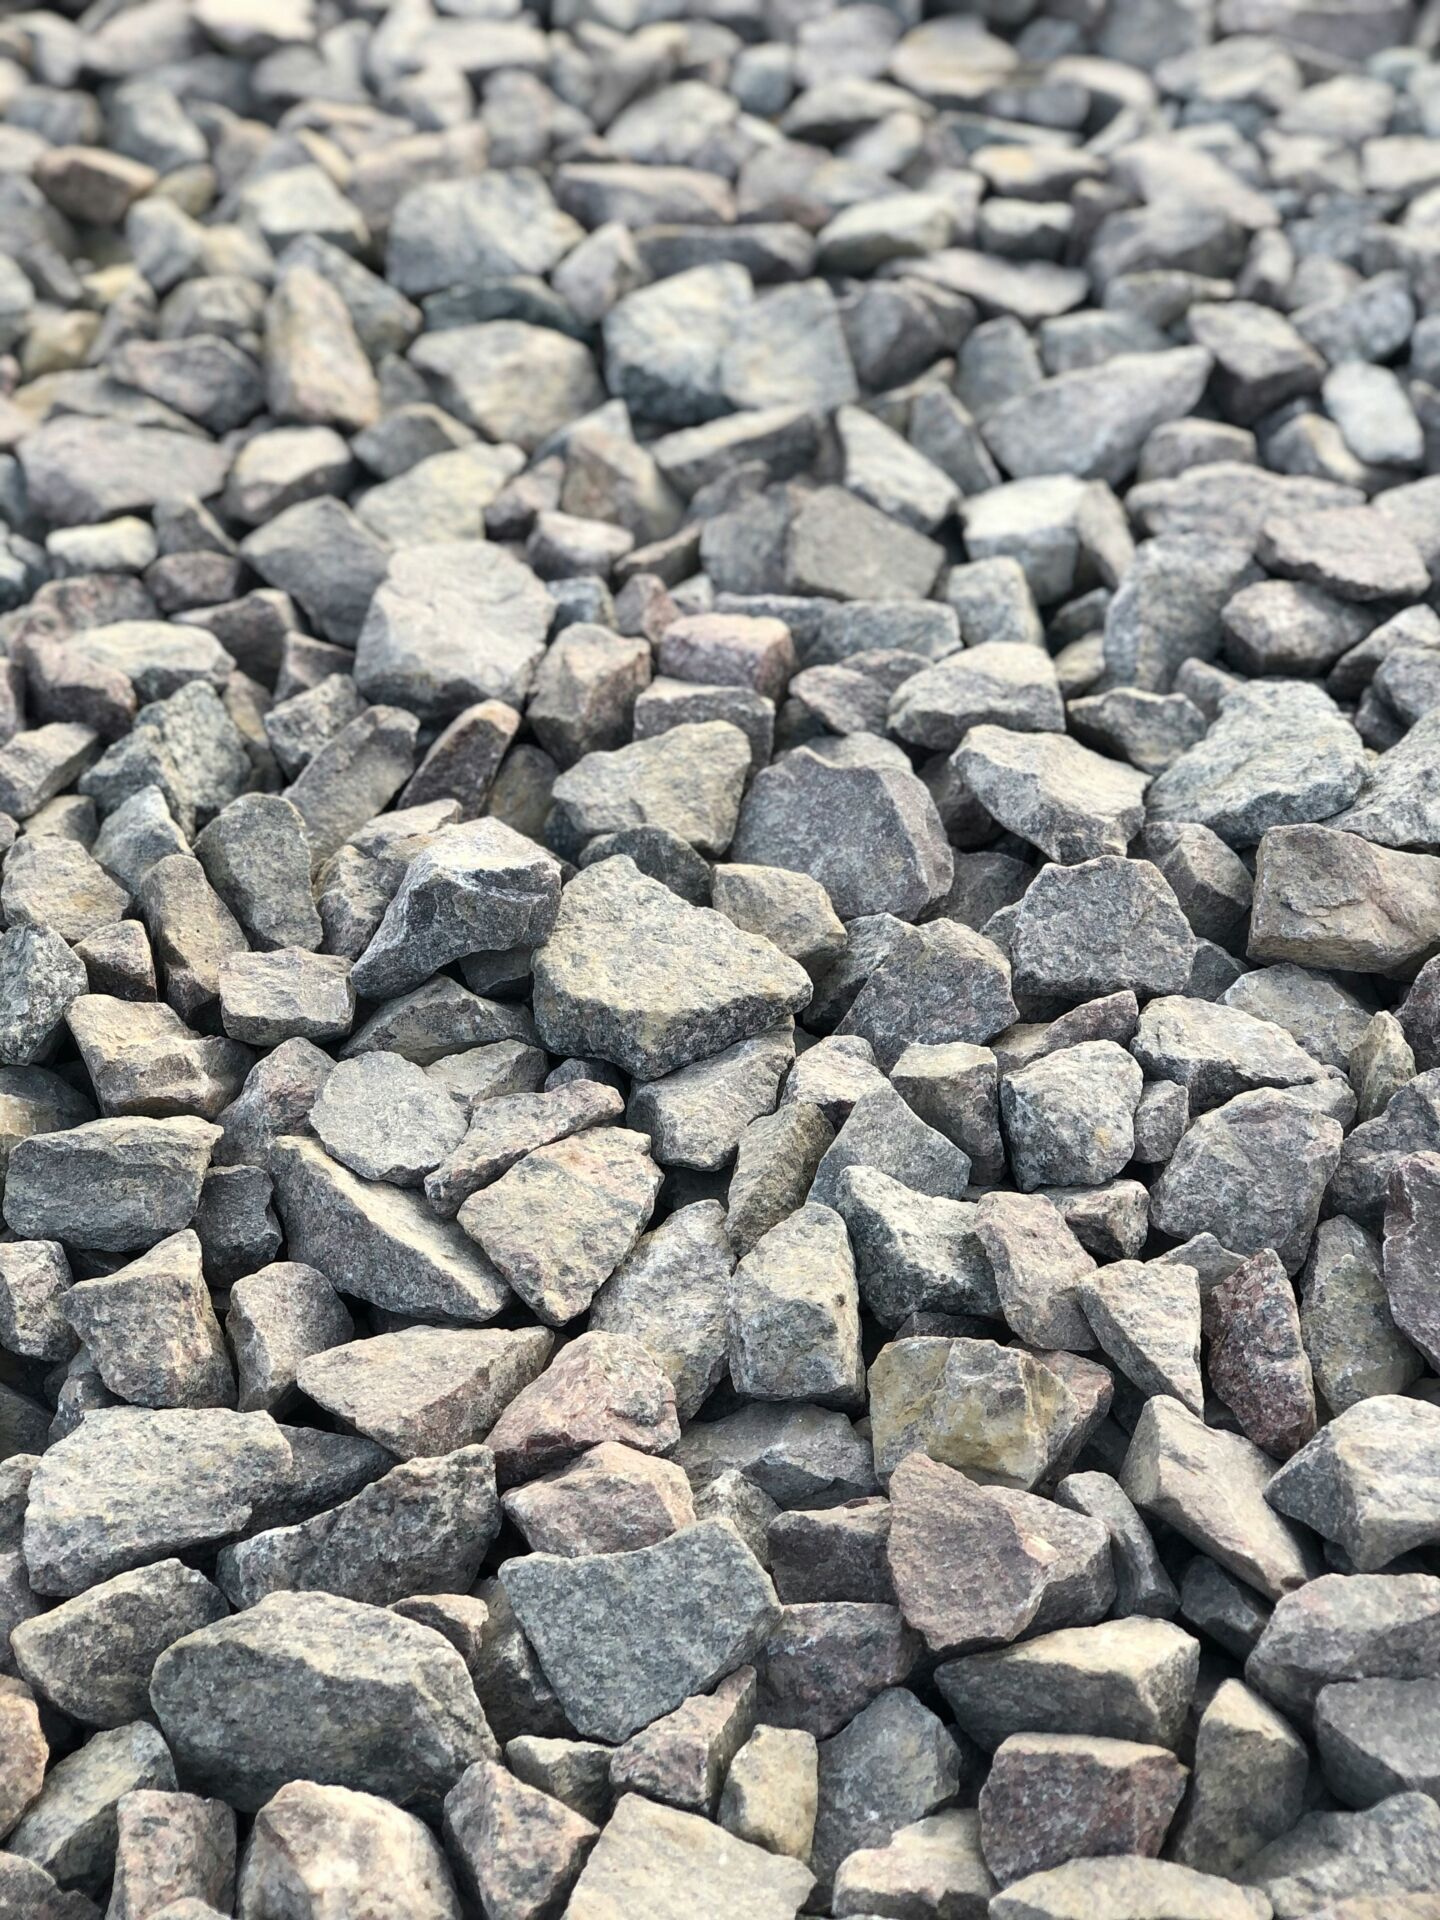
- Gravel and Sand: You’ll likely want a permeable floor for the area. Gravel is ideal – it drains, it’s low maintenance, and suits rustic design. Pea gravel’s smooth texture is easy on footwear, while crushed gravel (like 3/8” minus or decomposed granite) compacts a bit firmer. Check local pits for gravel choices; a blend of brown/tan/gray tones often looks natural. Also, sand or stone dust can be used as a setting bed for stones or as a softer flooring in parts of the seating area. Since we want rustic, a fully paved or concrete floor is out – gravel and wood chips are more fitting. We’ll assume gravel for this guide.
- Other Locally Sourced Items: Think outside the box: perhaps old wine barrels (if you’re in a wine region), driftwood (if near a river or lake), or even antlers or wagon wheels for decor. A rustic area can have quirky touches that reflect local heritage (maybe an old plow as a decor piece if it’s a farm locale, etc.).
3. Design Elements: Rustic doesn’t mean messy; you still want a cohesive design.
- Seating: Plan for what kind and how much. Options: stone bench, log bench, individual stump stools, swing or hammock (with wooden frame), or even Adirondack chairs if you want some traditional seating (you can make Adirondacks feel rustic by using unfinished wood). We’ll focus on built-in rustic seating from stone/wood.
- Flooring: Likely gravel. Decide the shape of the gravel area. Often a defined edge (stone border or wood border) helps keep gravel contained and gives that “this is a seating area” feel. Alternatively, let it transition naturally to surrounding grass or forest with some larger perimeter rocks.
- Shade/Structure: A simple pergola or arbor made of logs or rough timber can add vertical interest and partial shade. Or string some outdoor lights from nearby trees or poles for evening ambiance. In a mountain setting, maybe you have tall trees so you don’t need a constructed overhead – use what nature provides.
- Fire or Focal Point: Many seating areas benefit from a focal point. It could be a fire pit (like previous article), or a small water feature (perhaps a rustic stone basin with recirculating water), or even just a central coffee table of sorts (a big flat rock can suffice). If the purpose is stargazing or quiet reflection, you might not need a central feature. But consider a low tree stump table or cluster of stones that can act as a table for drinks. If you plan a fire pit, ensure you incorporate those safety things we discussed: non-flammable surround (gravel is good for that).
- Plants: Part of rustic charm is looking a bit overgrown (in a controlled way). Plan to include some native plants around the edges. Maybe ornamental grasses swaying behind a bench, wildflowers peeking between rocks, or a vine climbing up a pergola. You can plant hardy succulents (like sedum or hens-and-chicks) in the crevices of a stone wall or between flagstones. These touches soften the hardscape and tie the area to the landscape. Spring is the best time to plant, so think ahead and prep some soil pockets or beds adjacent to the seating.
Building the Seating Area
Step 1: Site Prep
Clear the area of sod, weeds, and roots. Excavate the entire footprint of the seating area to a depth of about 4-5 inches if you’re doing a gravel floor. Slope the sub-grade slightly for drainage (a 1-2% slope away from any structures or toward a lower part of yard). If ground is already free-draining (sandy or gravelly soil), you can just compact it and proceed. If clay or poor soil, lay down geotextile fabric to prevent weeds and mixing of subsoil with your gravel. Then add 2-4 inches of compactable gravel (like road base). Rake it roughly level and compact it well. This is your foundation. On top of this will go a thinner layer of decorative gravel later, or flagstones if using them for parts of the floor.
If you plan a flagstone area or stone pavers for part of the seating area (say directly under a table or as steps), now is the time to set those base stones. Use a layer of sand on top of the base gravel to bed irregular flagstones so they sit level (or deliberately tilted for rustic look but stable). Tap them in place. Leave spaces for gravel or low plants between them.
Step 2: Edging/Border (if desired)
To keep your gravel tidy, install some edging. A rustic choice for edging:
- Large Stones: Partially bury a line of midsize boulders or flat rocks around the perimeter. Make it look random yet intentional. It’s okay if some are set a bit inwards or outwards to avoid a perfect line (rustic style thrives on slight irregularity). These will act like a little retaining wall for the gravel and a visual boundary.
- Logs or Sleepers: A half-buried log (with half its diameter above ground) can form a natural curb. Or old railroad ties (noting again the creosote issue – probably okay for an edge away from veggie gardens, and creosote gives that aged look, but one might prefer untreated logs for truly natural approach).
- Living Edge: Alternatively, dig a shallow trench and plant a row of hardy shrubs or ornamental grasses as a living border. This won’t hold gravel as tightly, but if the area is level, gravel shouldn’t migrate too far anyway.
Step 3: Seating Construction
Now the fun part – making the actual seats.
- Stone Bench: Identify two or three sturdy flat rocks for supports and one long flat rock for the bench top (or multiple pieces that can be fitted together). For example, two squat boulders about 16-18 inches tall can serve as the ends, and a thick slab 5-6 feet long rests on them. You might have to chisel or shim with smaller stones to get it level and stable. If the slab is very heavy, ensure the supports are firmly planted (dig them in a bit) so they don’t wobble. You can also use three supports (left, center, right) for a longer bench or if the stones are smaller. Try to have the seating surface about chair height (16 to 18 inches) and at least 12-14 inches deep for comfortable sitting. Smooth the seating rock if needed (chip off any pointy bits). You could even add a thin cushion or pad later, but many just sit on the stone as-is.
- Log Bench: There are different styles:
- Simplest: Two short vertical logs as legs and one long horizontal log as the seat (flat side up). For example, use two thick rounds (maybe 12-15 inches diameter, 18 inches tall) as bases, and a half-log (like a log cut in half lengthwise, diameter say 12 inches, length 6-8 feet) laid across them. Screw or pin them together for safety (you can drive a long lag screw down through the seat into each leg, countersinking the head). Stripping the bark off will deter pests and give a cleaner look while still rustic.
- Another approach: Use one very large log and cut notches or flat sections in it to create individual seat spots. Or multiple small stump stools around a low table slab.
- If you have old timber or beams, you can create a bench by stacking stones or bricks as piers and laying the timber across.
- Always test for sturdiness. Wobble=trouble. You may need to dig the leg slightly into the ground or shim with small rocks to stop any rocking (no pun intended).
- Treat the cut ends of logs with a preservative or at least some linseed oil to slow decay. Cedar logs are naturally rot-resistant and great for this if available.
- Integrated Stone-Wood Bench: A lovely rustic bench can combine both: for instance, two boulders as one side support, a wooden post as the other side support, with a thick plank spanning between. This can look like the bench grew out of the ground. The key is to get the top level and secure the wood-to-stone interface (you can use masonry drill bits and concrete screws with brackets to attach wood to rock, or simply wedge the wood piece into a stable notch in the stone).
- Stools and Chairs: Scatter a few individual seats:
- Stump stools: sections of a tree trunk (12-18″ diameter, maybe 18″ tall). Debark them. Set them on the gravel base (flatten bottom for stability). These are surprisingly comfortable for short sits and add that campfire ring feel. Over time, they’ll dry and crack giving even more rustic character; replace when overly weathered.
- Rocker or Adirondack: If you or a local craftsperson is handy, making an Adirondack chair from local wood (even rough-sawn boards) combines comfort with rustic vibe. Or use an old rocking chair from a thrift store, painting it in milk paint or leaving it to weather for shabby-chic rustic.
- Hammock or Swing: Two sturdy trees or posts can support a hammock for a loungey seat. A wooden porch swing hung from a beam (perhaps you incorporate a free-standing log frame A-frame to hang a swing) could also be a delightful addition to a rustic nook.
Step 4: Ground Cover and Finishing
Now spread your top layer of gravel across the area (if you haven’t already while building the seats). Aim for at least 2 inches of coverage so you don’t see the base gravel. Rake it out evenly. Around the base of benches or under the logs, you can pack a little extra gravel to ensure no water puddles and wood is kept dry.
If you prefer a mix of materials underfoot, you could do a patch of flagstones or slate directly in front of a bench to act as a little “landing pad” for feet, infilled with sand or pea gravel. Or have a slab of stone as a small coffee table and perhaps pave just under that with a couple of flat rocks.
Add your decorative elements:
- Perhaps a small side table: could be a cross-section of a thick log (like a 4″ thick disk of a big tree trunk) sitting on a short stump or stone.
- An old wooden crate or barrel as a storage or end table (you can store blankets or cushions in a weatherproof chest that looks like an old trunk, for example).
- Pergola (optional): If building one, use rough logs or timbers. Four posts (set securely in the ground or on buried concrete footers), with cross beams of timber or even peeled poles, and maybe some lattice or additional branches on top for shade. You can grow a vine like clematis or hops up the sides for a verdant cover by mid-summer. Even without plants, a pergola of natural logs defines the space nicely. Pro tip: local willow or bendable branches can be woven to make a rustic lattice on top or as a side screen.
- Fire pit or Heater: If this seating area will host fires, you could integrate a stone fire pit as we described earlier, or for a dining area maybe a central stone slab table with a small grill or brazier. Keep fire safety in mind: stone and gravel are fire-friendly surfaces, but overhead wood structures are not, so place any fire element away from pergola or low branches.
- Lighting: For a rustic look, consider string lights with Edison bulbs hung between posts or trees. Or mount a couple of old metal lanterns (you can retrofit them with LED candles or low-watt bulbs) on shepherd’s hooks or tree limbs. Solar path lights stuck in the ground around the perimeter can softly outline the area at night. An old-fashioned option: tiki torches or a fire bowl could also light the area, but be cautious with open flames. In a wooded, mountainous area, always have a bucket of sand or water nearby if you have flame torches or a fire pit.
- Soft Touches: While we’re going natural, a few textiles can make it cozier when in use. Think of having a basket with some outdoor blankets (wool plaid throws fit the rustic theme well) or some burlap-covered or canvas pillows that you bring out when using the space (store them indoors or in a deck box when not in use to avoid critters and weather damage). Even a simple jute outdoor rug thrown on the gravel for an occasion can create a more inviting floor for yoga or kids playing – just remember to take it up so it doesn’t trap moisture on the ground continuously.
Step 5: Landscaping Around
Finally, blend the edges of your seating area into the surroundings. Planting is crucial for that “settled in nature” feel:
- Tuck low plants around the boulders or border stones: think creeping thyme, sedums, or local wildflowers. These will soften the edges.
- If you installed a pergola, plant a vine at the base of a post (honeysuckle, clematis, or even a climbing rose if the climate allows). In a year or two it’ll wrap the structure in green.
- Behind benches, maybe plant tall native grasses or shrubs like currant or serviceberry that not only hold the slope (if any) but provide seasonal interest (flowers, berries for birds, fall color).
- If the area is out in open lawn, consider creating a transition by mulching an area around the gravel with bark or wood chips and planting a perimeter of hardy perennials (like black-eyed susans, echinacea, lavender – whatever grows well for you). That way it doesn’t go abruptly from gravel to turf.
- Use any natural features: if there’s a big rock or tree adjacent, incorporate it as part of the “design” – perhaps place a chair facing it or wrap the seating layout partially around it to make it a backdrop.
Spring is the best time to do all this: the ground is soft enough for digging, materials like logs are easier to handle before the heat of summer (and you might source logs from spring tree work), and you can plant right away so by summer the area doesn’t look raw.
Enjoying Your Rustic Retreat
Now step back and admire. Your new seating area should look like it belongs – as if a thoughtful woodsman assembled a cozy spot using what the land provided. There’s a certain peace of mind in that simplicity. Unlike a formal patio, a rustic area invites you to put your feet up and not worry about a coaster for your drink or a little dirt on the ground. Its beauty is in the imperfections and natural textures.
Over time, the wood will weather to a silvery gray, the stones might grow a bit of moss in the shaded cracks, and the area will actually improve in character. Maintenance will mostly involve keeping the area clean of excessive leaf litter (just rake or use a leaf blower lightly) and perhaps re-leveling or topping up gravel every couple of years if it migrates or settles. The solid materials—stone and hefty wood—should last many seasons. If a log stool rots after 5-10 years, you can replace it with a fresh one, thinking of it like refreshing the mulch in a garden bed.
With local materials, even replacements or adjustments remain cost-effective. Plus, you likely had fun foraging or selecting those pieces to begin with, and can do so again.
At the end of a spring day’s work, there’s nothing better than sitting in your hand-crafted outdoor living room, the scent of fresh-cut wood in the air, a cool drink on a smooth stone next to you, maybe a gentle breeze rustling through nearby aspens. Birds may already be perching on your new structure, and the view you chose is just as you hoped. By harnessing local materials and a bit of creative elbow grease, you’ve made more than just a seating area – you’ve created an experience, a place that feels inherently connected to its surroundings. So go ahead, invite friends or simply your own weary soul to come take a seat, and enjoy the rustic comfort you’ve shaped with nature’s help.
