How to Repair and Refresh Your Gravel Driveway This Spring
After a long, snowy winter, your gravel driveway might look a little worse for wear. Cold temperatures, snowplow activity, and freeze-thaw cycles…
After a long, snowy winter, your gravel driveway might look a little worse for wear. Cold temperatures, snowplow activity, and freeze-thaw cycles can leave behind potholes, ruts, and thin or bare spots in the gravel. Spring is the ideal time to restore and refresh your driveway’s surface. With a few tools and the right approach, you can have a smooth, sturdy driveway ready for the summer months. In this guide, we’ll walk you through assessing winter damage, fixing potholes, adding fresh gravel, and ensuring proper drainage for a like-new driveway.
Assessing Winter Damage
Begin by taking a slow walk or drive along your driveway once the snow has melted. Look for common post-winter issues:
- Potholes and Ruts: Depressions where water and ice have broken up the surface, often forming during spring thaw.
- Loss of Gravel: Areas where the gravel layer looks thin or where bare soil is exposed (common along tire paths or where plow blades pushed gravel aside).
- Drainage Issues: Signs of water pooling or channels where meltwater or spring rain has eroded the gravel.
- Shoulder Spillage: Piles or ridges of gravel pushed off to the sides of the drive (by plowing or runoff) that leave the center sparse.
Make note of these issues. Spring is the best time to address them because the ground is usually soft enough to work (but not too muddy) and you can fix problems before heavy spring rains and summer traffic worsen them.
Gathering Materials and Tools
Successful gravel driveway repair requires a few basic supplies:
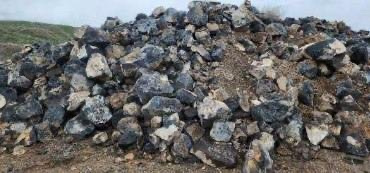
- Fresh Gravel: You’ll want some new gravel to fill potholes and top up the surface. A 3/4-inch minus crushed gravel (road base) is ideal for driveways. It contains a mix of stone and fines (small particles) that compact well. If your driveway has a more decorative top layer (like pea gravel), you may need some of that as well for the finish. Plan on a few cubic yards of gravel for an average driveway refresh; your local gravel pit can deliver this. Our regional pits offer excellent 3/4” minus road mix – for example, the gravel from Darby Pit is a great all-purpose choice for driveways.
- Tools: A shovel, steel rake, and wheelbarrow for manual filling. If available, a tractor with a box blade or grader attachment will make grading easier. For compacting filled holes, a hand tamper is useful, or simply driving your vehicle over repairs a few times can work in a pinch.
- Geotextile Fabric (optional): If certain areas chronically pothole due to poor subgrade, you might consider digging out those spots a bit deeper and adding a layer of landscape fabric before filling with gravel – this can stabilize the repair.
- Plate Compactor or Roller (optional): For the best compaction of patches or new gravel sections, renting a vibrating plate compactor for a day is very effective. But for most home driveways, careful wheel-pack compaction and tamping by hand will do.
- Water Source: Wetting gravel slightly before compacting can help fines bind – so access to a hose is handy.
Filling Potholes and Ruts
1. Clear the Hole: Use a shovel to remove any big chunks of loose gravel, ice, or muck from each pothole. You want to fill onto a firm base, not onto mud or debris. If a pothole is filled with water, scoop it out or wait for a dry day – filling a water-filled pothole with gravel often doesn’t hold. A shop-vac or pump can remove water quickly if needed. Also, undercut the edges of the pothole a bit (make the hole slightly larger) by digging into the sides – this removes weak, crumbling edges so you’ll be filling a sound area.
2. Fill with Coarse Gravel: For deep potholes (more than a couple inches), it’s best to fill most of the depth with a coarse, structural gravel first. You can use some fist-sized rocks or a couple shovelfuls of 1-2” crushed stone if you have it. Otherwise, use your 3/4” minus gravel but overfill the hole slightly because it will compact down. Pour gravel into the pothole, filling it about 1/2 to 2/3 full with loose material. If you have many potholes, dumping piles of gravel along the driveway and then shoveling into holes is efficient.
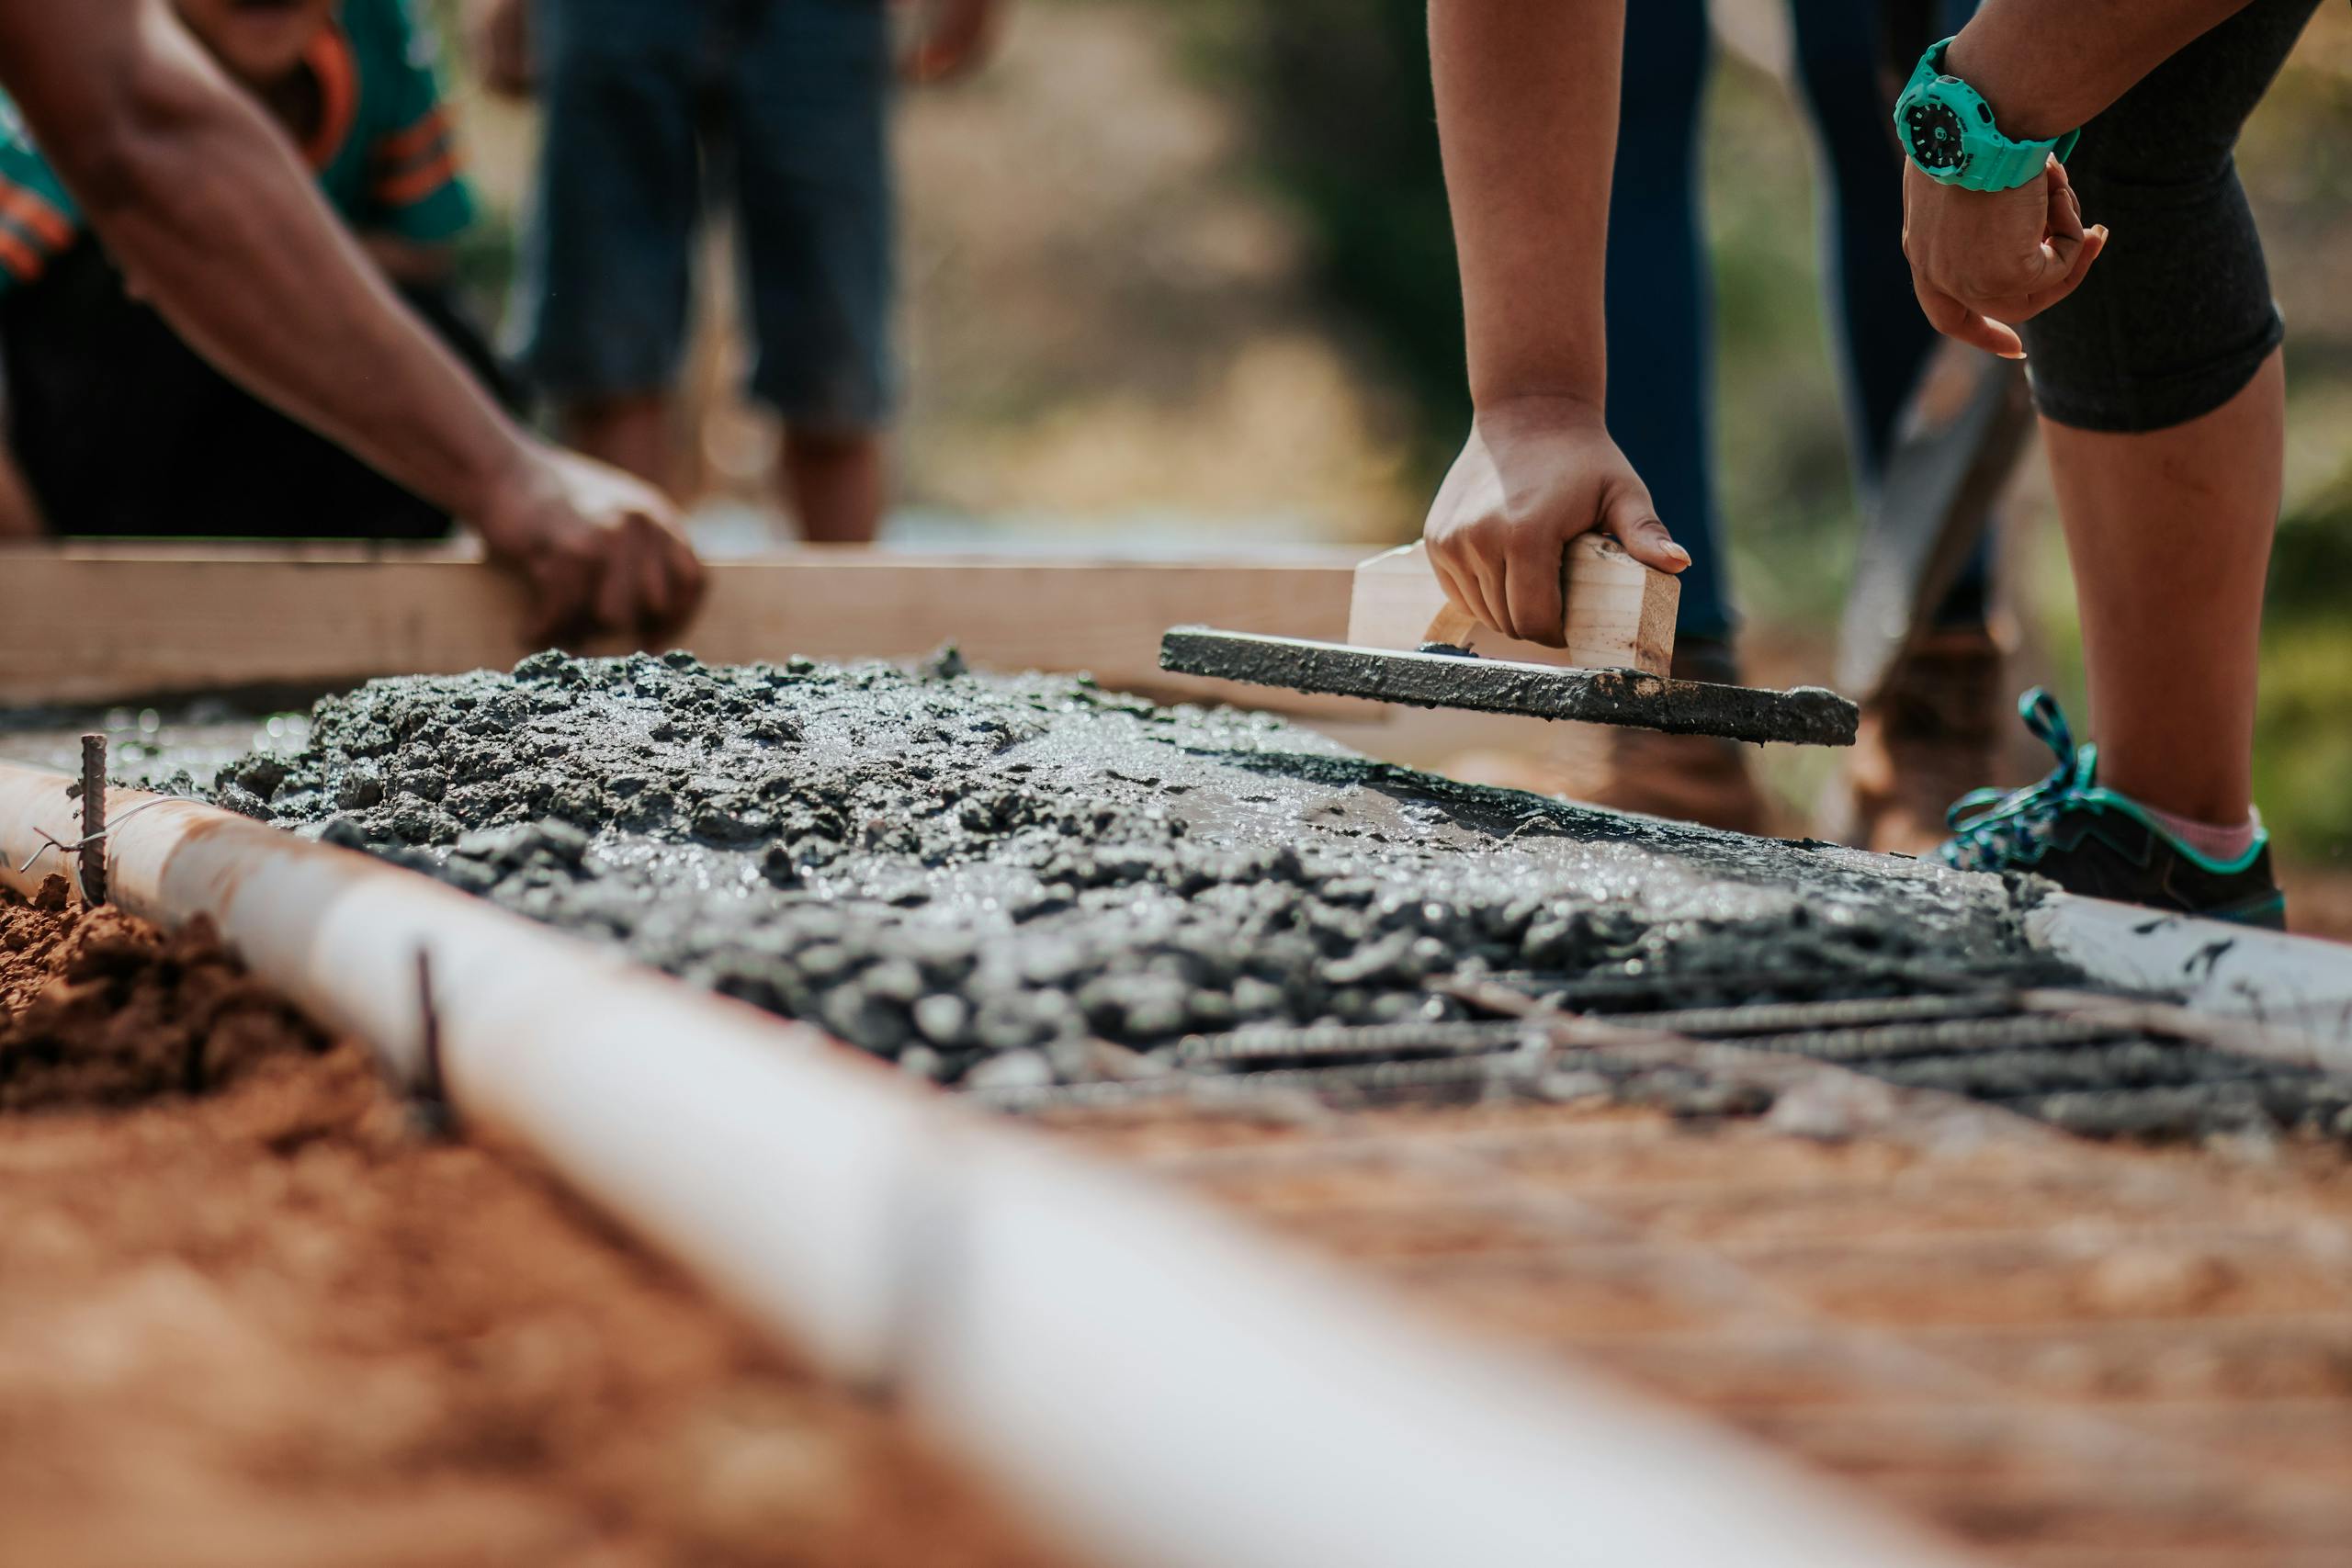
3. Compact the Fill: Using the end of a 4×4 post or a hand tamper, pound the gravel in the hole to pack it. The goal is to force the gravel into the void and drive out air, so the patched material doesn’t sink later. If you have a plate compactor, run it over the filled hole several times. You can also simply drive your truck’s wheel over each filled pothole a few times (slowly) to press it down – this actually works surprisingly well by using the weight of the vehicle.
4. Top Up and Level: Now add more gravel to the pothole, this time overfilling it by about an inch or so above the surrounding driveway level. Rake it out a bit beyond the hole edges to feather it with the surrounding surface. Then compact again. The filled hole should compress to about level or just slightly above the adjacent gravel. If it ends up below, add a bit more gravel and tamp again. Pro Tip: Wet the gravel lightly before the final compaction – the water helps the fine particles fill in gaps, kind of like curing concrete, making the patch denserdarbypit.com.
5. Repeat for All Holes: Address each pothole in this manner. It’s a bit laborious but tackling them one by one ensures a thorough fix. For numerous small ruts or an area that’s generally rough, you might instead scrape and regrade the whole section (see next section) rather than individual fills.
6. Fix Ruts and Low Spots: Ruts (long depressions in wheel paths) can be treated similarly. Scatter gravel into the rutted area, then use a rake to level it out across the width of the drive. Add enough so that when compacted, the rut is filled. Often ruts require not just filling the groove but raising the surrounding area slightly to re-establish a crown – a gentle slope from the center of the drive to the edges for drainage. Aim to reshape the driveway so the middle is a bit higher than the sides (a 2-4% crown is standard). This prevents future water from sitting in wheel tracks and making ruts. Use a grader blade or the flat edge of a rake to distribute added gravel accordingly. Then compact by driving along the repaired rut.
Regrading and Refreshing the Surface
Once potholes and major ruts are filled, turn attention to the overall surface:
- Redistribute Gravel: Over winter, some gravel likely got pushed to the driveway edges by plowing or runoff. In spring, use a rake or blade to pull this displaced gravel back toward the center where it belongs darbypit.com. If you have a tractor with a box blade, set the teeth to loosen the gravel and then smooth it out – this can recover a lot of material from the shoulders. By recycling existing gravel back onto the drive, you reduce how much new gravel you need to add.
- Add New Gravel Layer: After patching trouble spots and re-centering existing gravel, add a top dressing of new gravel across the driveway if needed. Many gravel driveways benefit from a thin replenishing layer each spring in high-use areas. A 1/2-inch to 1-inch coating of fresh 3/4” minus will mix with older gravel and restore the drive’s like-new appearance and function. Focus on sections that look sparse or where you notice the subsoil peeking through. Spread it evenly with rake or blade. If the whole drive is looking worn, you might order enough to cover the entire length – for example, an 8-foot-wide by 50-foot-long section is 400 sq ft; a 1” layer would require about 4, 5 cubic feet of gravel (which is around 0.2 cubic yards). Scale up for your drive’s size to estimate.
- Compact the New Gravel: If you applied a significant amount of new gravel, it’s wise to compact it to interlock the stones with the old surface. Run a roller or drive your car back and forth over the entire driveway. Usually normal use will settle it in a week or two anyway; you can speed this up by deliberate wheel-packing now. Pay special attention to the edges – try to drive on the extreme sides as well to press that gravel down so tires later don’t push it away.
- Establish the Crown: As you grade, ensure the center of the driveway is slightly higher than the sides. You can achieve this by dragging excess gravel from edges into the middle. The classic way is to angle a scraper blade and make passes down each side, pushing material toward the center. Then smooth the ridge in the middle a bit. This crown causes rainwater to shed off to the sides rather than channel down the tire tracks. Take a moment after grading to observe or pour some water – see that it runs off properly.
Improving Drainage
Spring is also the time to fix any drainage issues that might have contributed to driveway damage:
- Clear Ditches and Culverts: If your driveway has drainage ditches, clear out leaves, sediment, and snow melt debris. Same for any culvert pipes under the driveway – ensure they’re not clogged so spring rain can flow through instead of over your gravel. A quick clean-out can prevent washouts.
- Build Up the Driveway Entrance: The spot where your driveway meets the main road often gets very beat up (snow plows push slush from the road onto it, etc.). Consider using some structural fill (like pit run) to build this area up a few inches, then top with gravel. A slightly elevated driveway apron can keep road runoff from funneling down your drive.
- Install a Water Bar or Interceptor: On long sloping driveways, water can gain speed and strip gravel away. You can interrupt this by creating a shallow hump (water bar) at an angle across the drive or a trench on one side to catch water. Using a log or some large stones buried partly as a ridge can act as a water diverter. Do this in spring so it’s ready for summer thunderstorms. Line any drainage trench with some stones or coarser gravel to prevent it from eroding as well.
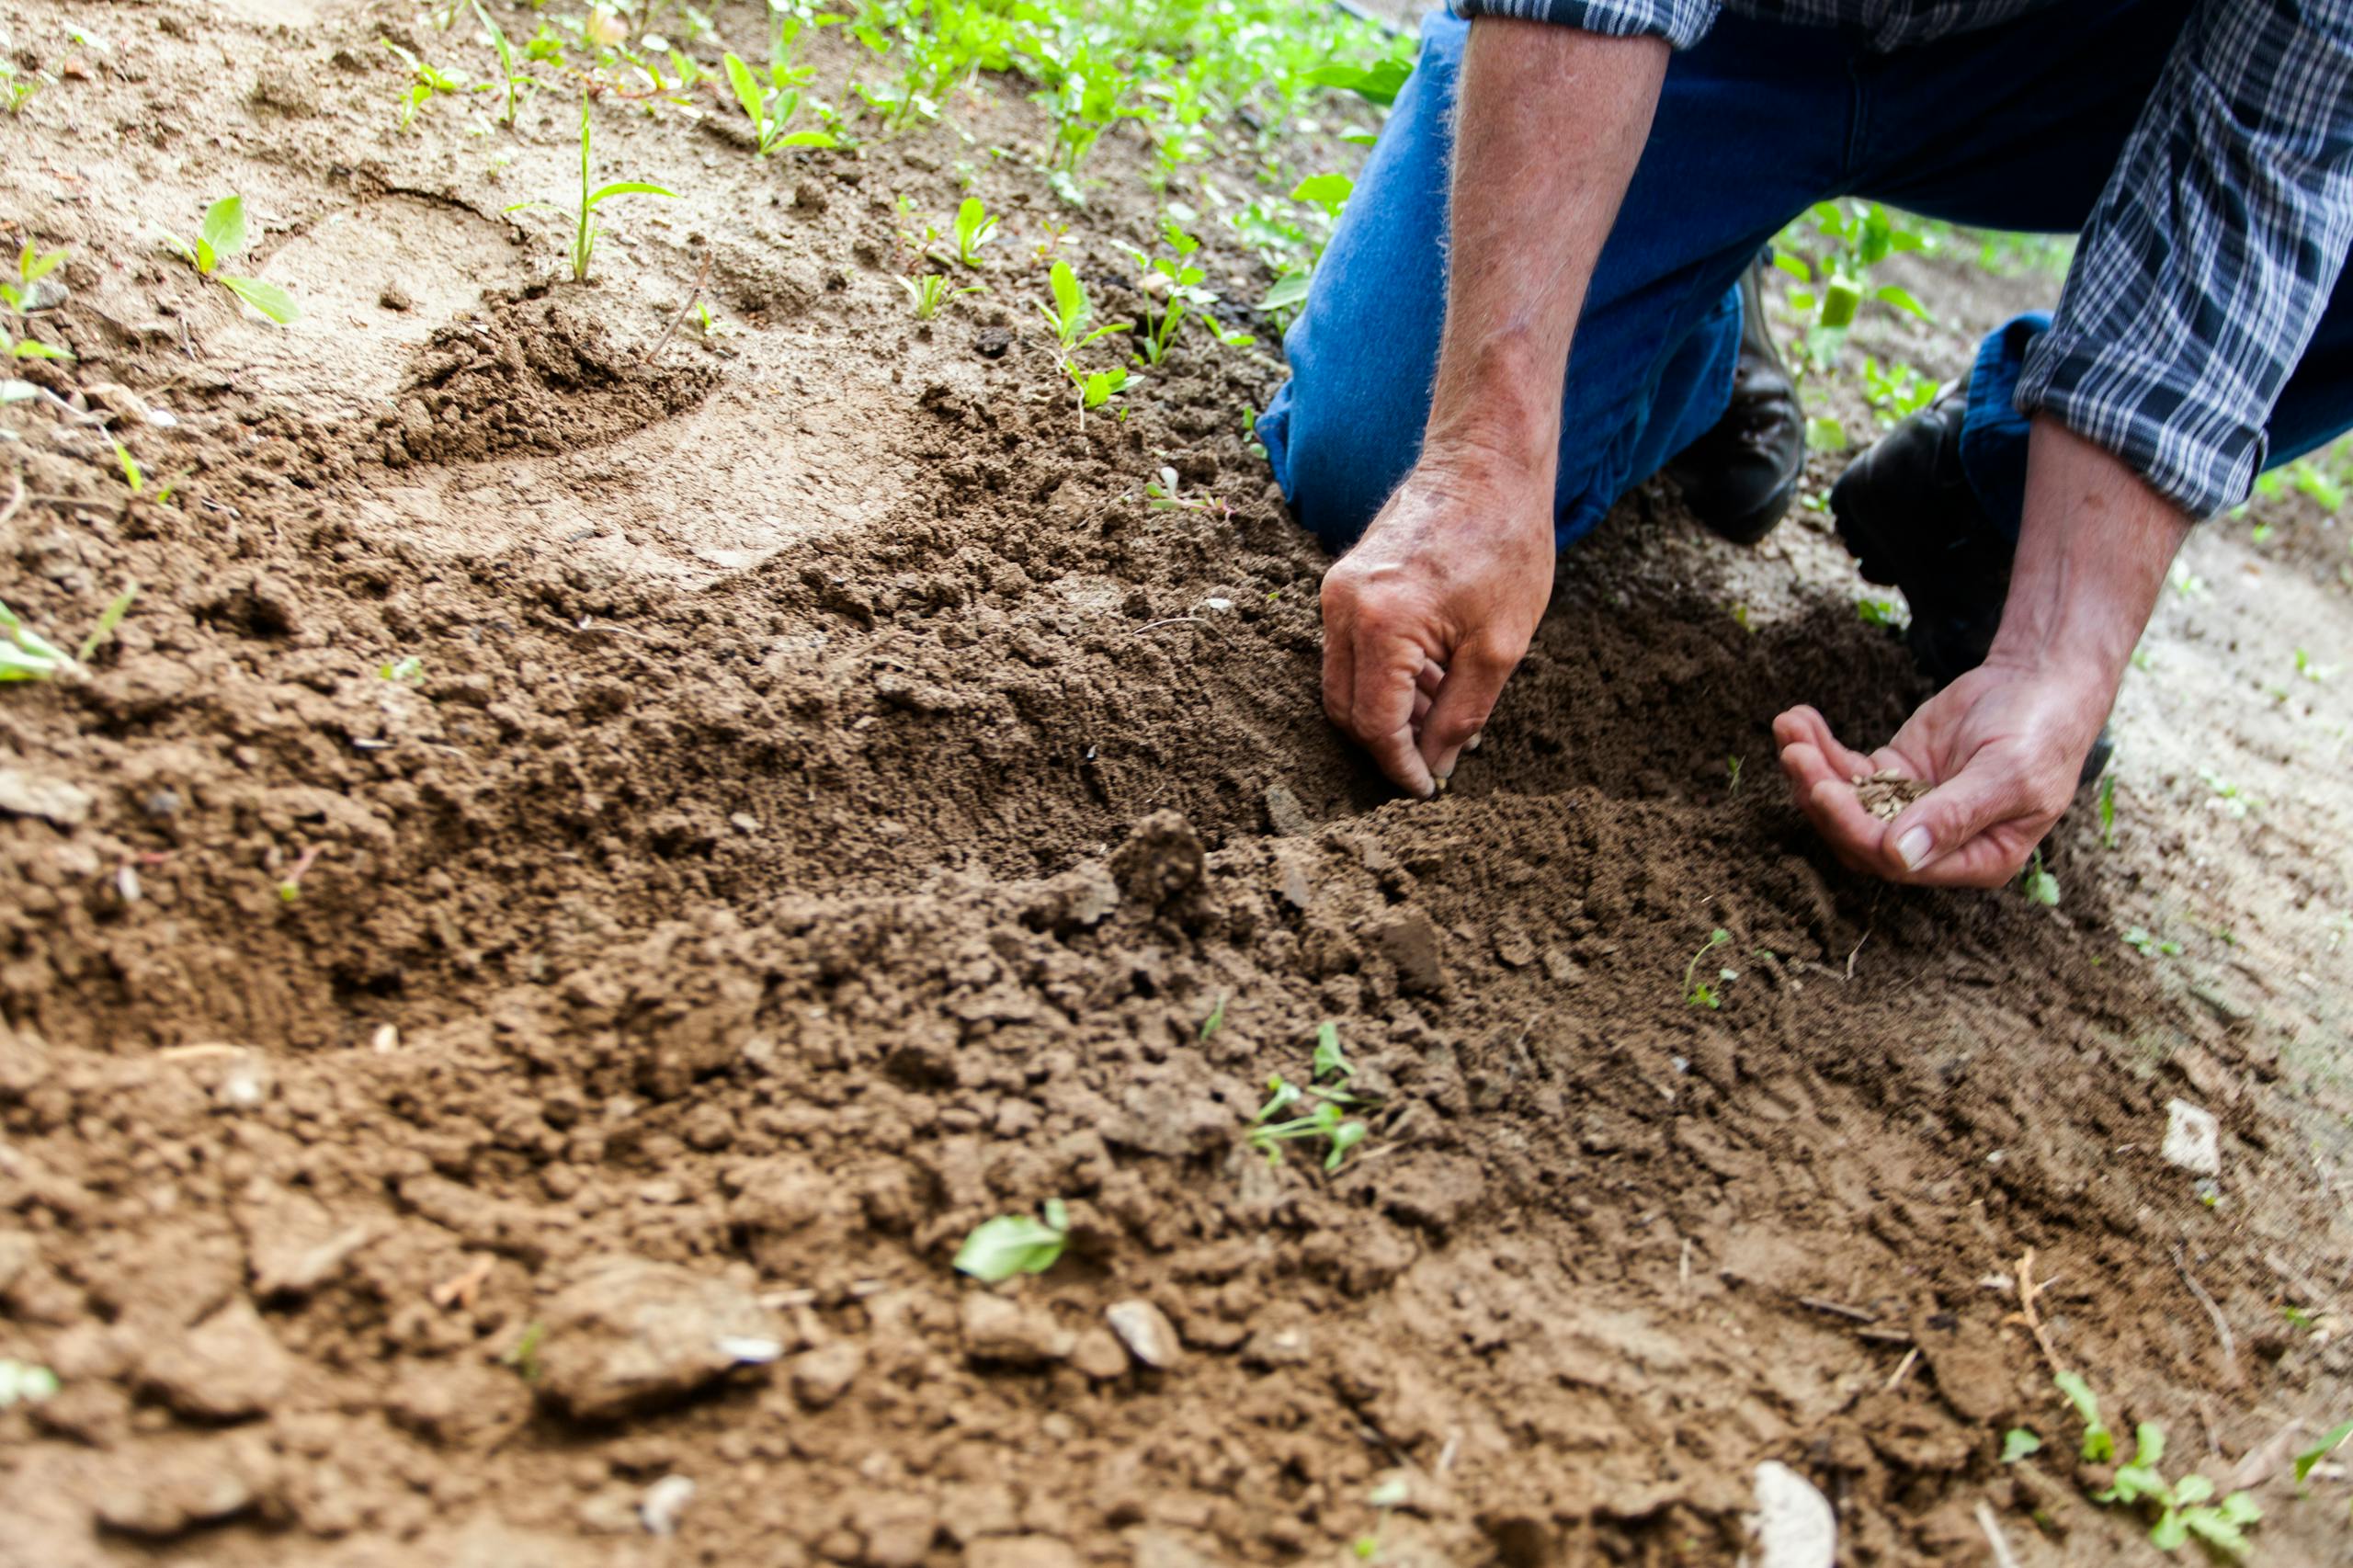
- Mind the Edges: After grading, the shoulders of the driveway might be bare soil. Consider throwing down some grass seed or laying some crushed rock on those shoulders so they don’t erode and send mud onto your fresh gravel. Even a little topsoil and seed in spring can establish grass that holds the edges together by summer.
Final Touches and Ongoing Care
With potholes filled and new gravel spread and packed, your driveway will already look rejuvenated. A few final bits of spring care:
- Control Dust: As things dry out, gravel roads can get dusty. A well-compacted 3/4” minus gravel has enough fines to form a tight surface that is less dusty (the fines act as a binder)darbypit.com. If dust is still an issue, consider periodically spraying the drive with water during very dry spells or using a non-toxic dust control product (like calcium chloride flakes or a soybean-based suppressant). Even used motor oil was an old-timer trick, but that’s not environmentally sound – stick to watering or specialty products if needed.
- Monitor Repairs: Keep an eye on those patched potholes over the next several rainfalls. If they depress a bit, add a shovel of gravel and tamp again. Spring freeze-thaw might continue for a month or so, so new potholes could form – tackle them promptly with the same method. Quick patching prevents small holes from expanding.
- Regular Raking: Throughout the spring and summer, an occasional light re-grade with a rake or York rake on a lawn tractor will keep the surface even. Simply moving the gravel back toward the center and into any developing low spots every couple of months (or as needed) will greatly extend the time between major repairs.
- Edge Maintenance: If grass or weeds start encroaching on the driveway edges, scrape them away (a flat shovel can cut sod off the gravel). Keeping the full width of the gravel exposed prevents grass roots from binding up sections of your drive and preserves the intended drainage width. Early spring is easiest to remove sod, as the ground is soft.
- Plan for Fall: Consider applying another light layer of gravel in early fall before winter hits, particularly if this spring’s repairs used up the last of your stockpile. Having a well-graveled surface going into winter makes it more resilient to snow plows and ice. Budget for a top-up delivery toward the end of summer if needed so you have material ready.
By dedicating some time in spring to repairing and refreshing your gravel driveway, you set yourself up for a smoother ride all year. No more dodging potholes or wincing at washboard sections – your tires (and your spine) will thank you. Plus, a tidy driveway boosts curb appeal as everything greens up for spring. With the simple steps outlined – cleaning, filling with quality gravel, regrading, and ensuring good drainage – you’ve essentially “reset” your driveway to prime condition. Now all that’s left is to enjoy the drive without the bumps, and maybe institute a gentle 5-10 mph speed limit on your refreshed gravel to keep it looking great. Come next spring, the repair list will be much shorter!