Installing a Sand Play Area for Kids in Mountain Environments
A sandbox or sand play area can provide endless fun for children, but setting one up in a mountain environment requires some…
A sandbox or sand play area can provide endless fun for children, but setting one up in a mountain environment requires some special considerations. You want the play area to feel natural and safe, blending with the rugged landscape while withstanding the elements (and local critters!). Fortunately, with the right sand, structural base, and enclosure design, you can create a kid-friendly oasis that thrives even at high elevations. In this article, we’ll guide you through choosing a location, sourcing appropriate sand, building a containment (using local logs or rocks), and maintaining a sand play area in a mountain climate.
Planning Your Sand Play Area
1. Location, Location: Pick a spot that’s relatively flat and has good visibility from where adults will be (so you can supervise). Consider natural shade: near a tree line or under a big pine can be great for midday sun protection. However, too much debris (pine needles, leaves) dropping into the sand means more cleaning, so a balance is key. You could also plan to add a shade sail or a simple rustic pergola over the sandbox if natural shade is lacking. Avoid low spots that collect water (spring snowmelt puddles would turn the sandbox into a mud pit). Ensure it’s a bit away from the fire pit or any area where debris could blow in. Proximity to your house or seating area is good for supervision and convenience.
2. Size and Shape: How many kids and what ages? A 5’x5’ box might be fine for two small toddlers, but older kids or groups will enjoy a larger area. Common is 6×6 or 8×8 feet, or even a 10-foot diameter circle. If you have multiple kids and space, err on the bigger side; they will use the space as they grow (and you can join in building sandcastles!). Mark out the shape. Square or rectangle is easiest for construction with timbers; a circle or kidney shape can be more organic-looking especially if using natural borders like rock or log sections.
3. Materials You’ll Need:
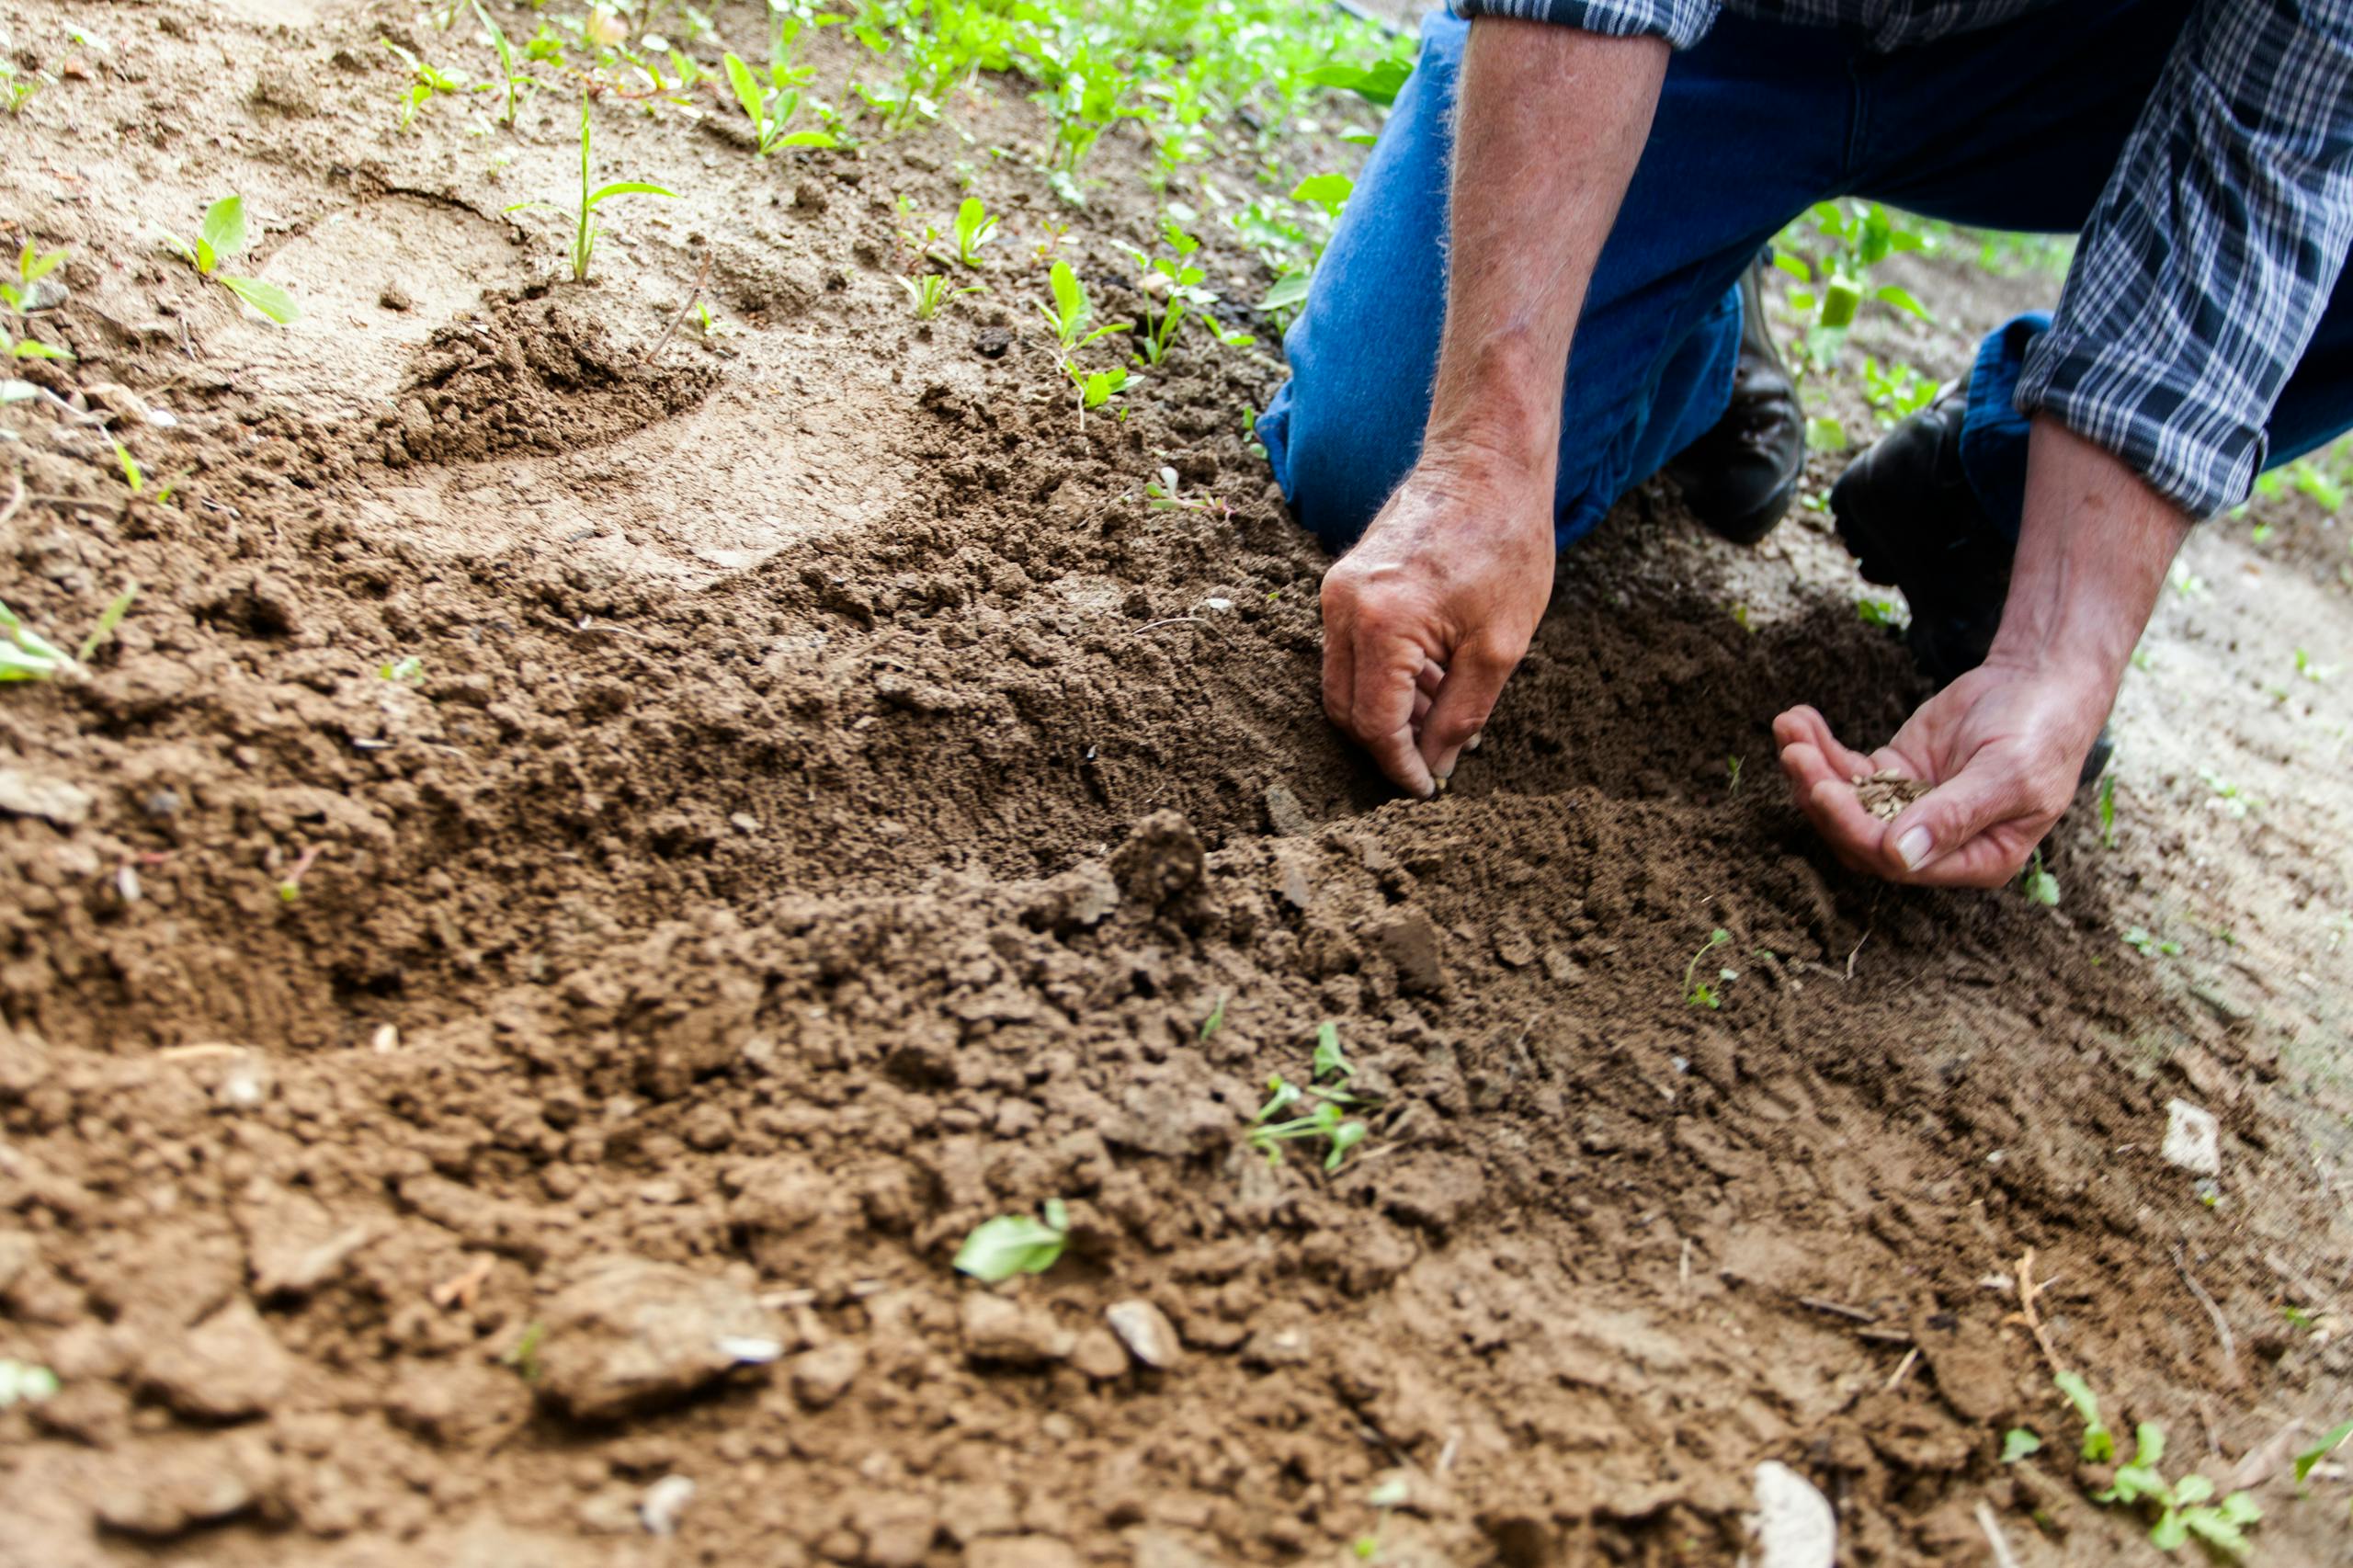
- Sand: Not all sand is equal. You want clean, soft sand that’s nice to touch and safe if accidentally ingested. Play sand is often sold bagged, but for filling a large area that’s costly and unnecessary if you have local sources. Look for washed sand from a pit – often called masonry sand, fine sand, or even “arena sand” (since it’s used in horse arenas and is designed to be dust-screened and comfortabl9】. Darby Pit’s Arena Sand (reject sand) is cited as great for sandboxes, with a slightly coarse texture that drains well and doesn’t compact too hard. Avoid very fine beach/dune sand as it can become dusty when dry (inhaling silica dust = not good) or clumpy when wet. A mix of particle sizes (predominantly coarse sand) is best. Also ensure it’s non-toxic (some sands have impurities; sourcing from a reputable gravel pit or sand quarry should be fine).
- Border/Containment: You’ll need something to keep the sand from spreading and to contain the depth. Options:
- Timbers or Logs: Large landscape timbers (4×6 or 6×6) or railroad ties can be bolted together to form a frame. For a more rustic mountain feel, consider logs – e.g., halves of logs or even whole small-diameter logs laid horizontally. Cedar or treated pine timbers resist rot. If using raw logs, peel off bark to minimize rot and pests (and so slivers of bark don’t mix into sand).
- Stone or Rock: A ring of boulders or flat rocks can make a beautiful natural sandbox border. The gaps between might let some sand through, but you can mitigate that by lining the inner side with landscape fabric or pouring a bit of concrete in the gaps from inside (concealed by sand). Large flat stepping-stone rocks around the edge give kids spots to sit or play on too.
- Composite or Recycled Plastic Borders: These exist (e.g., plastic kits), but since we want rustic/local, we’ll focus on wood or stone. However, using recycled plastic lumber is an option if you want zero-maintenance and don’t mind the look.
- Base Liner: Depending on your design philosophy: some like to put landscape fabric at the bottom of a sandbox to separate sand from soil and prevent weeds. It can help, but it also can impede drainage if water can’t percolate through easily or if it tears and tangles with digging tools. Another approach is just a layer of natural gravel at the bottom for drainage and skip fabric (assuming your subsoil is not going to mix up significantly). We’ll discuss more in construction steps.
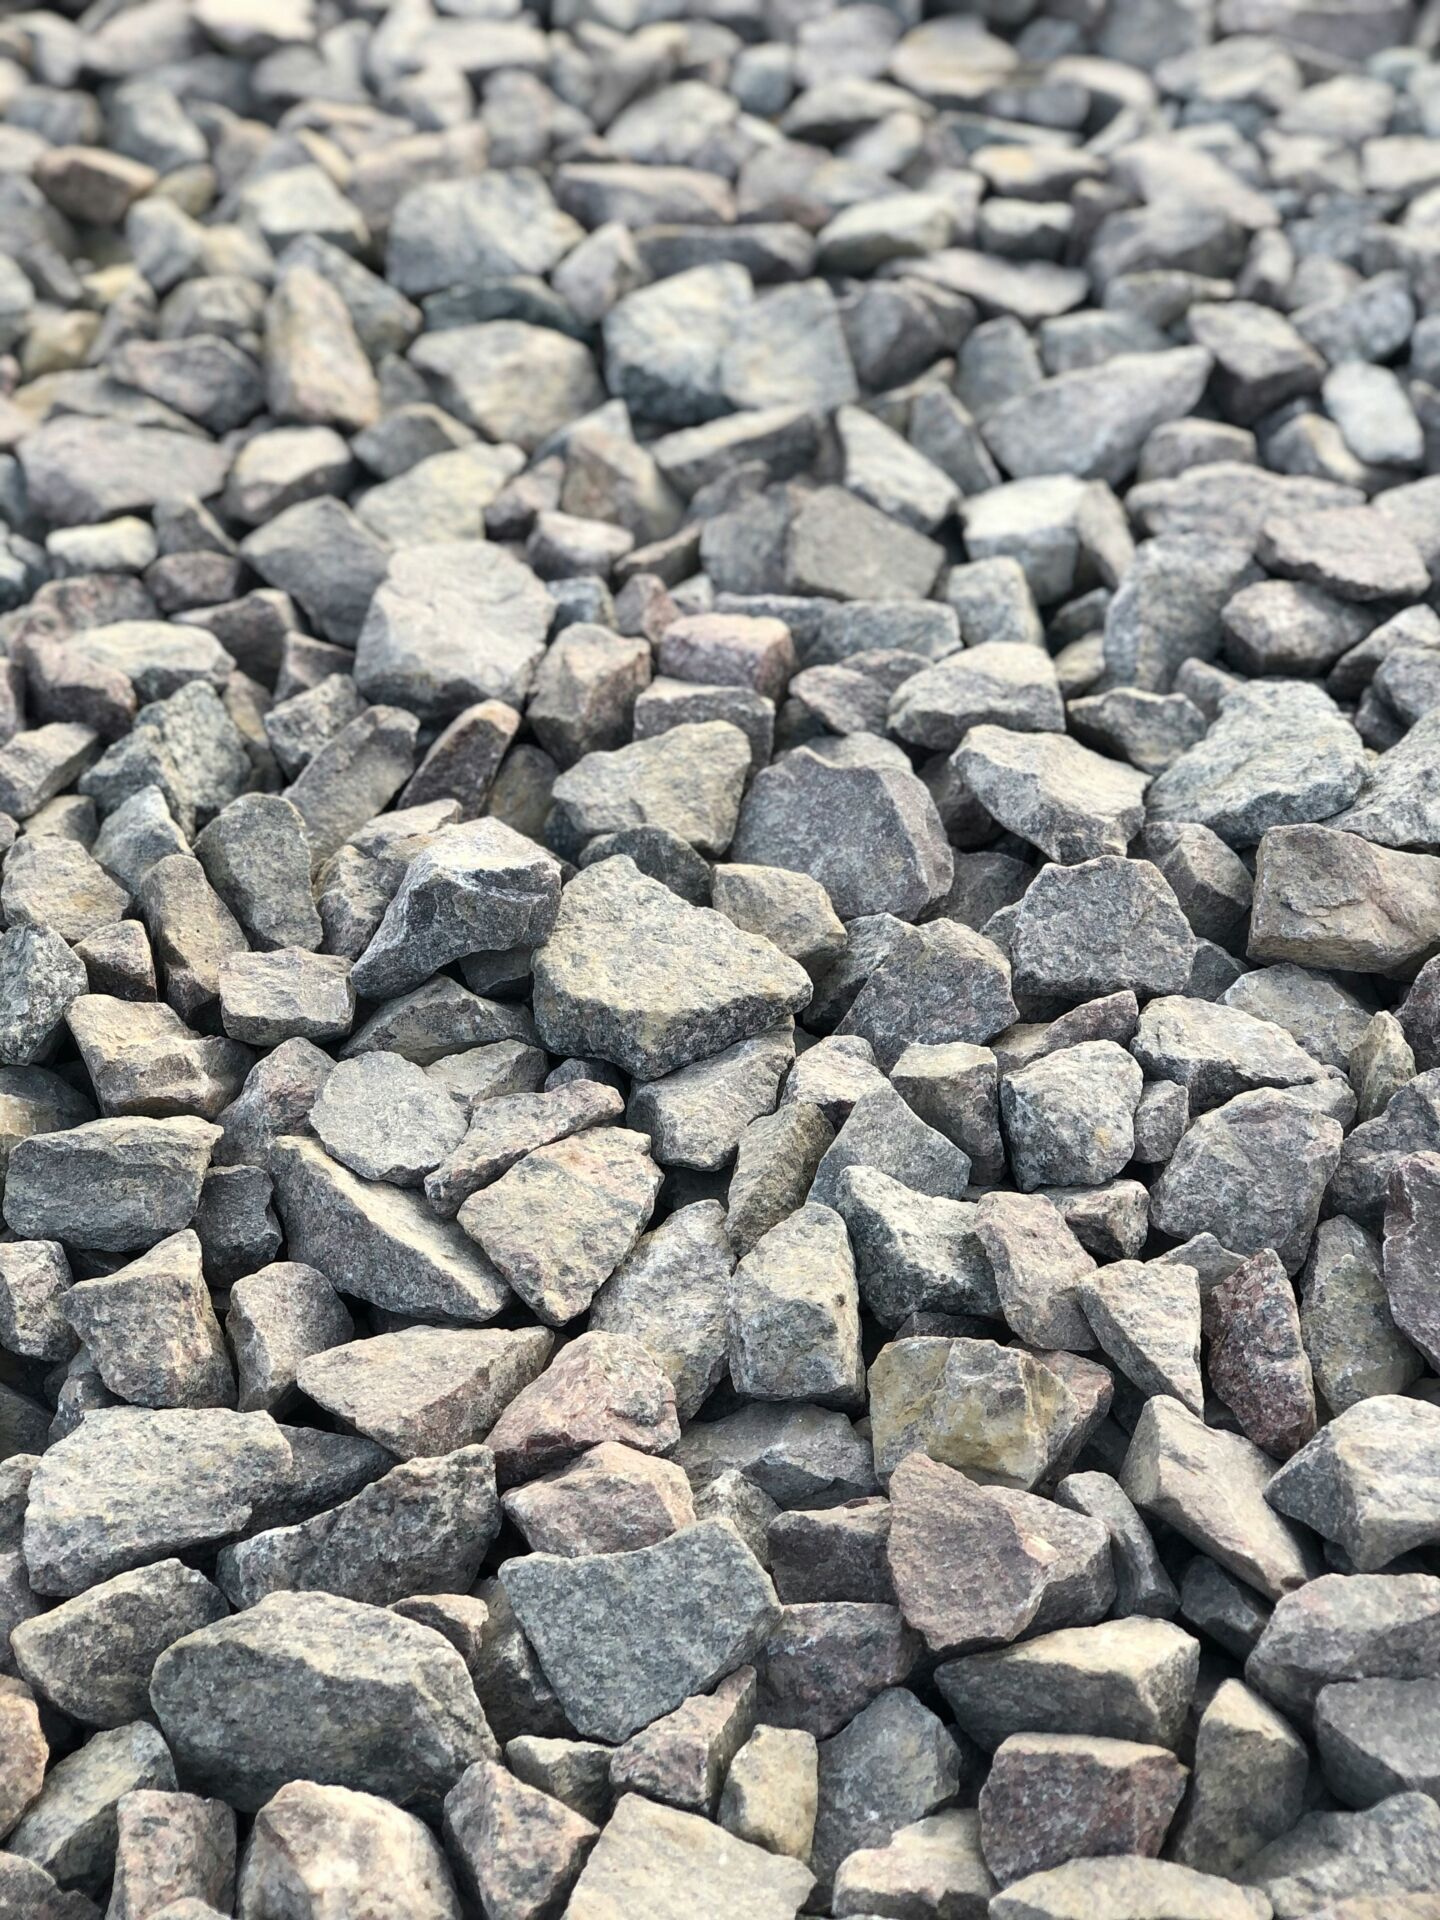
- Structural Fill (if needed): If the ground is uneven or you’re on a slope, you might need some fill to level the site. Also, if you choose a rock border, sometimes using some compacted gravel as a leveling pad under stones helps stabilize them. Having a half-yard of structural fill (like road base or pit run) or even just crushed gravel on hand can be useful to level and firm the foundation.
- Cover: A big challenge in mountain or rural areas – animals. Cats (or bobcats!), chipmunks, etc., may see a sandbox as a giant litter. To keep the sand clean, you need a cover when not in use. For a small sandbox, a piece of plywood or a pre-made cover is fine. For larger, consider a tarp system or build a simple lean-to roof. At minimum, plan hooks or anchors on the border so you can bungee-cord a tarp over it securely. If you frequently get afternoon thunderstorms, a cover also prevents the sand from getting overly waterlogged (though drainage should handle normal rain).
Building Steps
Step 1: Site Preparation
Clear the area. Remove any sod or plant matter a few feet beyond the intended sandbox border (kids will track sand out a bit, and you don’t want grass immediately creeping in). Roughly level the ground. If on a gentle slope, you might cut into the slope on the high side and use that soil to build up the low side – creating a flat pad. Aim for the base of the sandbox to be level or with a very slight grade for drainage. If you end up cutting out a lot of soil, ensure the back side is supported (you might end up with one side of the sandbox partly recessed into a hillside – that’s fine, but make sure to have good borders there and maybe a trench or diversion so hillside runoff doesn’t flood directly into the sandbox).
If soil is hard or clay, consider digging down an extra few inches to make a drainage layer. You can fill that with coarse gravel so any rainwater easily seeps away rather than pooling under the sand. Good drainage ensures the sand dries out faster after storms and doesn’t become a mosquito breeding ground.
Step 2: Construct the Border
This will vary:
- Using Timbers/Logs: Cut to lengths for each side (e.g., for an 8×8 box, cut two 8’ and two 8’ minus twice the timber width if overlapping corners). If using round logs, you might create half-lap joints at corners by notching, or simply butt them in a frame and stake them. A sturdy method: lay the first layer of timbers, drill and drive rebar through them into the ground at the corners and mid-span to anchor. Then add a second layer on top if you want more height (having 2 layers of 6×6 will give about 11” height, which is good to hold say 8” of sand). Offset the joints like Lincoln logs or use long timber screws (or rebar spikes) to secure layers together. Three layers can make a deep sandbox (and a nice bench-like edge for sitting), but if each layer is 5.5”, two layers is usually sufficient. For logs, you can do a single course if they’re say 12” diameter logs; or two courses of smaller logs. If you prefer a circle and have flexible logs (like thinner pine logs), you could form a low log enclosure by bending logs in a circle and staking (more complex, usually one just goes with a polygon or natural rock for curved shapes). Pro-tip: Sand will push out at the bottom over time, so having the timbers securely staked and perhaps a bit buried helps counteract this. You can dig a shallow trench and partially bury the first timber layer for stability.
- Using Rocks: Choose flat rocks for ground contact. Lay them out in the shape, fitting like a puzzle. You may need smaller stones to shim and stabilize each big rock. This is like making a low drystone wall in a ring or square. Aim for a continuous line with as few big gaps as possible. If rocks are uneven, seat them in a bit of mortar or gravel to keep them from rocking (pun intended). Usually, one rock height (12-18”) is enough for the wall; you can do multiple tiers if you want higher sides but that’s more masonry work. Ensure there are no wobbly stones that could tip if a child steps on the edge – bury part of each rock in the soil and use gravity (and possibly some hidden rebar stakes behind them) to lock them in. For safety, heavier is better so a kid can’t easily dislodge it. If you have large boulders, you might actually position 4 or 5 of them to form a rough circle and fill gaps with smaller rocks. Any gap more than a couple inches might let a lot of sand escape – you can line the inside of the rock ring with a strip of heavy landscape fabric or even wood planks to contain sand. Or stuff gaps with smaller stone tightly. One advantage of a rock border is it looks very organic; disadvantage is it might not keep every grain in (but a little spillage is okay). Also the top of the rocks serve as seating for kids or adults.
Regardless of border type, ensure corners or connections are secure: with wood, use plates/brackets or long screws; with stone, use overlapping placement and perhaps mortar if needed.
Step 3: Prepare the Bottom
Optionally, lay down landscape fabric across the bottom of the pit and up the sides of the border interior a bit. This will stop weeds and keep sand and native soil separate. Some sandbox builders skip the fabric because they want water to drain into soil freely and don’t want kids ripping it if they dig deep. A compromise: use a layer of gravel 2-3 inches thick at the bottom for drainage (especially if you did dig out some clay). The gravel can be covered with fabric so sand doesn’t mix with it, or if you skip fabric, the gravel and sand will mix a bit over time at the interface but that’s not a big problem.
If you do use fabric, get a heavy-duty woven type that can handle some abuse (kids digging). Cut it to fit the shape plus overlap up the sides a few inches. You can staple or tack it to wooden sides near the top to keep it in place (it will be held by sand weight anyway).
Step 4: Fill with Sand
Now the exciting part – adding sand! To calculate: 1 cubic yard covers 100 square feet about 3 inches deep. A sandbox 8×8 (64 sq ft) with 8 inches of sand needs roughly 1.6 cubic yards. Many pits will deliver or you can haul in a pickup (one yard ~ 1.3 tons; check your truck capacity). Screened, washed sand like “play sand” or “arena sand” is what to request. It should be slightly moist on delivery (which is good so it packs in place). Shovel or dump it into the enclosure, then rake it out. Aim for at least half the border height in sand depth (so if border is 10” tall, maybe 6” sand minimum). Too shallow and kids hit bottom fast when digging; too deep and little ones have trouble moving in it (plus it’s more sand than necessary).
As you fill, check for any sharp debris (occasionally sand from pits can have small pebbles or stray bits – generally fine, but do a quick scan especially if kids are very young). Remove any obvious large pieces.
Lightly wetting the sand after fill can help it settle. Kids will also quickly compact paths where they walk. Over time, you might need to top up the sand as some gets carried out or in pockets gets compacted (maybe add a couple of new bags or wheelbarrows of sand each year or two).
Step 5: Finishing and Extras
Now, personalize and make it welcoming:
- Seating for Supervisors: Perhaps incorporate a rustic bench or a couple of stump seats on the edge of the sandbox or just outside it, so parents or older siblings can sit and play along. A log edge can double as a balance beam or seating spot.
- Tool Storage: Buckets, shovels, trucks – they’ll be strewn about, but you can provide a simple storage. Perhaps a small wooden crate or a weatherproof toy chest at the side of the sandbox. Or even a large stump hollowed out or a half-barrel to toss toys into. Teaching kids to keep tools in one spot will also deter them from leaving toys all over the yard.
- Cover Mechanism: If using a tarp, maybe install a couple of eye screws on the outside of the wood frame to hook bungees, making it easy to secure. If using plywood, ensure it’s cut to size and attach handles to lift it on/off. The cover should be something an adult can manage easily; if too burdensome, you might skip covering and just be diligent about cleaning (but dealing with animal waste in sand is not fun, so covers are highly recommended). Another creative cover: a tent-like structure – e.g., a piece of canvas rigged over the top and staked like a tent. This can double as shade and pest protection but needs to allow airflow to prevent the sand from getting musty.
- Blending with Surroundings: To make it fit the mountain aesthetic, use some leftover logs or rocks to create a border or stepping stones leading to the sandbox. Perhaps plant some hardy, non-toxic shrubs or flowers around it (keeping a bit of distance so they don’t constantly drop leaves in). You could line one side with a row of large rocks that not only look natural but can be stepping/balancing stones for the kids – turning it into part of the play experience (kids love hopping from rock to rock).
- Sign or Decor: A cute rustic sign saying “Fort Sand” or “Play Zone” made from a wood plank and burnt-in letters could add charm. Or let the kids paint some of the border rocks in fun colors (if you don’t mind a bit of non-natural flair).
- Accessibility: Ensure there’s a smooth path for kids to get in/out. If the border is tall (like a 12″ high wood wall), you might cut a little “notch step” or place a flat stone as a step so shorter toddlers can climb in. Usually one side can be flush to grade for easy entry.
Maintenance and Tips for Mountain Conditions
- Keep it Clean: Debris will fall or blow in. Use a small rake or even a litter scoop periodically to remove leaves, twigs, or the occasional animal dropping. In mountain areas, you might get pine needles or cones – scoop them out to keep sand nice for digging.
- Wildlife: A big concern is animals using it as a litter box. The cover at night is the best prevention. If you forget and find tracks or evidence in the morning, remove any soiled sand promptly (small clumps can be sifted, but if significant, shovel out a layer and top up with fresh sand). With a good cover and perhaps some deterrents (some people install motion-activated lights or sprinklers to keep animals away, or place a faux predator like a statue of an owl nearby), you can minimize intrusions.
- Weather: Rain will drain through; however, after heavy extended rain or snow melt, the sand might be quite wet. Before playtime, you can fluff it with a rake to help it dry. The sun and wind at mountain altitudes actually dry sand fairly quickly. If you expect a huge storm and have time, covering the sandbox will keep excess water out. Snow – you can either cover it before snowfall or just let it get buried and deal with it come spring. Snow on sand isn’t a big deal; it’ll melt and drain if you prepared base well. But an uncovered sandbox will collect leaves and such over winter, so covering when not in use during off-season is wise.
- Refreshing Sand: Over time, some sand will inevitably vanish (carried off in shoes, pockets, toy dump trucks scattering it around the yard). Each spring, inspect the depth and quality. You might order a half-yard of sand every couple of years to top it up. If it gets a bit compacted or dirty, you can also rake in some fresh sand to “sweeten” it.
- Bugs: Sand can attract insects (antlions, ants making hills, etc.). If you notice ant hills in the sand, you might need to treat them – use kid-safe remedies like flooding with water or a sprinkle of diatomaceous earth rather than harsh pesticides where kids play. Keep food out of the area to not attract bugs or bears (no one wants a bear in the sandbox!). Teach kids the sandbox is for sand toys, not lunchtime.
- Winterizing: If you won’t use it in winter, you can cover it and perhaps pile some leaves or a tarp over that to hold the cover down against winter winds. Alternatively, some turn their sandbox into a cool-season secondary use: I’ve seen people convert it to a snow pit or fill with ball-pit balls for winter indoor-style play if it’s covered by a play structure roof. But likely, you’ll just let it be dormant under cover.
A sandbox in a mountain environment becomes more than just a kiddie play zone – it can be a tactile oasis amidst the rocks and pines. Kids will develop creativity and motor skills by digging, building, and role-playing in the sand. Meanwhile, you’ve constructed it in such a way that it doesn’t jar the natural beauty of your yard; the logs or rocks make it look like an intentional part of the landscape. Perhaps the border doubles as a casual seating area where you can sit and watch the clouds while the little ones dig for “gold.”
By using local sand (like Arena Sand from a nearby p9】) and materials like logs and stones, you ensure the sandbox is both authentic and integrated. Spring installation means it’s ready for the flurry of summer play. And when those cool mountain evenings come, you can easily cover it, knowing the fun will resume next sunny day on clean, soft sand.
So grab some shovels and let the kids help pour in that final bucket of sand – their new play paradise is ready. In the seasons to come, that patch of sand might host countless adventures: building roads and castles, digging “archaeological sites,” or just lying in the warm grains pretending to be at the beach. All the while, framed by wood and stone and mountain views, it’s a play area that feels naturally at home.