Prepping Horse Arenas and Farm Roads with Structural Fill and Sand
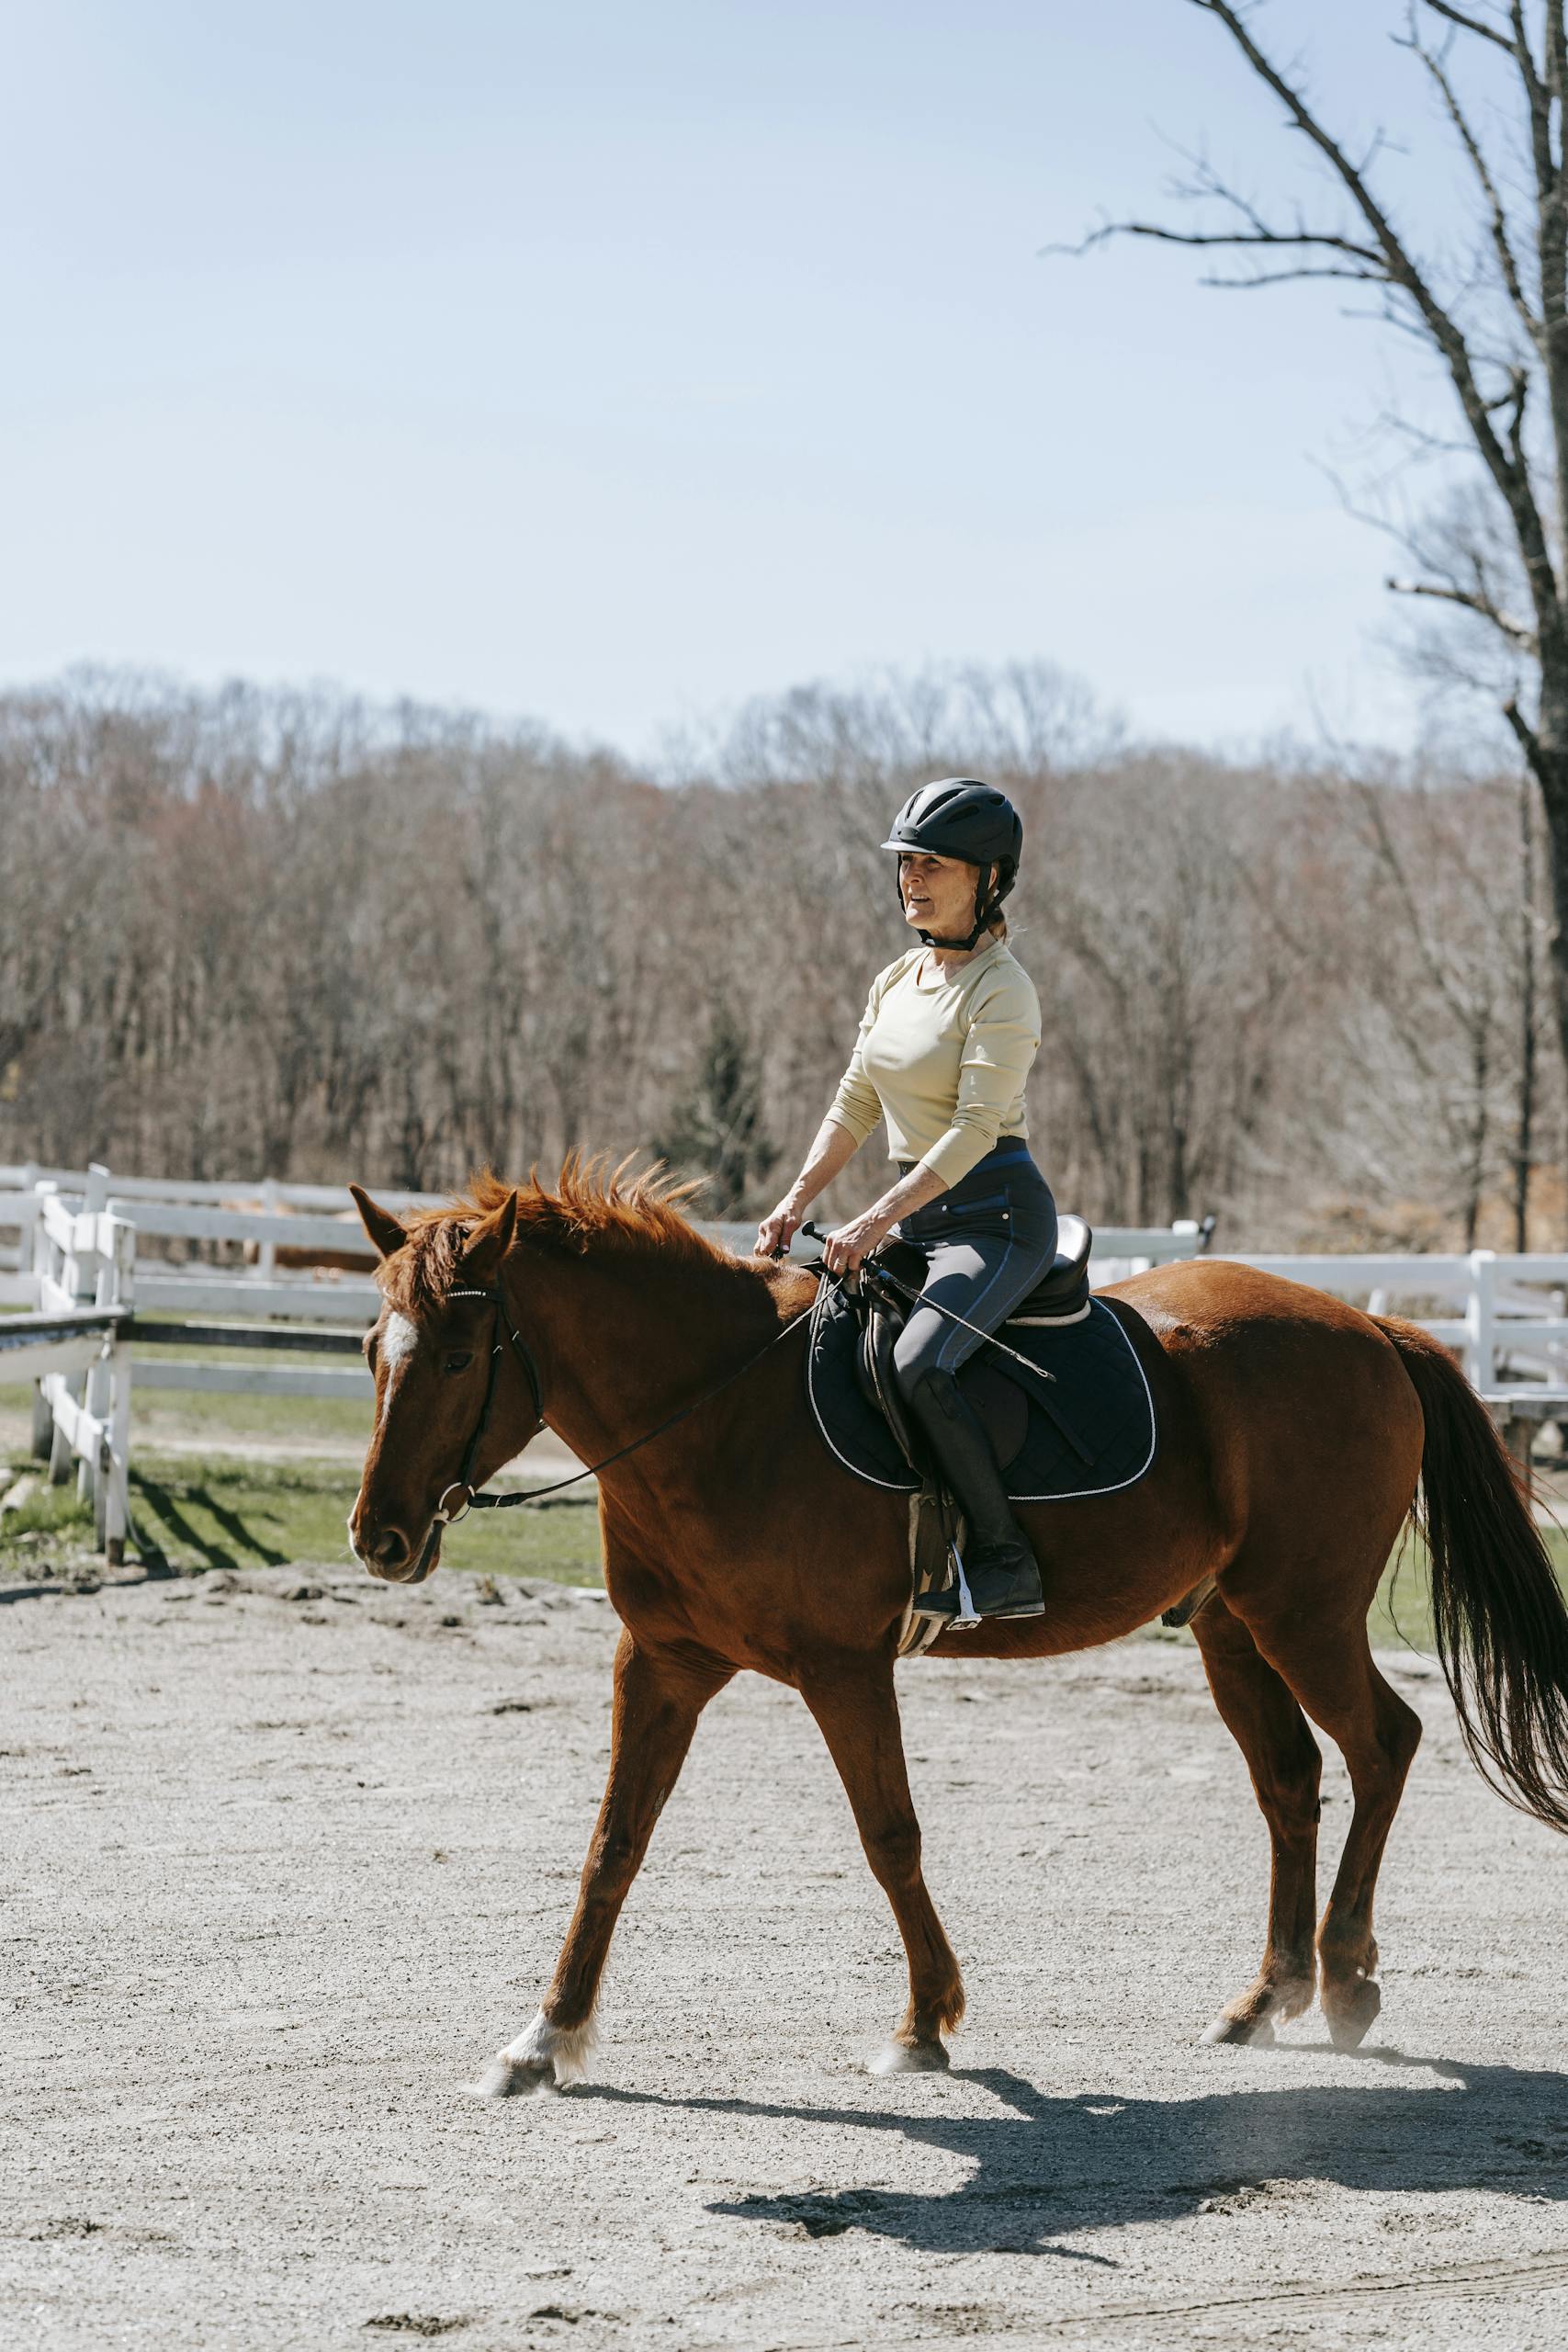
On a farm or ranch, two areas that see heavy use and abuse are the riding arena and the farm roads/paths. Both…
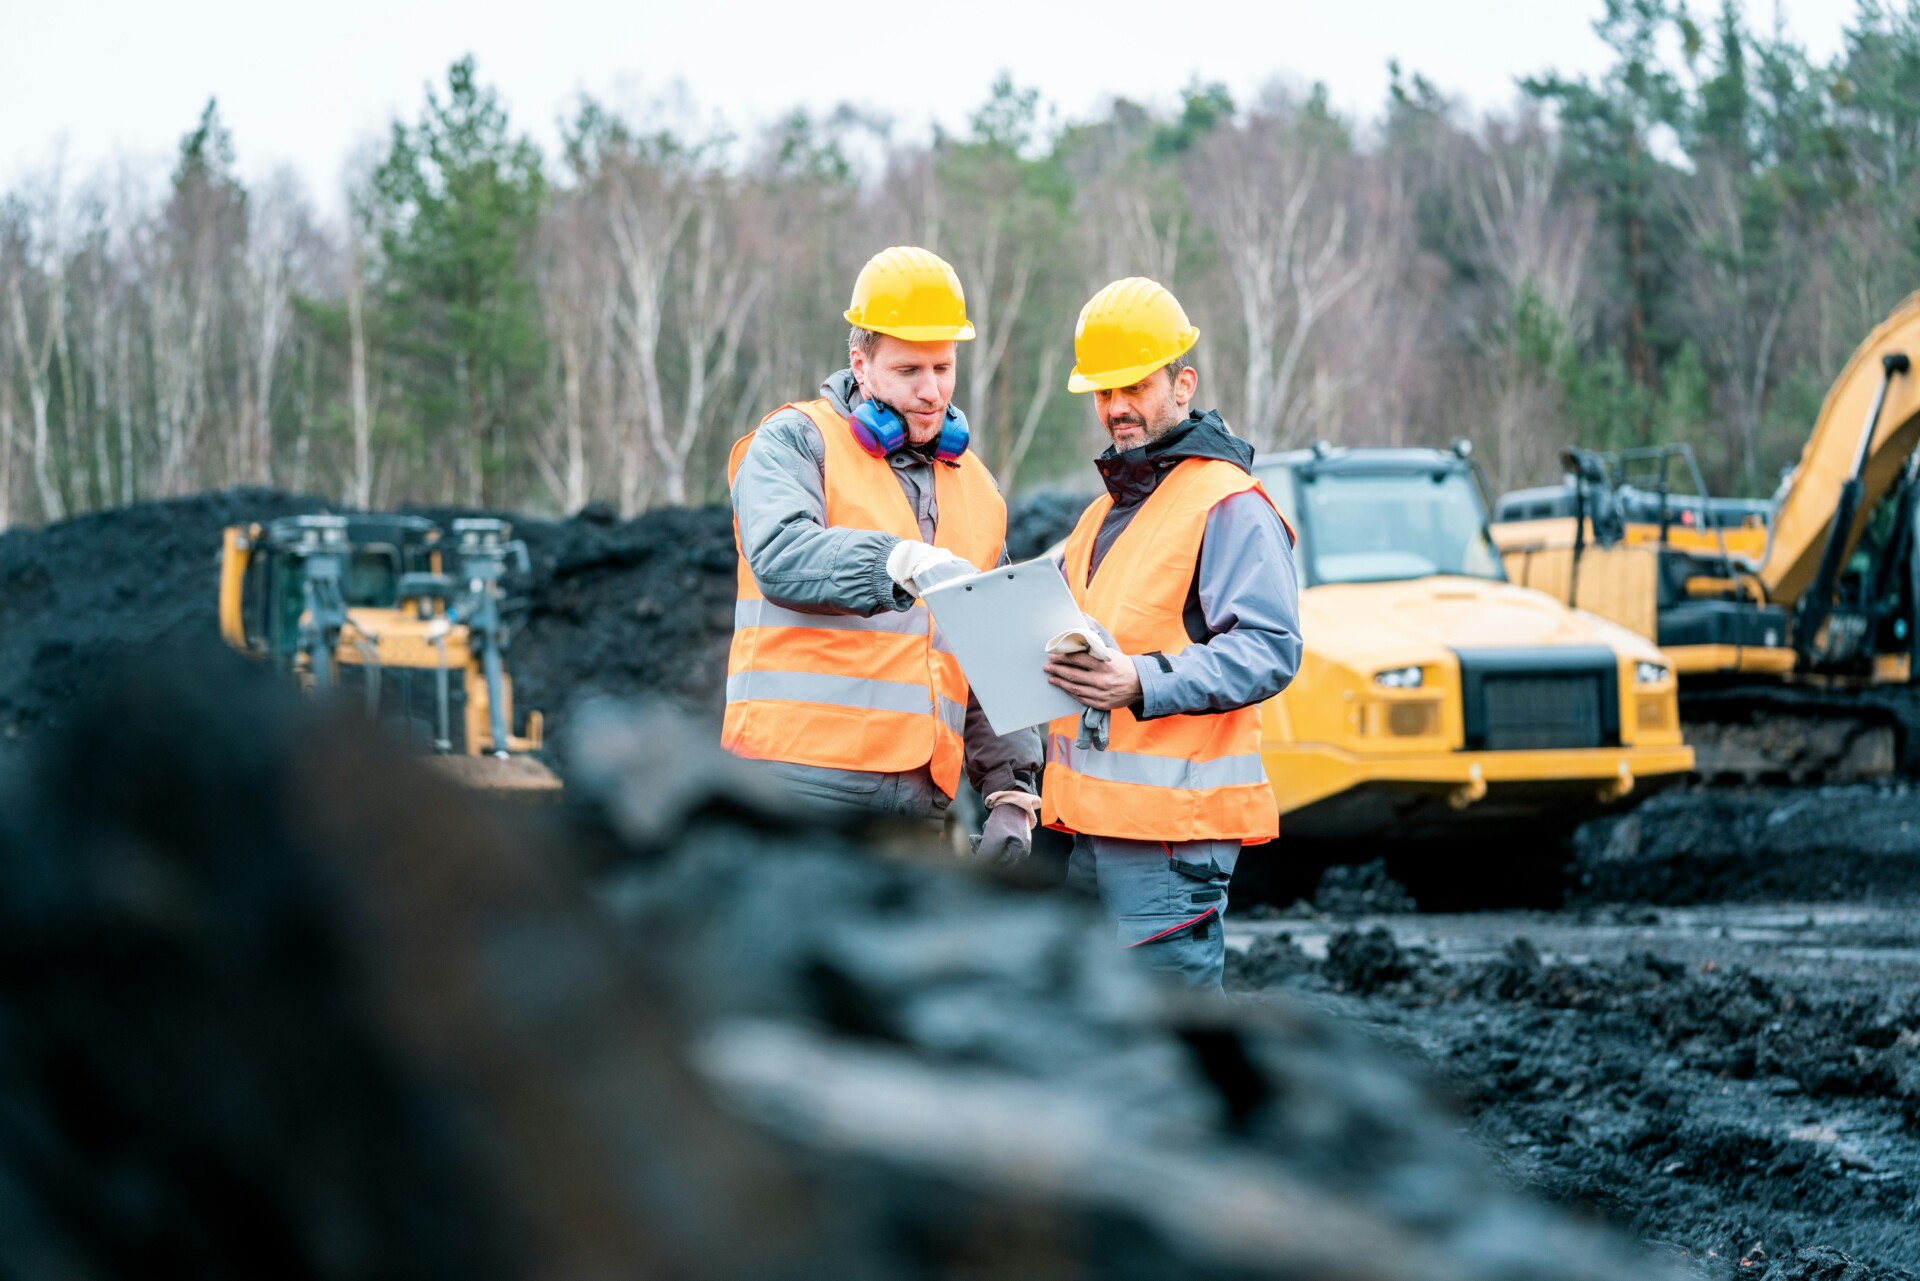
On a farm or ranch, two areas that see heavy use and abuse are the riding arena and the farm roads/paths. Both need a solid foundation to withstand hooves or vehicle weight, and a suitable top layer to provide traction and comfort – whether for horses galloping or tractors rolling. The solution often lies in using structural fill for the base and sand or gravel for the top surface. In this article, we’ll discuss how to prepare a durable horse arena footing using layers of fill and sand, and how to reinforce farm roads in spring so they stay stable through the wet season and beyond. These improvements are especially pertinent in high-elevation and snowy regions, where spring thaw can turn arenas and dirt roads to muck without proper construction.
Building a Sturdy Horse Arena
A proper riding arena has several layers:
- Subgrade (native soil)
- Base Layer (structural fill, like compacted gravel)
- Footing Layer (sand or a sand mix where the horses actually work)
Why Structural Fill for the Base? The base provides firmness and drainage. Horses are heavy (a 1000-pound animal on four small hooves exerts a lot of pressure). A well-compacted gravel base distributes this load so the top “footing” doesn’t get churned into mud or develop deep ruts. It also creates a barrier between the footing and the subsoil – preventing the sand on top from mixing with clay or silt beneath. Think of it as the foundation of a house – you wouldn’t build on loose earth without a gravel/stone foundation; same for an arena.
Steps to Prep an Arena:
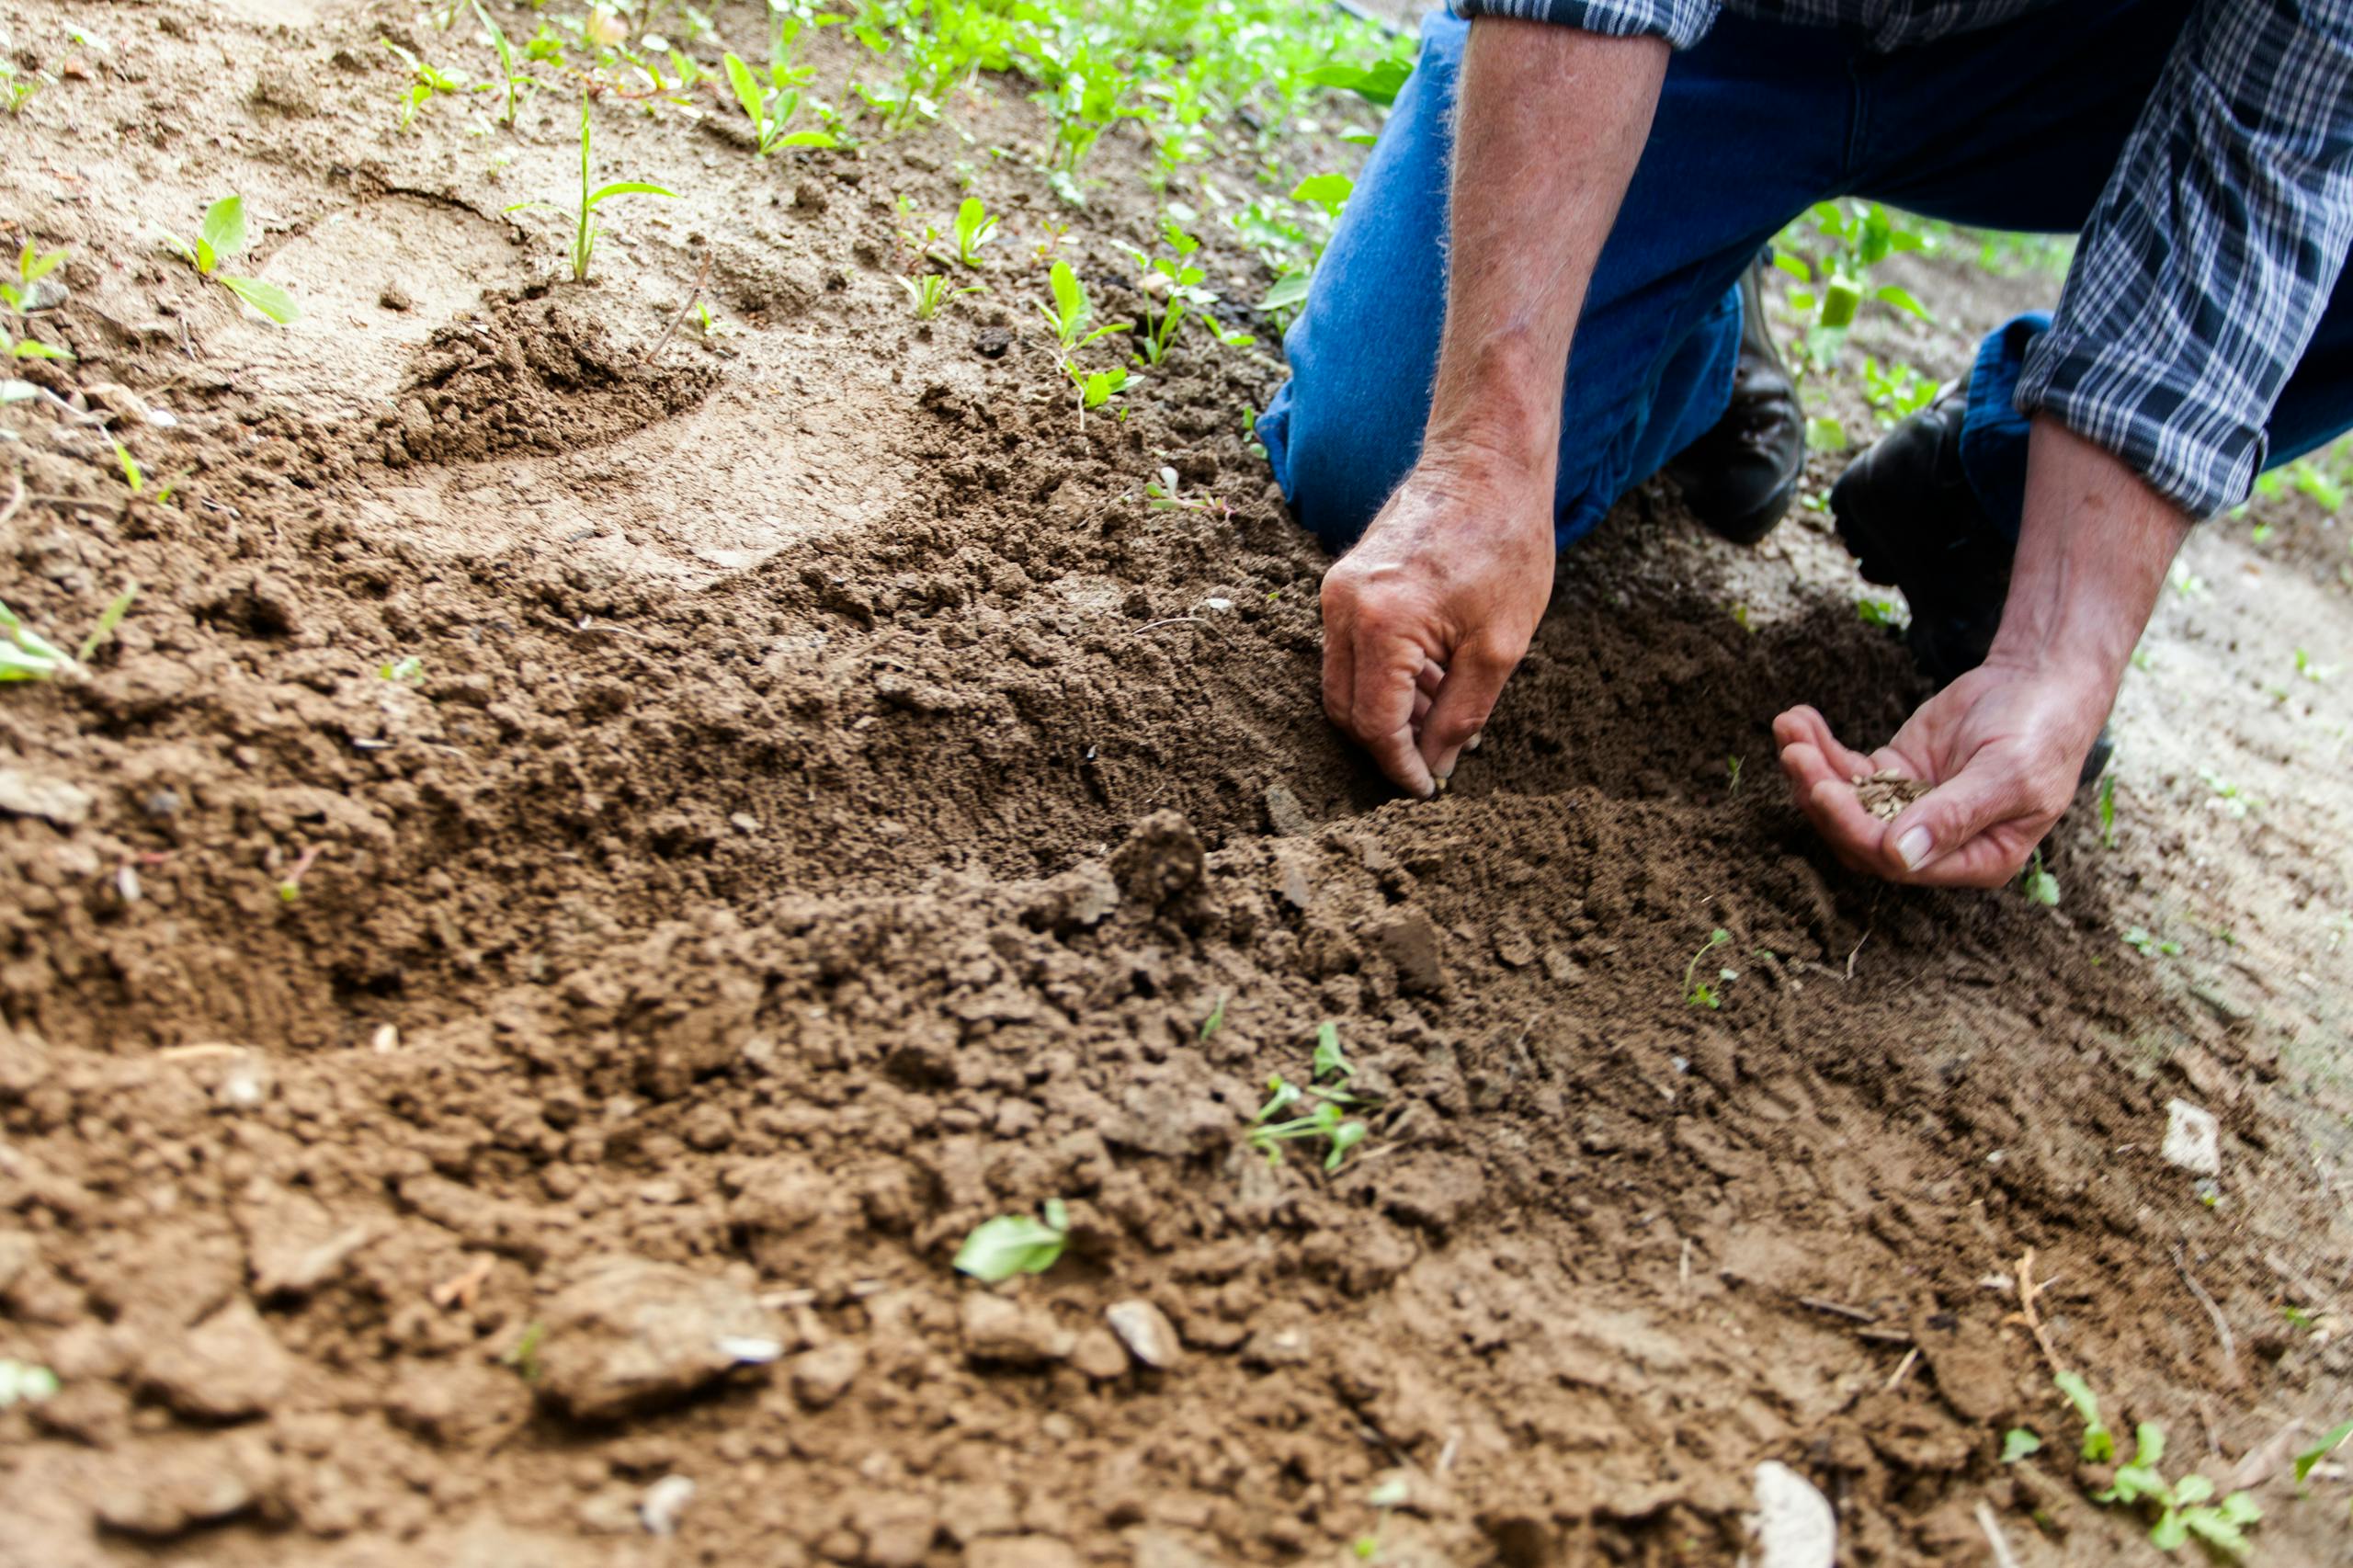
- Site Selection and Earthwork: Choose a spot with the most level ground possible to minimize earth moving. An arena doesn’t have to be perfectly level; some grade (1-2% slope) is fine for drainage, but it should be even. Mark out dimensions (common arenas are e.g., 100’ x 200’, but you can go smaller for a round pen or training arena, say 60’ round pen or 80’x120’ if space limits). Clear vegetation and topsoil – you don’t want any organic material under your base. Topsoil is spongy; remove it down to firm subsoil (this might be 4-8 inches or more). Use that topsoil elsewhere on the farm (for gardens, etc.).
- Grade and Compact Subgrade: Slope the subgrade gently (often along the short direction of an arena at 1-2% is enough to shed water). Use a skid-steer or tractor to get it roughly even, then compact with a roller or vibrating plate (or drive a loaded truck systematically over it). Spring moisture actually helps achieve good compaction of the subgrade (just not so wet that equipment sinks).
- Lay Structural Fill (Base): Spread gravel or crushed stone for the base. A typical base might be 4 to 6 inches of compacted structural fill. Many use a 3/4″ minus crushed gravel (which packs well) or a mix of coarse and fines. Alternatively, Pit Run (Structural Fill) from a local pit can work if it’s got a good mix of particle siz5】. If using pit run, you might want to top it with a finer gravel layer (2” of 3/8” minus or stone dust) to create a smoother surface before the sand. Darby Pit’s 4″ Minus Pit Run could be an economical base option – large bits for stability and enough smaller for compacti0】. Whichever material, lay it in 2-3 inch layers (lifts), compacting each thoroughly. Aim for a hard, unyielding base – water should be able to seep through, but hooves should not punch into it. You can test by driving a truck on it; the tires might leave a slight imprint but shouldn’t sink.
- Grade Base and Add Slight Crown: It’s wise to crown an arena base very subtly (higher in the center, sloping to sides) or slant it one way, so water runs off and doesn’t puddle. Just a 1% crown (like 2-3 inches higher in the middle across a 50-foot half-width) can encourage water to move. Ensure base is also graded evenly; any dips will mirror in your footing above.
- Footing Sand Layer: Finally, add the sand footing. Good footing sand is usually coarse, angular sand – not beach sand. Coarse “masonry sand” or a specific arena sand is ide6】. It might have a bit of fine gravel in it (some use a mix called “manufactured sand” which is essentially rock crushed into sand, providing sharp edges that compact slightly yet provide traction). Spread sand to a depth of 2 to 3 inches for most uses (maybe up to 4 inches for a soft training arena, but deeper footing can strain horses’ legs). It’s better to start with 2 inches, test ride, then add more if needed – too deep is hard on tendons.
- Optional Additives: Some arenas mix wood chips, rubber, or fibers into sand to improve cushion and water retention. In a rustic mountain setting, you might not go for high-tech footing, but if you have sawdust or shredded wood (perhaps from a local mill or your own logs), a layer mixed into the top inch of sand can help bind it and add springiness (this is basically like “Soil Pep” but for arena – though be careful, wood can decompose and get slick when very wet). Many just stick to pure sand for simplicity.
- Set Borders or Contain Footing: If your arena is not fenced yet, it’s good to have at least some border to hold footing material in. Railroad ties or a pressure-treated 2×10 board lining the bottom of the fence can act as a retention for the sand. Otherwise, vigorous riding or wind might gradually thin out the edges of footing as it migrates. Most likely you’ll have a fence; ensure the bottom of the fence has either a kick board or sits low enough that a horse’s hoof can’t catch under it (which means it also will help keep sand in).
Spring Considerations: Doing this in spring is smart because you see how water flows on your land right after snowmelt and can tailor drainage. Also, you can get the arena ready for prime riding season (summer/fall). The drawback: lots of rain can interrupt construction. Try to work after the muddiest period has passed (late spring when ground firms up). Also, pits often have fresh stockpiles in spring. For instance, you might catch a deal on structural fill or sand as they open for the season, and delivery schedules might be more open than in mid-summer.
Once completed, maintain the arena by dragging it (with a chain harrow or arena groomer) to keep sand level and debris-free. Over time, you may need to replenish sand, especially in high-traffic spots where it compacts or migrates.
Reinforcing Farm Roads with Fill and Gravel/Sand
Farm roads suffer in spring: thawing frost leaves them soft, and heavy equipment or livestock traffic can cause ruts and mud holes. Using structural fill and sand/gravel can harden these roads.
Key areas to address:
- Low spots that collect water – often become mud pits.
- Steep sections – prone to washouts.
- Gate areas or animal pathways – lots of hoof traffic churns soil.
Approach:
- Grade and Crown: Like with the arena, first grade the road in spring once it’s not too mushy. Fill in potholes or ruts with gravel (don’t just scrape mud back in; replace with something like roadbase so it doesn’t just squish out again). Aim for a crown in the center of the road so water sheds off to the sid9】. On hills, cut water bars or turn-outs to lead water off the road at intervals.
- Structural Fill for Base Repair: If a section is repeatedly soft, dig it out a bit (scoop the sloppy soil out) and replace with pit run structural fi5】. Lay fill and compact it (even just by driving back and forth or using a loader’s weight). For very boggy spots, you might lay a geotextile first, then fill on top – this fabric keeps the fill from sinking into the muck below. It’s the same principle as under the arena, but for roads you might use coarser fill (even up to 3” minus crushed rock) for strength.
- Top with Gravel or Sand: Once the base is set, add a top layer that suits the usage:
- For general farm road (for trucks/tractors), 3/4” minus crushed gravel is ideal. It packs tight, offers grip, and is easy to drive on. Spread 2-3 inches and grade it smooth. This is typical “road gravel.” If dust is a concern or you want a bit of softness, you can spread a lighter layer of coarser sand or 1/4” minus on top, but usually a well-graded gravel has fines that keep dust down by binding when moist.
- For pathways that animals walk (like a path to pasture), you want something that is hoof-friendly. Too much big gravel can stone-bruise hooves. Arena sand or a fine gravel mix can be good here. Some farms use “quarter-minus” (1/4” crushed) or limestone screenings that pack into a firm, almost dirt-like surface but with good drainage. Sand is comfortable but can get displaced easily on slopes – maybe mix sand with some fine gravel for stability on a slope.
- For a dry lot or high-traffic pen where animals are often on it, consider a layer of pea gravel or coarse sand. Horses and cattle often enjoy standing on small smooth gravel as it drains well and is gentle on hooves compared to hard rock. Pea gravel (around 3/8″) in gateways or around water troughs can significantly reduce mud; they step, the water drains, and the stone massages the hoof a bit. It might shift under very heavy machinery, so keep such stone use to animal-only areas or light use paths, not main driveways.
- Edge Reinforcement: Farm roads often lack formal ditches, but if you can, create shallow side ditches or at least clear the edges so water has somewhere to go. Line chronic wet edges with some larger rock (riprap) to prevent the road base from eroding sidewa0】. For instance, if a culvert outlets and was washing the road edge, armor that spot with big stones.
- Consider Structural Grids: In very problematic road spots (like chronic mud by a barn), some farmers lay down a grid system (plastic or geocell) and fill with gravel or sand. This confines the fill and provides incredible stability even in deep mud – often used in gateways or feeder areas for cattle. This might be beyond “local materials” scope, but it’s a thought if normal fill keeps disappearing into a black hole of mud.
Spring Timing: It’s ideal to do this work after the last big thaw when things are starting to dry. You want the road somewhat pliable (for grading) but not so soupy that machinery bogs down. In mountain areas, late spring (May or June) is often when you can truly reshape roads once the ground firms. Getting the roads in shape then means you ride through summer and fall without drama. Also, gravel applied in spring has time to settle and pack with natural moisture.
Maintenance: After prepping with fill and gravel, maintain that crown by occasional grading (a simple drag behind a tractor can do wonders to redistribute gravel from edges back to the middle). For farm roads, I can’t emphasize enough the benefit of a little preventive work: e.g., each spring and fall, quickly fill any forming pothole with some gravel rather than letting it grow. Keep an extra pile of base fill and a pile of fines/sand accessible on the farm for touch-ups. It’s like patching a roof leak when it’s small.
By investing in good base materials (structural fill) and quality surface aggregates (sand/gravel), your farm’s traffic ways—be it an arena for your horses or the paths that connect your property—will stand up to weather and use. Instead of dreading spring mud season, you’ll find your arenas and roads firm and ready. Horses can perform without slipping or injuring on hard ground; vehicles can roll without getting stuck or creating deep ruts.
In a mountainous environment, these preparations are even more important: we deal with intense runoff and freeze-thaw that test any soil’s strength. Structural fill (like pit run gravel) gives the backbone needed, and sand or crushed stone layers provide the workable surface. It’s a combination that echoes what nature does (think of a riverbed: solid stones below, sand on top) but optimized for our needs.
So hitch up the tractor this spring, lay down some grit and gravel, and enjoy the payoff: smooth farm roads that don’t wash away, and a reliable riding arena where you can train year-round. Your horses (and your truck’s suspension) will thank you for it!