Spring Soil Prep: The Secret to Thriving Mountain Gardens
Mountain gardens can be challenging – the soil is often rocky or depleted, the growing season short, and the weather unpredictable. Yet…
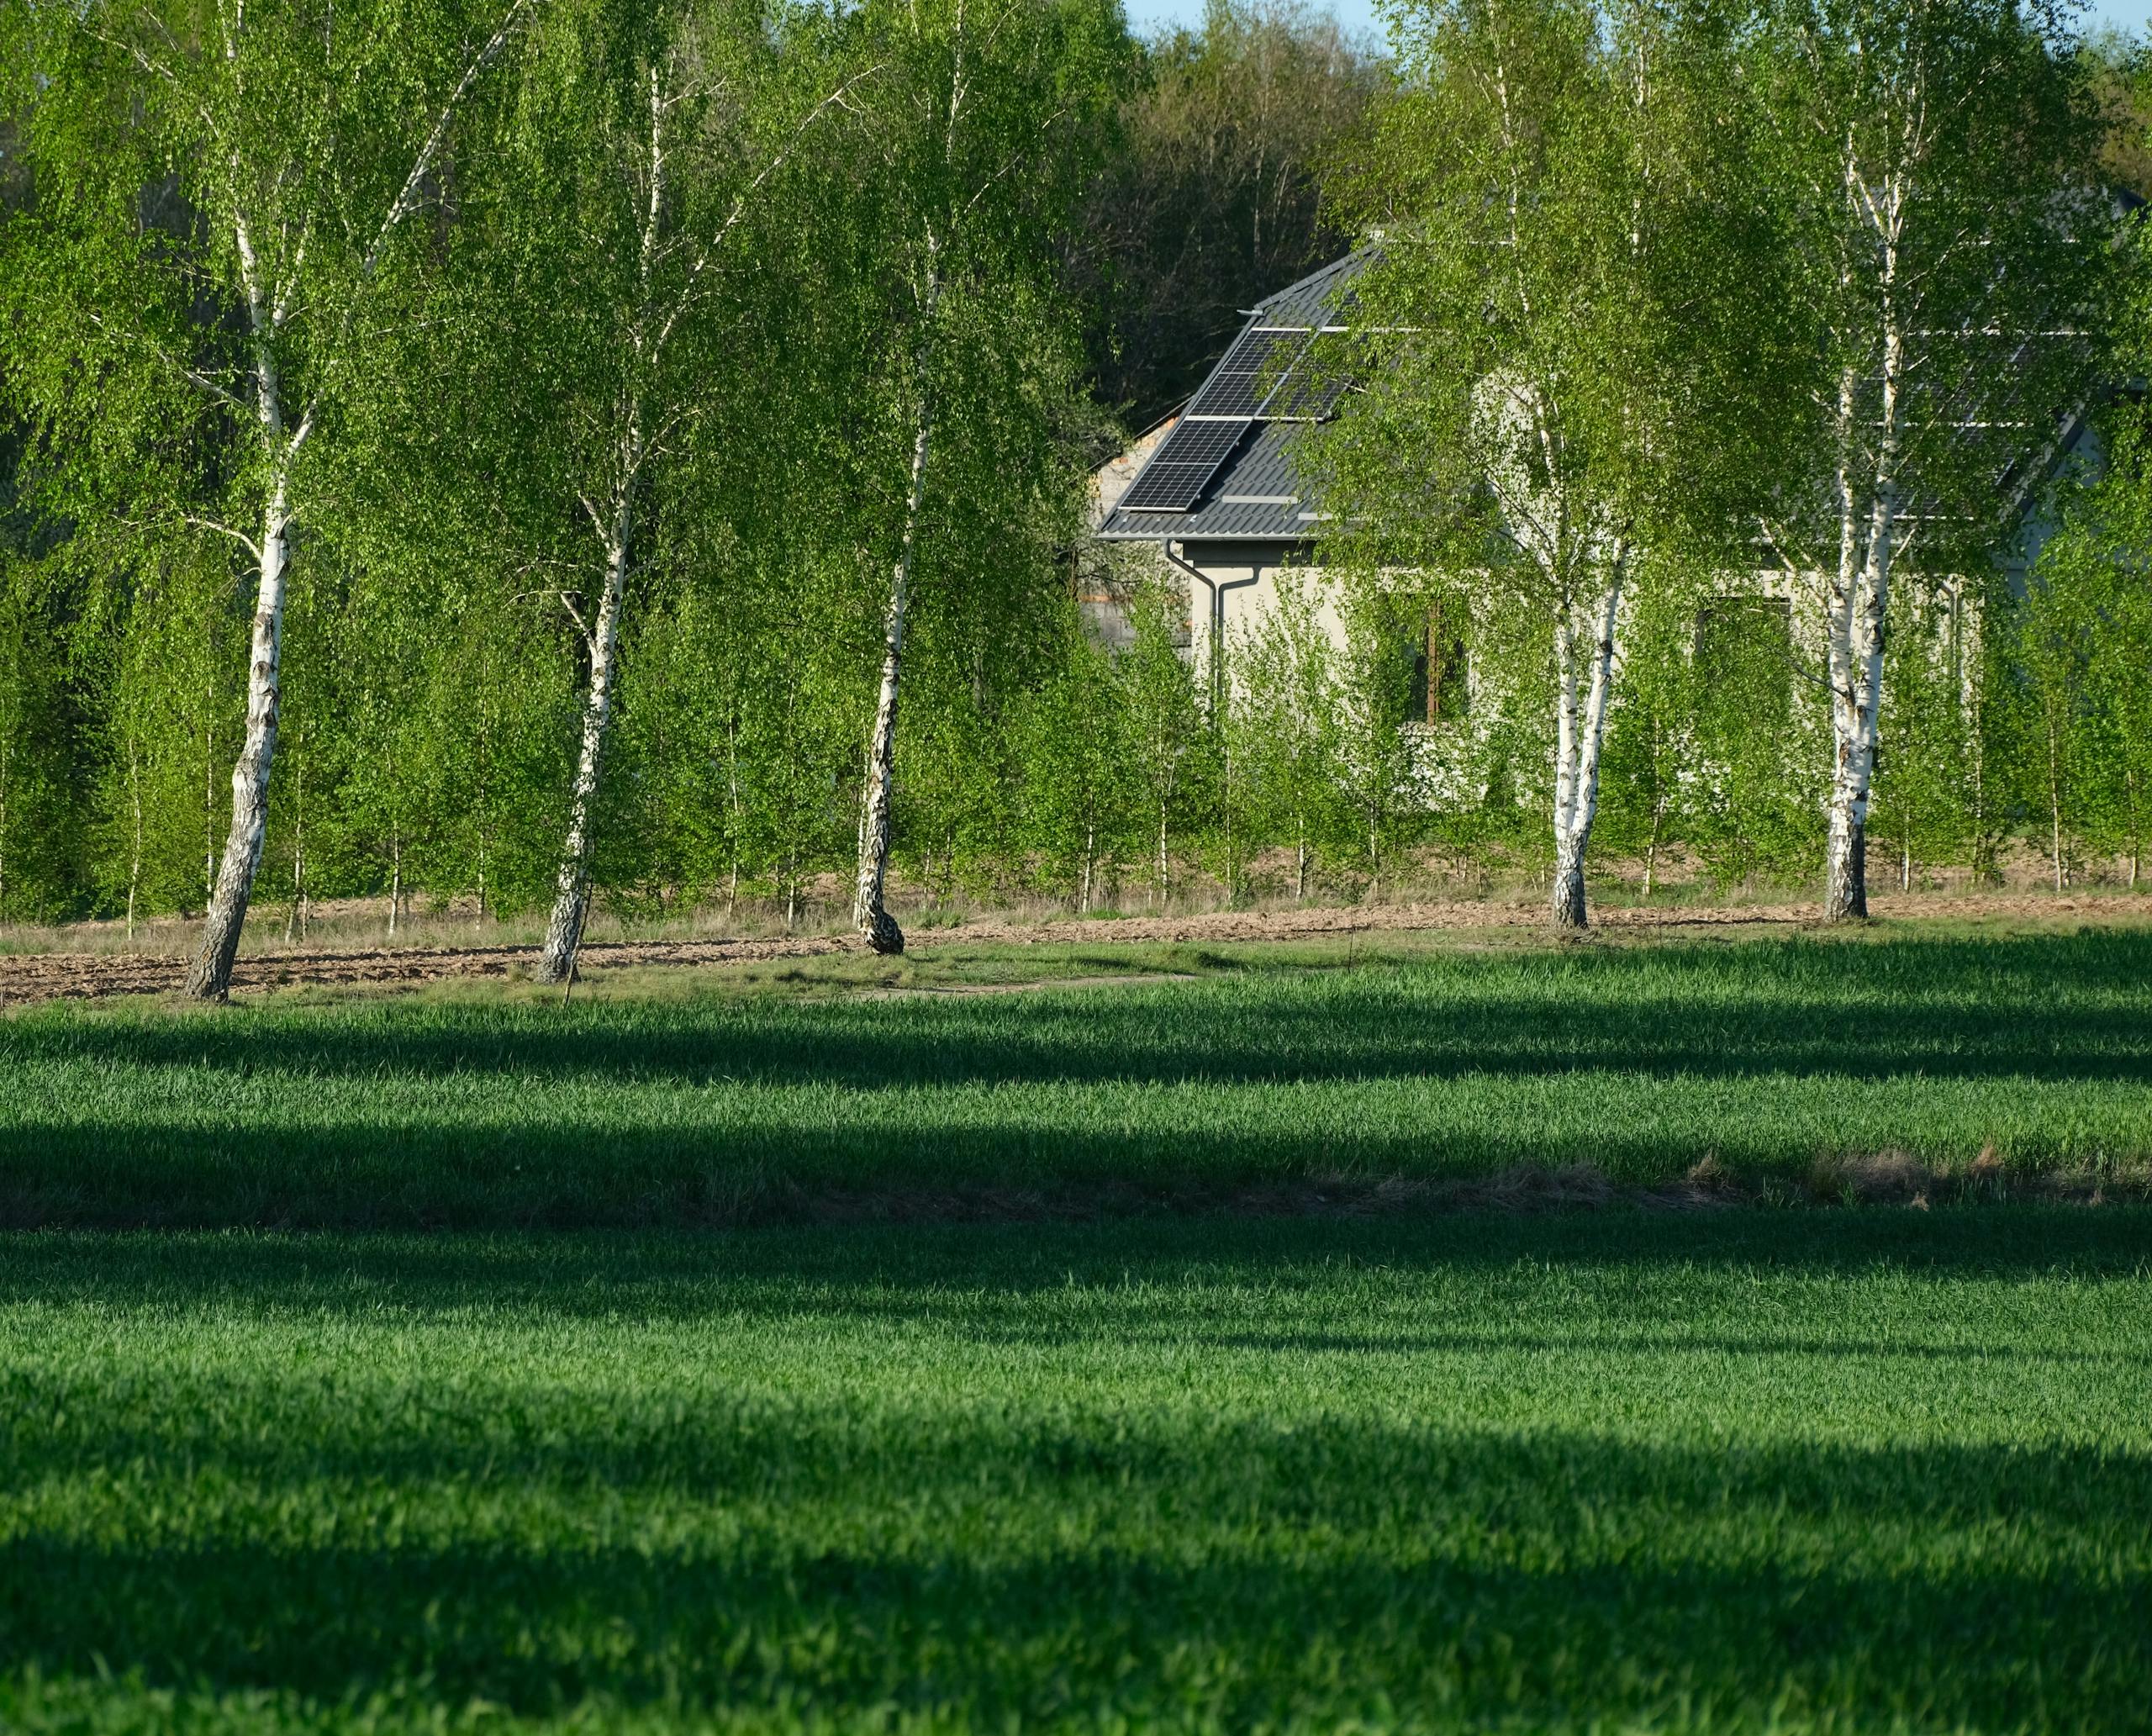
Mountain gardens can be challenging – the soil is often rocky or depleted, the growing season short, and the weather unpredictable. Yet some high-elevation gardeners still manage to grow bountiful vegetables and beautiful flowers. What’s their secret? It often comes down to great soil preparation in the spring. By rejuvenating and improving your soil as soon as the ground thaws, you set the stage for a productive growing season. Spring soil prep is truly the secret sauce for thriving mountain gardens. In this article, we’ll cover why spring is the ideal time to amend garden beds, what amendments to use (compost, topsoil, sand, etc.), and how to prepare the earth so your plants can flourish even in a high-elevation climate.
Why Spring Soil Prep Matters (Especially in Mountain Climates)
- Recharging Nutrients: After a long winter, soil in your garden may be compacted and low in available nutrients. Snowmelt can leach away nutrients, and there’s little organic input over winter. Spring is the time to add organic matter and possibly fertilizer to replenish what was lost and feed your new plants. Mountain soils are often naturally low in organic matter, so annual additions are ke】.
- Improving Soil Structure: Snowpack and freeze-thaw cycles can compact soil or leave it soggy and oxygen-poor. By loosening and amending in spring, you create air pockets and improve texture (a loose, crumbly soil) that roots can easily penetrate. This is especially important in clay-heavy or silty mountain soils that tend to crust over winter.
- Weed Control and Reset: Early spring prep allows you to remove weeds while they are small or just germinating. Turning the soil or hoeing lightly can disrupt young weeds, giving your desired plants a head start. Essentially, you’re resetting the garden canvas, so your veggies and flowers face less competition.
- Warming the Soil: Raised beds or freshly turned dark soil will warm up faster than untouched ground. In mountain regions with cool springs, this can bump up soil temperature a few crucial degrees, enabling you to plant a bit earlier or see quicker germination. Adding well-decomposed organic matter (compost) also darkens soil, helping it absorb more sunlight.
- Maximizing the Short Growing Season: In high elevations, every week counts. Soil that is properly prepared in April or May will support immediate root growth when you set out transplants or sow seeds. You don’t want plants to stall because they hit hardpan or lack nutrients. Spring prep means that when you plant in late spring, the soil is at peak condition – loose, fertile, and well-drained – so plants hit the ground running (or rather, rooting).
Think of it this way: spring is your one great opportunity to set the foundation for the entire growing season. A bit of extra effort now, when temperatures are cool and before your plants are in the ground, will pay off in healthier, faster-growing crops come summer.
Clean Up and Inspection
Begin your soil prep with some garden housekeeping:
- Clear Debris: Remove any remaining dead plant material from last year (old vegetable vines, annual flower stalks, fallen leaves or mulch that is excessively thick). In a mountain garden, this might include raking away pine needles or leaf litter that blew in. Clearing debris helps expose the soil and removes hiding spots for pests. You can compost the healthy organic matter you remove (if it isn’t diseased).
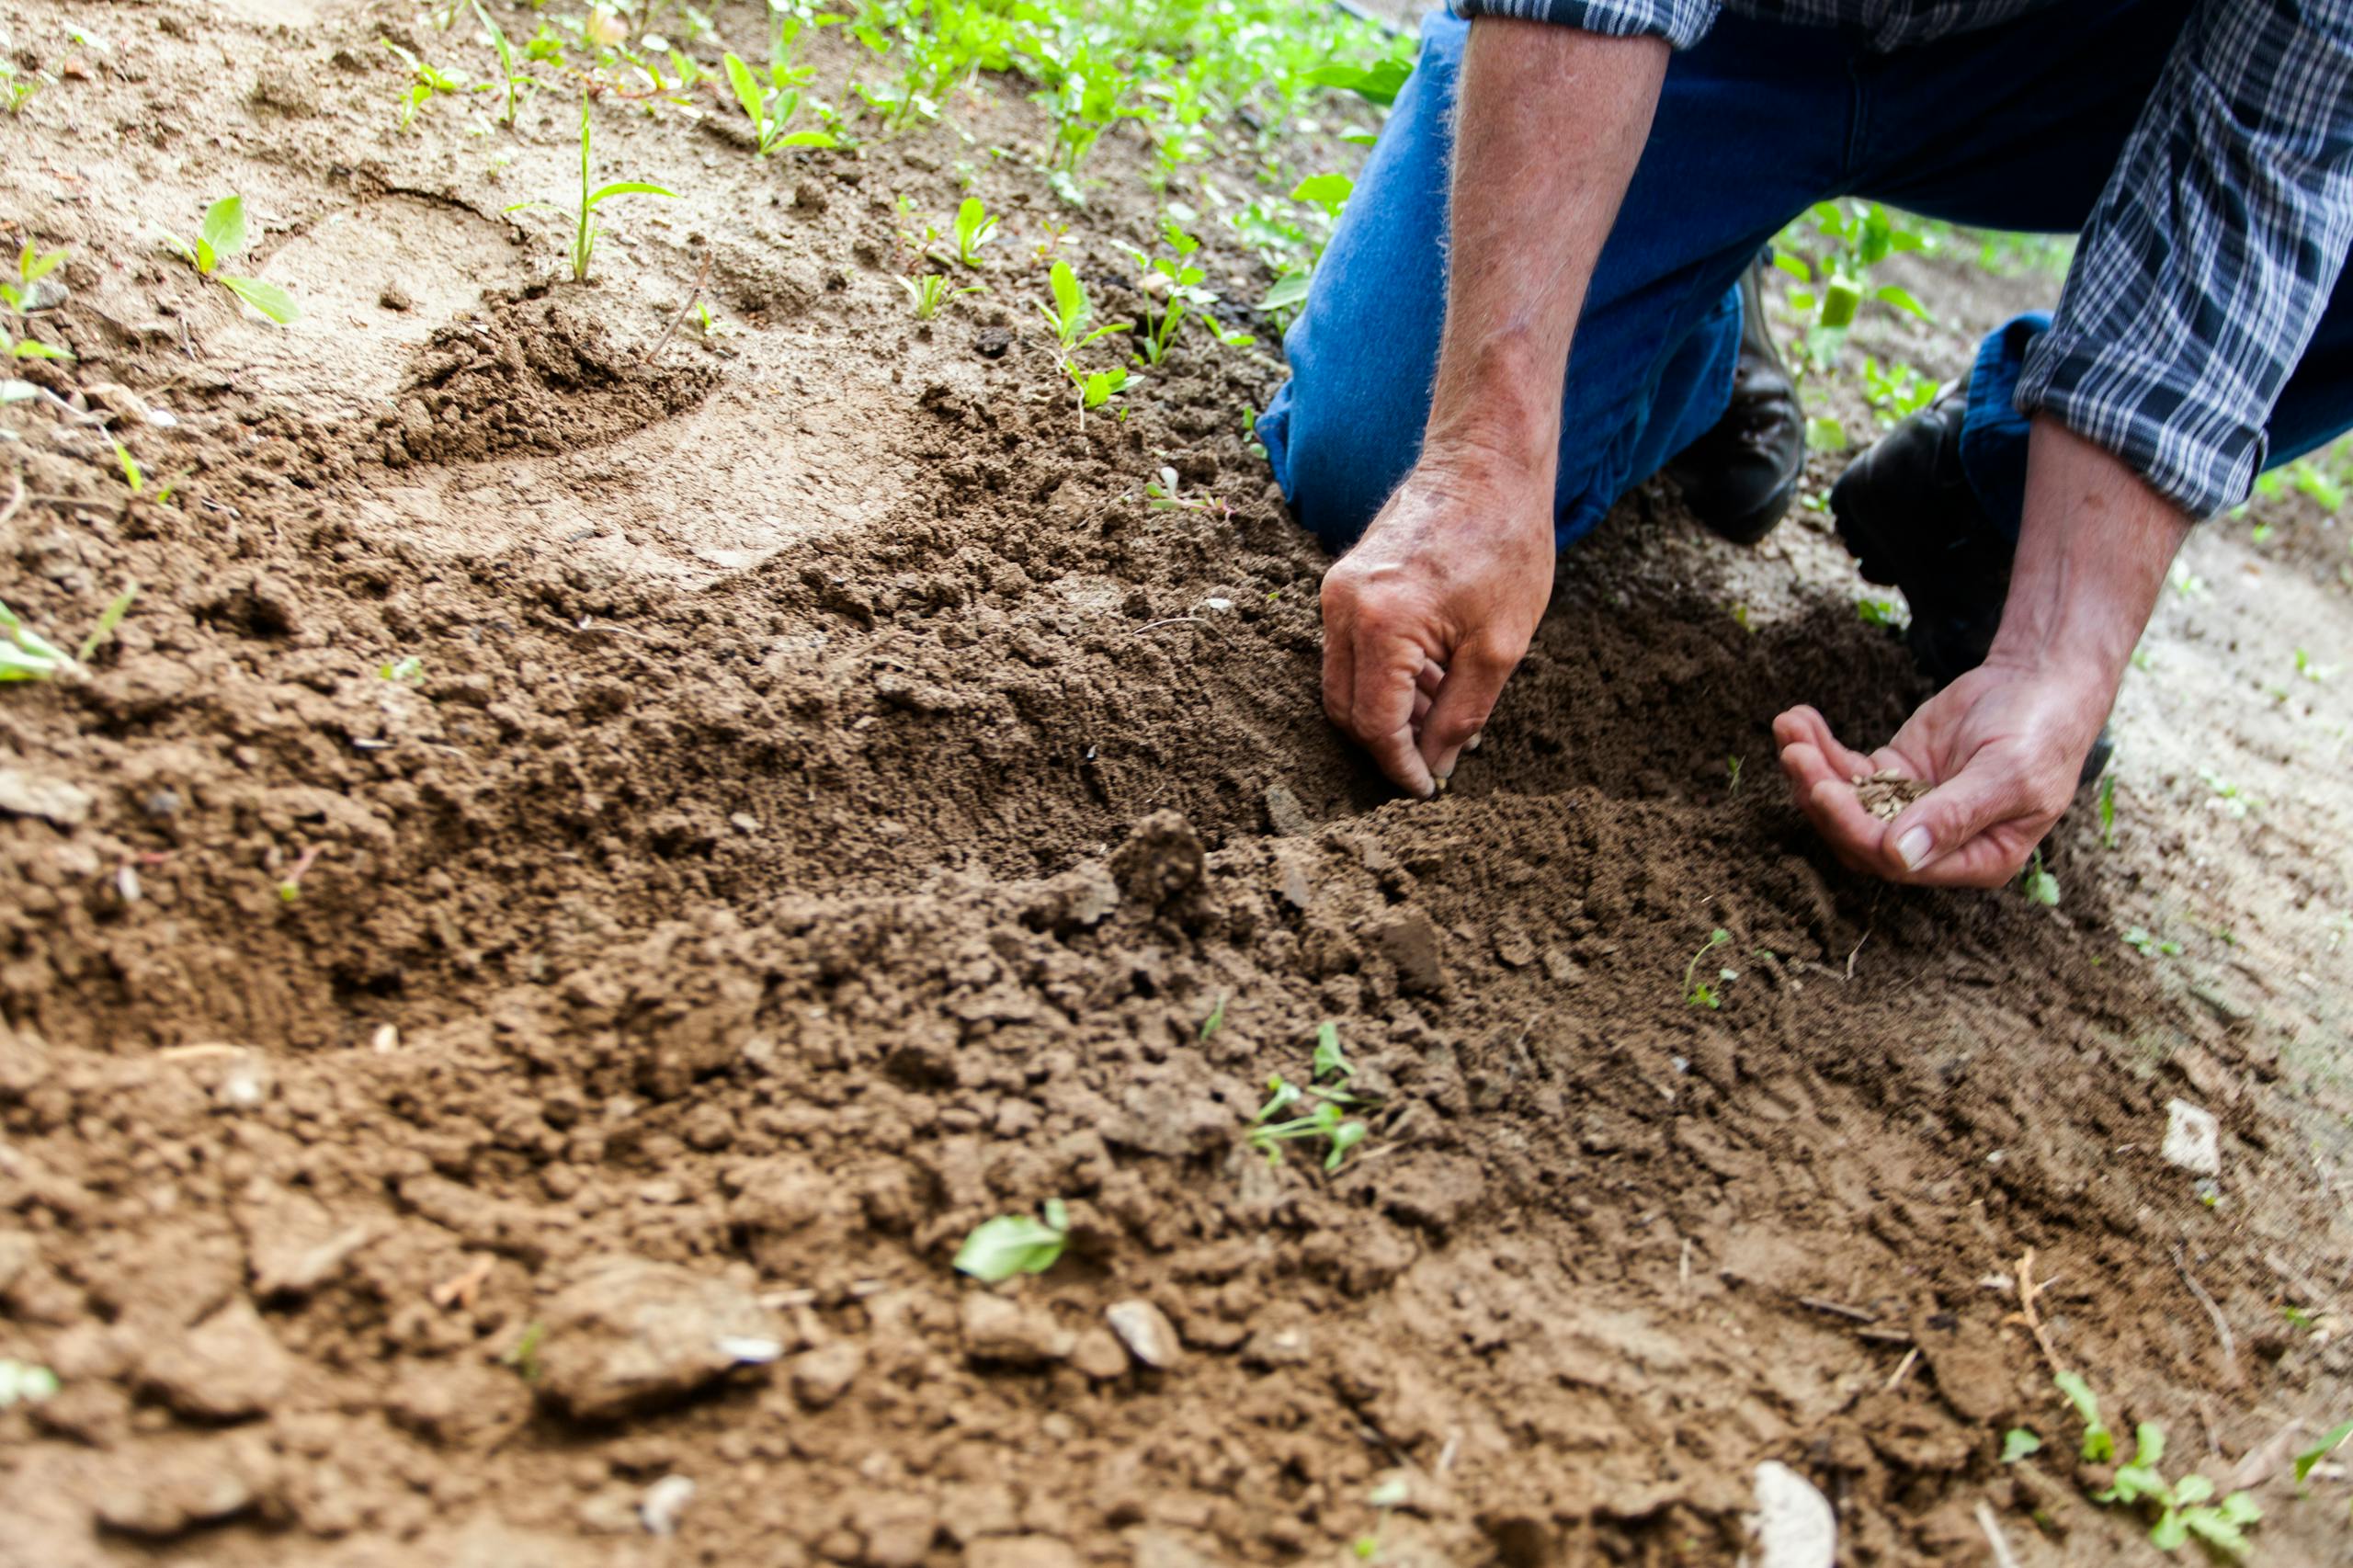
- Late Winter Weeds: You might be surprised to find some hardy winter weeds or grass already growing. Pull these out now, root and all, before they get established. It’s much easier when soil is moist and roots are shallow in early spring.
- Inspect Soil Moisture: Check if the soil is dry enough to work. You don’t want to till or dig when soil is sopping wet (it can damage soil structure by creating clods). A good test: grab a handful of soil and squeeze it – it should form a loose ball that breaks apart easily. If water streams out or it stays in a muddy lump, wait a bit for it to dry. In high elevations, there’s often a narrow window between “snowmelt soggy” and “summer dry,” so be attentive to catch it when it’s workable.
- Plan Your Bed Shaping: If you intend to reshape any garden beds or create raised mounds or rows, sketch that out now. Spring is the time to reshape the land if needed (for example, forming raised rows in a vegetable garden for drainage, or terracing a sloped area).
Loosening the Soil: Till or No-Till?
The traditional method of spring prep is to till or turn the soil. This can be done with a rototiller or simply by hand with a spade or garden fork (sometimes called double-digging if you go deep). The goal is to relieve compaction, incorporate organic matter, and aerate the soil. In a mountain garden with rocky or heavy soil, a digging fork is often handy to pry up clods and rocks.
However, many gardeners opt for a more gentle approach to protect soil structure and microbial life – a sort of “no-till” or minimal till method:
- Instead of tilling the entire bed, you can top-dress with compost and let worms do the mixing over time, only lightly mixing where you plan to put transplants or seeds.
- If your soil is already in decent shape or you’ve been adding mulch annually, you might simply fluff the very top couple of inches with a rake and avoid deep turning.
In mountain gardens, the case for at least some tilling in spring is strong if you have very hard soil or need to incorporate substantial amendments. If your garden is newer or the soil is poor, a single spring till can jump-start improvement by mixing in compost or topsoil. If you’re working with relatively healthy soil that you mulched in fall, you might reduce tilling and just do spot prep.
Raised Beds Caution: If you have framed raised beds that were filled with good soil, avoid deep tilling that could mix underlying poor soil or subsoil in. Just add new amendments on top and lightly mix the upper layer.
Amendments: Feeding Your Mountain Soil
Early spring is prime time to add soil amendments so they can be mixed and start breaking down before plants really need them. Here are key amendments and how to use them:
- Compost: Often called “black gold,” compost is decomposed organic matter that improves any soil. In a mountain garden, where native soil might be mineral-rich but organic-poor, compost adds crucial humus. It improves nutrient content and water retention (helping sandy soil hold moisture) while also loosening clay. Spread 1-2 inches of well-rotted compost on your beds. If you make your own, great – if not, you can buy compost or aged manure. Soil Pep, for example, is a locally available composted wood product that is excellent for gardens – it’s essentially fine mulch/compost that enriches soil. Many gardeners till or spade compost into the top 6-8 inches of soil. Even if you don’t turn it under deeply, mixing it lightly or top-dressing will allow rain and worms to carry it downward.
- Topsoil: If you need to build up the volume of soil (say you want a new garden bed where soil is currently shallow or full of rocks), you may bring in screened topsoil. Choose a high-quality Screened Topsoil free of rocks and debris – this provides a base of loamy earth to plant int】. Spread the topsoil to achieve the desired depth (often 4-6 inches if starting new beds on poor ground). Because topsoil alone can be heavy, it’s best used in combination with lighter amendments like compost or peat. Mix the imported topsoil with some of your native soil and compost so you have a gradual transition and a richer final mix. Note: If your native soil is truly terrible, you might consider creating a raised bed with entirely new soil (that’s the next article’s topic!), but often mixing some good topsoil in can save a bad soil.
- Sand or Grit: Many mountain soils have a lot of clay or silt, which can impede drainage. To improve drainage, you can incorporate some coarse sand or fine gravel. Masonry Sand or Crusher Sand from a local pit can be useful in moderation – think one part sand to four parts soil/compost if you have heavy soil. The sand particles help open up tiny pore spaces for water and air. Be cautious: do not add sand to clay in equal measure, or you risk making a concrete-like hardpan. It must be plenty of sand relative to clay plus organic matter to truly help. If you have the opposite problem (very sandy soil that won’t hold water), focus on compost and maybe a bit of clay soil or topsoil, rather than adding more sand.
- Manure: Well-aged manure (from cows, horses, chickens, etc.) can be an excellent soil conditioner and fertilizer. It must be well composted (aged at least 6 months to a year) or you risk burning plants and adding weed seeds. Use manure in place of or in addition to compost – similar 1” spread and mix in. In some high-altitude areas, animal manure is a traditional amendment (e.g., well-rotted horse manure can warm the soil slightly as it continues to decompose, a trick in cool climates). Just ensure it’s fully broken down and doesn’t smell strongly. Never use fresh manure in spring for food gardens; if in doubt, compost it further.
- Fertilizer: Depending on how depleted your soil is, you may also incorporate a granular fertilizer at this time. A balanced slow-release fertilizer (like 10-10-10 NPK) or an organic fertilizer (like blood meal, bone meal, kelp meal blends) can be raked into the top few inches. If you added plenty of compost or manure, you might not need much fertilizer. However, for nutrient-hungry vegetable gardens, a bit of starter nutrient charge helps. Perform a soil test if possible to see if you need lime (to raise pH) or specific nutrients. Mountain soils can be on the acidic side if conifers dominate, so lime might be beneficial for a vegetable patch – and spring is a good time to apply it so it has time to work before summer.
- Mulch or Wood Chips: While mulch is often added after planting, you can also dig in partially broken-down wood chips or leaf mold now to improve organic content. For example, if you have old straw mulch from last year, turn it under – it will finish decomposing and enriching the soil. Fresh Soil Pep (fine wood chip mulch) can be used as surface mulch later, but older Soil Pep that’s starting to decompose can be mixed in as organic matter.
Step-by-Step Spring Prep in the Garden
- Edge and Define Beds: Before you start digging like mad, take a shovel and neaten up the edges of your garden beds. Slice along where lawn meets garden to redefine a crisp edge (this also severs encroaching grass roots). Remove that strip of sod if grass has crept in. This gives your garden a tidy outline and makes it easier to work within it.
- Loosen the Soil: Using your tool of choice (shovel, garden fork, broadfork, or tiller), loosen the soil across the bed. If tilling, go to a depth of about 6-8 inches for vegetables (can be shallower for flowerbeds, deeper if you’re planting root crops like carrots which appreciate 10-12 inches). If using a fork, dig in and rock it to fracture the soil, in a grid across the bed. You don’t necessarily need to invert all the soil (over-turning can bring weed seeds to surface), but do break it up. Remove any large rocks you encounter – have a bucket handy to toss them in. In mountain ground, rock removal is an annual ritual; each spring more seem to “grow” and work their way up!
- Layer on Amendments: As you loosen the soil, also spread your chosen amendments. For example, scatter compost over the bed, along with any fertilizer or lime recommended by your soil test. If you are adding topsoil to raise the level, dump that on too. Then work everything together. This way, your digging automatically blends in the good stuff. If you prefer, you can also rototill amendments in by spreading them on the surface first and then tilling.
- Break Up Clods: If your soil is clumpy after turning, break up the clods with the rake or by hand. Aim for a texture where the largest chunks are maybe golf ball sized and most of it is much finer. This might require letting it dry a bit if it’s sticking together, then coming back with a rake. A steel garden rake (bow rake) is great for this; use the tines to crumble clods and level the surface.
- Rough Grade and Drainage: Take note of the grade of your bed. Does it have any low spots where water might pool? In mountain gardens, you often want a slight slope to beds or a crown in the center for drainage, since heavy downpours or rapid snowmelt can flood roots. Use your rake to shape the bed – for example, slightly higher in the middle of a long row, or sloping gently from one side to the other if it’s against a wall. Ensure there’s no depression that will become a puddle. If you find a low spot, add a bit more soil/compost mix to raise it. Spring is also a good time to install or refresh any drip irrigation lines or soaker hoses before planting, while the soil is easy to work with.
- Let it Settle (Briefly): If you can, allow a week or two between major soil work and planting. This isn’t strictly required, but it can be helpful. It gives time for beneficial soil organisms to recover from the tilling disturbance, for soil pH amendments like lime to start working, and for the soil to settle naturally. In mountain areas, spring rains (or even a late snow) during this period can help moisture penetrate the new soil mix evenly. You don’t want it to turn back into hardpan, but a bit of natural settling is good so your transplants don’t sink later. If you do wait, cover the bed lightly (with straw or even row cover fabric) to prevent weeds from taking hold or nutrients washing out.
- Final Tuning Before Planting: When you’re ready to plant (after the last frost, or whenever your crops can go in), do a final top-off: light weeding of any sprouted weeds, gently loosen the very surface if a crust has formed, and add specific amendments for certain crops (for example, a dusting of bone meal in the planting holes for tomatoes, or a bit of extra compost where you’ll sow carrots). Then plant away!
Special Tips for Mountain Gardeners
- Raised Rows or Beds for Warmth: If your garden is in a cold-air pocket or has late snow, consider forming raised rows (mounded soil) for planting vegetables. The soil in raised mounds drains faster and warms quicker. You prepared plenty of soil, so put it to use by creating an 8-inch-high mound for squash or potatoes, for example. Conversely, if moisture retention is your bigger issue (windy site that dries out), keep the beds flat or even slightly in a basin shape to catch water.
- Use Local Materials: Mountain gardeners often have to be resourceful. Use what you have: pine needles you raked off can be composted or used as acidic mulch for blueberries; small rocks you pick out can border pathways or go into the bottom of pots for drainage. And when buying soil amendments, sourcing locally can save money and ensure the materials suit your environment. A local Screened Topsoil or Unscreened Topsoil (for filling big holes) from a nearby pit will be similar to your native soil, just improved. Local composts or manure (from nearby farms or stables) will add organisms adapted to your climate. Even local sand or gravel can help mimic the natural gritty texture many alpine plants love.
- Don’t Forget Mulch: While mulch usually comes after planting, have a plan for it now. If you cleared out old mulch, you’ll likely want to replace it once seeds are up or transplants established. In mountain gardens, mulch conserves precious moisture and keeps roots a bit cooler during strong summer sun at high altitudes. It also protects against erosion from sudden downpours. You might use straw, wood chips, pine needles, or even living mulches. Soil Pep (fine bark/wood compost) can double as both soil amendment and an attractive mulch. After planting, spread a thin layer around plants to discourage weeds and slowly feed the soil.
- Soil Testing: If you’ve never tested your soil, do it in spring. Many county extensions or conservation districts offer inexpensive soil testing. Knowing your soil’s pH and nutrient levels can guide what amendments to add. For example, if your mountain soil is very acidic (common in conifer-heavy or granite areas), adding lime in spring will benefit many garden plants. If it’s low in phosphorus, you might mix bone meal or rock phosphate into the soil. Testing takes the guesswork out, and doing it in spring means you can address any deficiencies right away.
- Compost Tea or Microbial Boosts: To give your soil life a kickstart after winter, you can water with compost tea or add an inoculant (like mycorrhizal fungi) when you plant. These practices go hand-in-hand with good soil prep. You’ve created a welcoming environment with fresh organic matter – now populate it with beneficial microbes. This is an optional step, but one that advanced gardeners in short-season areas find helpful for maximizing growth in a compact timeline.
By focusing on soil preparation each spring, you’ll find that your mountain garden becomes more resilient and productive year after year. Plants will establish faster, roots will grow deeper (making them more drought-tolerant and hardy), and yields will improve. Healthy soil also means fewer disease issues – many plant problems are stress-related, and a plant that “has its feet in good soil” is far less stressed.
In the end, gardening success at high elevation comes from working with nature. Mountain soil has its quirks, but with the right amendments and care, it can be transformed into a rich, living medium for your gardens. Come summer, when your neighbors marvel at your lush tomato patch or overflowing flower beds, you can smile, knowing the secret lies in the quiet work you did at the season’s start. Spring soil prep doesn’t necessarily reward you with instant gratification, but as the weeks go by and your garden thrives, you’ll reap the benefits of that investment many times over.