Using Structural Fill to Prepare Building Pads for Summer Projects
If you’re planning a summer construction project – perhaps a new garage, a shed, a home addition, or even a patio –…
If you’re planning a summer construction project – perhaps a new garage, a shed, a home addition, or even a patio – one of the first steps is creating a stable, level building pad. Especially in mountainous or rural areas, the natural ground may not be immediately ready to build on. Enter structural fill: materials like pit run gravel, crushed rock, or other compactable soils that can be used to fill and level an area, providing a strong base for construction. In this article, we’ll explore how to use structural fill to prepare building pads, why spring is a great time to do this groundwork, and what local materials (like those from a nearby pit) are best suited for the job.
What is Structural Fill?
Structural fill refers to any soil or aggregate material that is placed and compacted in an area to create a sound, stable base for a building or other structure. It’s meant to bear loads without excessive settling. Common types of structural fill include:
- Pit Run Gravel (Bank Run): This is gravel straight from the pit, usually a mix of sand, gravel, and stones of various sizes. It’s often used to fill large areas because it’s inexpensive and compacts well. For example, Pit Run (Structural Fill) from a local gravel pit is the material that comes right out of the ground and works great for bulk fill need】.
- Crushed Stone (Roadbase): Sometimes called base course, like a 3-inch minus or 3/4-inch minus crush. It has sharp edges and fines and can be compacted into a dense layer. This might be used on top of pit run to create a flatter, tighter surface.
- Sand: In some contexts, sand (especially a coarse sand) is used to fill small voids or create a bedding layer (like under concrete slabs or paving stones). Sand alone isn’t usually used for large fills because it can shift if not confined, but it plays a role in leveling.
- Native Fill: On your site, you might have some subsoil (like clay or sandy soil from an excavation) that can be re-used as fill. If so, it should be moisture-conditioned and compacted properly to serve as structural fill. Often, though, on mountainous terrain, you end up needing additional imported fill to meet depth and quality requirements.
Key properties of structural fill are:
- It’s inorganic (no large organic matter that would decay and cause settlement).
- It has a good range of particle sizes to help it pack together (well-graded material).
- It can achieve a high dry density when compacted (meaning it’s strong and won’t compress much further under weight).
- It drains water (important so that it doesn’t turn into squishy mud with seasonal moisture).
Why Spring is Ideal for Pad Prep
Spring is an excellent time to tackle building pad preparation for a few reasons:
- Moisture Content: Fill material compacts best at an optimal moisture. In spring, with snowmelt and rain, the soils and fills are naturally closer to that ideal moisture (not bone-dry like late summer, and not frozen like winter). If you start in spring, you might need to do less water spraying to achieve compaction – the fill might already be just damp enough.
- Beat the Construction Rush: By preparing the pad in spring, you’re ready to start construction in early summer when the weather is reliably warm and dry. Many contractors get very busy as summer goes on; having your site prepped means you can book the concrete pour or framing crew a bit earlier.
- Visible Low Spots: After the snow melts, you can clearly see any drainage issues on your property. Maybe water pooled in a certain area or a slope became obvious. You can address that with fill (raising low spots, improving grade) as you build the pad. It’s like nature’s level check – puddles show you where ground is low or compacted poorly.
- Settling Time: If you build a pad in spring and aren’t putting a structure on it until a bit later, that allows some natural settling to occur (especially if there are cycles of rain and sun). Even well-compacted fill may settle a tiny bit. A spring-prepped pad that’s left until summer will reveal if any slight re-leveling is needed before final construction – you can fill a depression or compact again in a spot if necessary.
- Access: Spring often has a lull in heavy vehicle traffic on properties (some call it “mud season” where you avoid driving on the land too much). But once it firms up, delivering fill early means dump trucks and loaders can get in before landscaping or other summer yard activities begin. You won’t mind some heavy equipment on the land early on, and then later your yard can be more peaceful.
- Permitting Lead Time: If you have permits to obtain, you might do pad prep while waiting for final building permit approval. Many places allow earthwork and site prep ahead of the actual building permit (check local regulations). So you can be productive in that interim.
Steps to Build a Solid Building Pad with Structural Fill
Scenario: Let’s say you want a level pad for a detached garage, 24×24 feet, on a spot that currently slopes and has uneven terrain. We’ll outline steps for that scenario – you can adjust for your project.
1. Plan and Mark the Area
Determine the footprint of the pad. It’s wise to make the pad a bit larger than the structure – at least a few feet extra all around, so there’s working room and space for forms, etc. In our example, for a 24×24 garage, you might prepare a pad about 30×30. Use stakes and string or marking paint to outline it on the ground. Also mark the desired finished elevation. This might be based on matching an existing grade (like aligning with the house or driveway). Use a level or builder’s laser level to figure out how much higher certain corners need to be. You might find, for instance, the ground is 2 feet lower on the back side than the front – so you know you’ll be filling 2 feet deep at the deepest point.
2. Clear Topsoil and Organic Matter
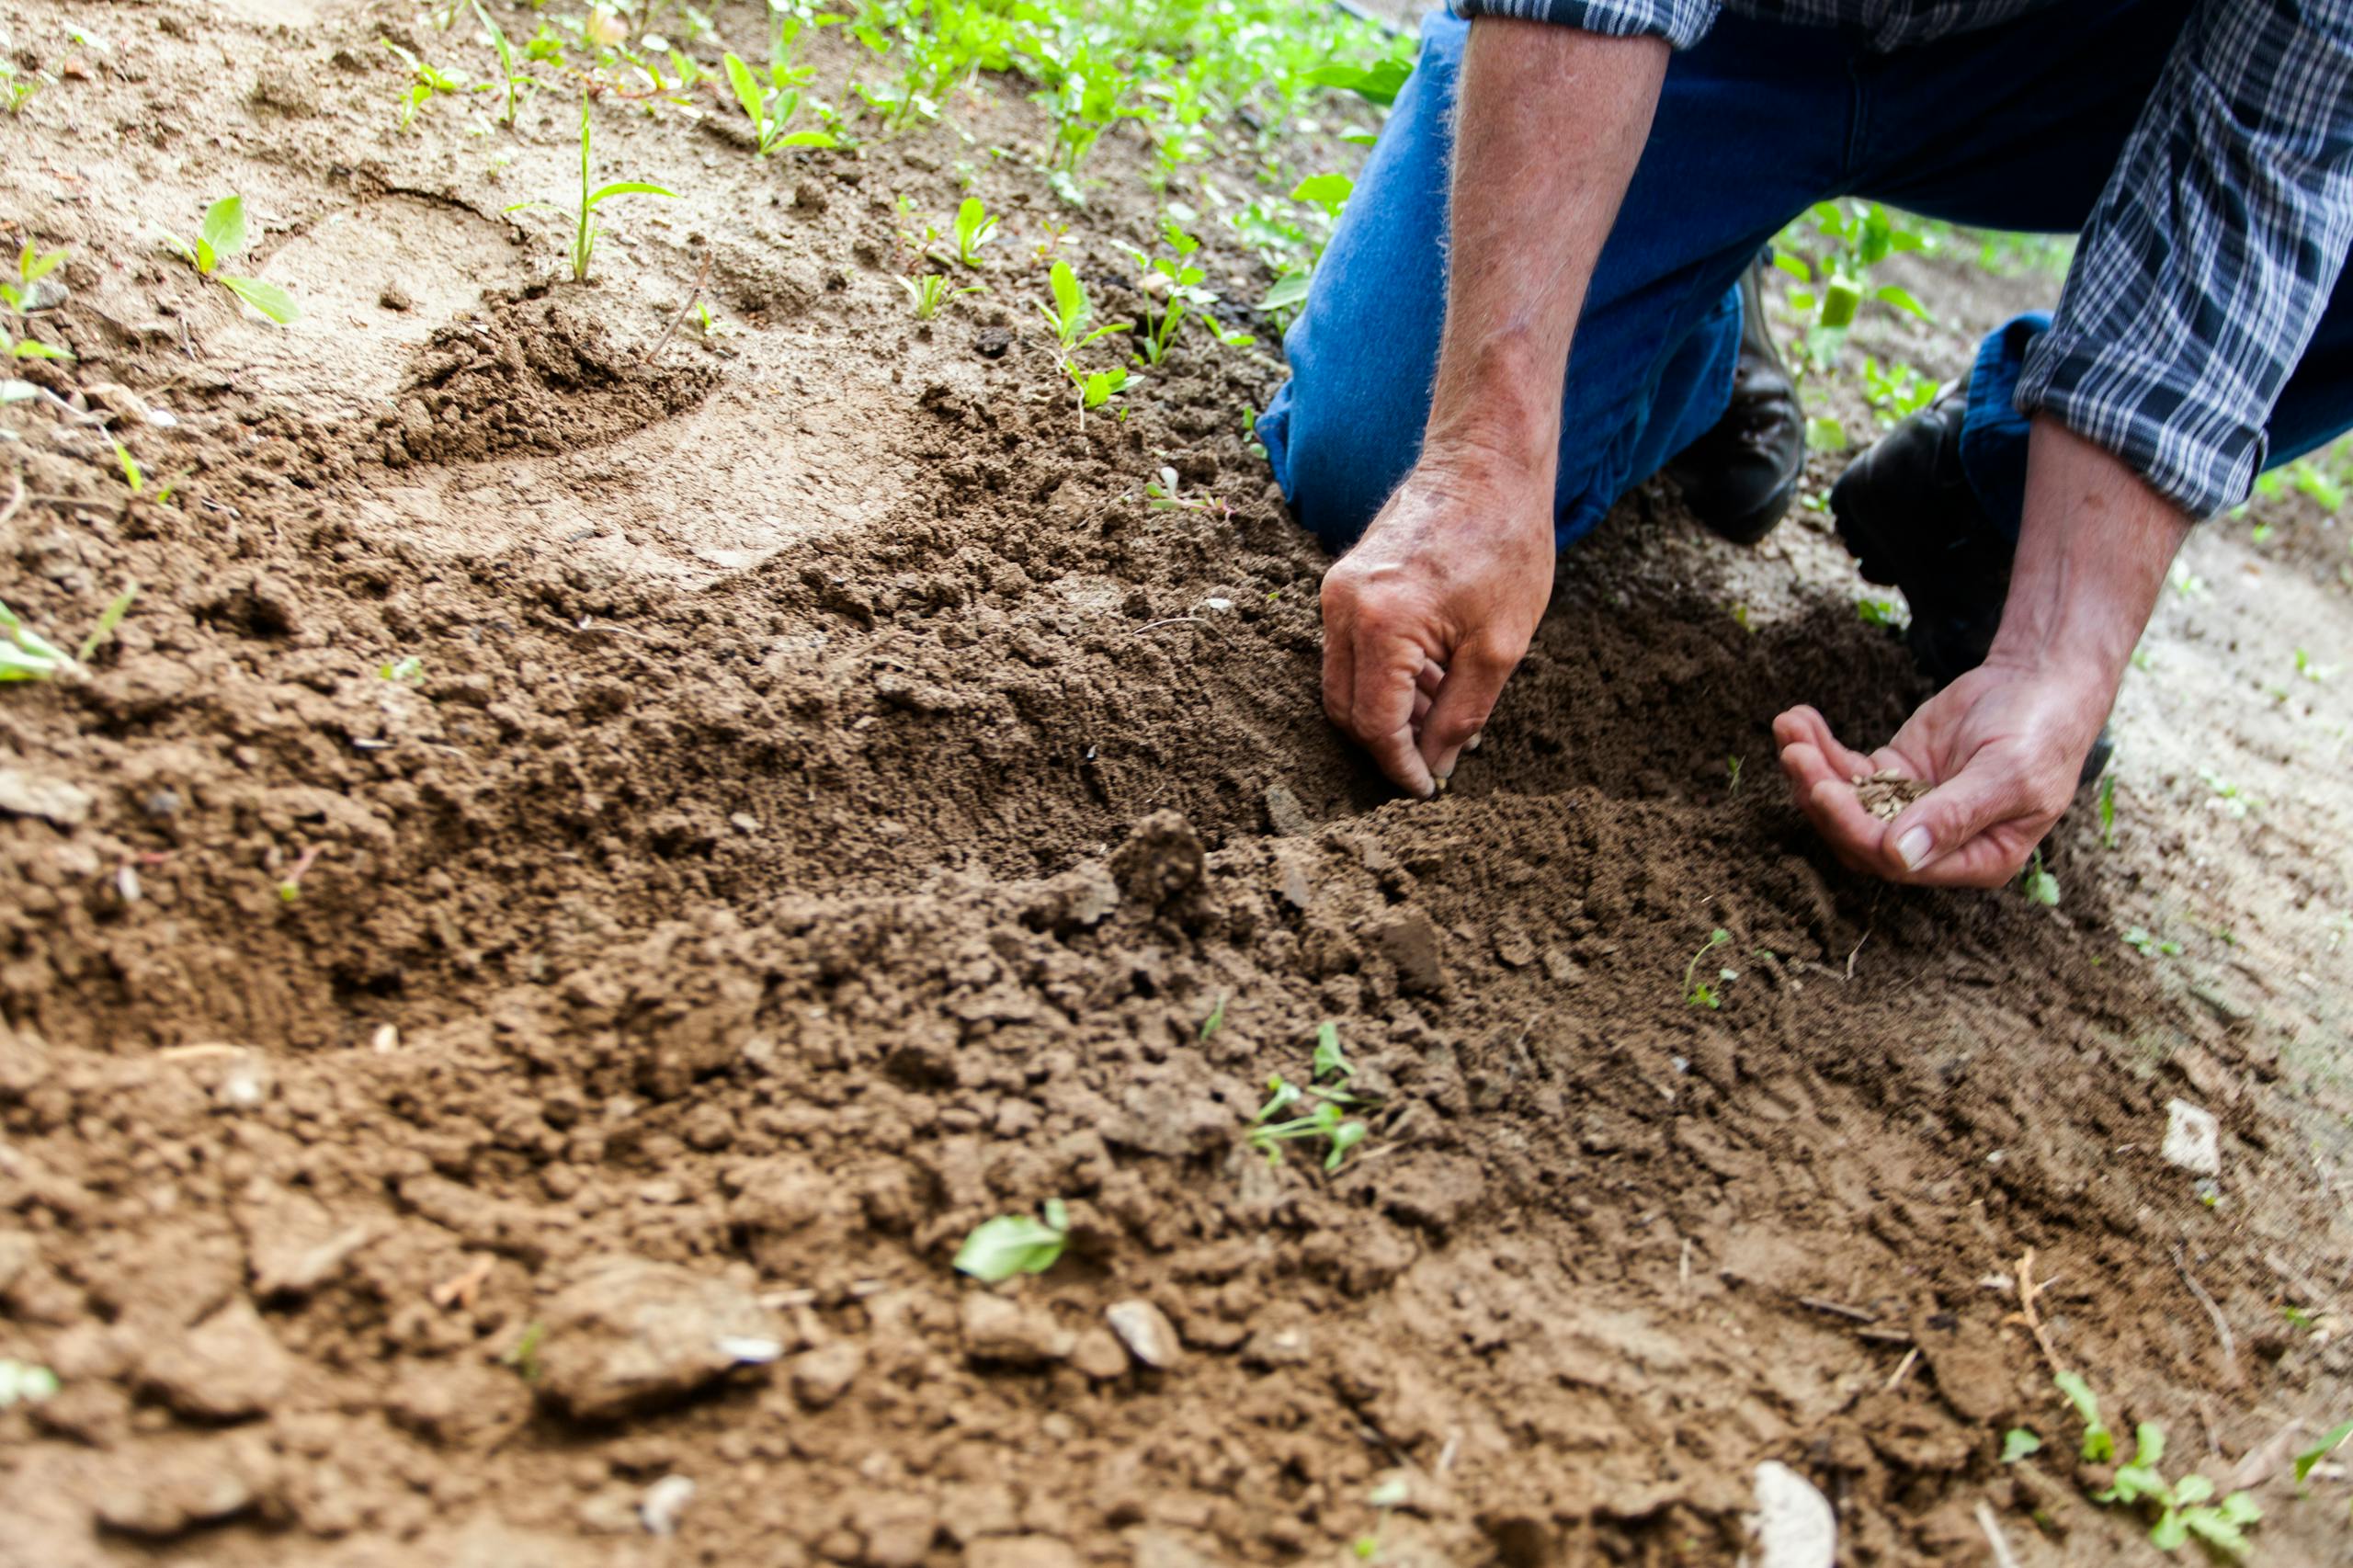
Scrape off the topsoil or any sod/vegetation in the pad area plus a buffer around it. Topsoil is not suitable to build on – it’s too compressible – but you can save it in a pile to reuse in landscaping elsewhere. Typically, remove 4-8 inches (or more if your topsoil layer is thicker) until you hit firmer subsoil. You might see a color change from dark brown to lighter or more orange/brown soil. In mountain areas, you might encounter a lot of rocks; remove big ones as they can create voids if not placed well. Aim for relatively even sub-grade after this stripping.
3. Bring in Structural Fill (Bulk Fill Stage)
Now start placing your fill. For deeper fills (over, say, 8-12 inches), pit run gravel is excellent as the first layer because it’s economical and compacts well with varied stone size】. Dump loads of Pit Run (Structural Fill) into the area. Don’t dump it all in one big heap and spread – it’s better to fill in lifts. A lift is a layer of fill, usually 6 to 12 inches thick, that you spread out and then compact before adding the next. So, if you need to build up 2 feet on the low end, do it in, say, three lifts of 8 inches.
Use a skid-steer (bobcat) or tractor to push the fill out and roughly level each lift. If you don’t have machinery, you can shovel and rake it, but for a larger pad that’s quite labor intensive – consider renting equipment or hiring a small earthmoving contractor for a day.
4. Moisture Condition if Needed
Check the fill’s moisture. Grab a handful and squeeze: if it binds loosely and doesn’t crumble immediately, it’s probably good. If water comes out, it’s too wet – you may need to let it dry or mix in some drier material. If it’s very dusty and won’t hold shape at all, it’s too dry – spray it with water lightly with a hose. Spring fill often has enough moisture naturally, but windy sunny days can dry the surface, so sometimes a sprinkle with the garden hose before compacting helps achieve better density.
5. Compact Each Layer
This step is critical. If you just dump fill and don’t compact it, it will later settle under the building weight (or even just its own weight). For small areas, a plate compactor (vibratory plate) that you can rent and push around works well. For bigger jobs, a ride-on compactor or a jumping jack tamper might be needed. You could also use a heavy roller if available. Another trick: driving a heavy vehicle over each layer repeatedly can help – for example, have a dump truck or your truck drive back and forth over the spread-out fill (just be careful near the edges so it doesn’t roll off the uneven edge).
Compact in a systematic way, making multiple passes. Aim for 95% Proctor density if you know what that means (that’s a standard for compaction – but if you don’t have a way to measure, just compact thoroughly until the surface feels solid underfoot). You can test by walking – your foot shouldn’t sink or leave more than a faint imprint. If using a hand tamper, that’s only practical for very small areas; mechanical compaction is much more effective.
After first lift is compacted, add the next lift of fill and repeat. As you build up, keep checking grade relative to your desired final height – you can use your laser level or stake marks. As you get near final height, you might switch material.
6. Top with Crushed Gravel (Cap Layer)
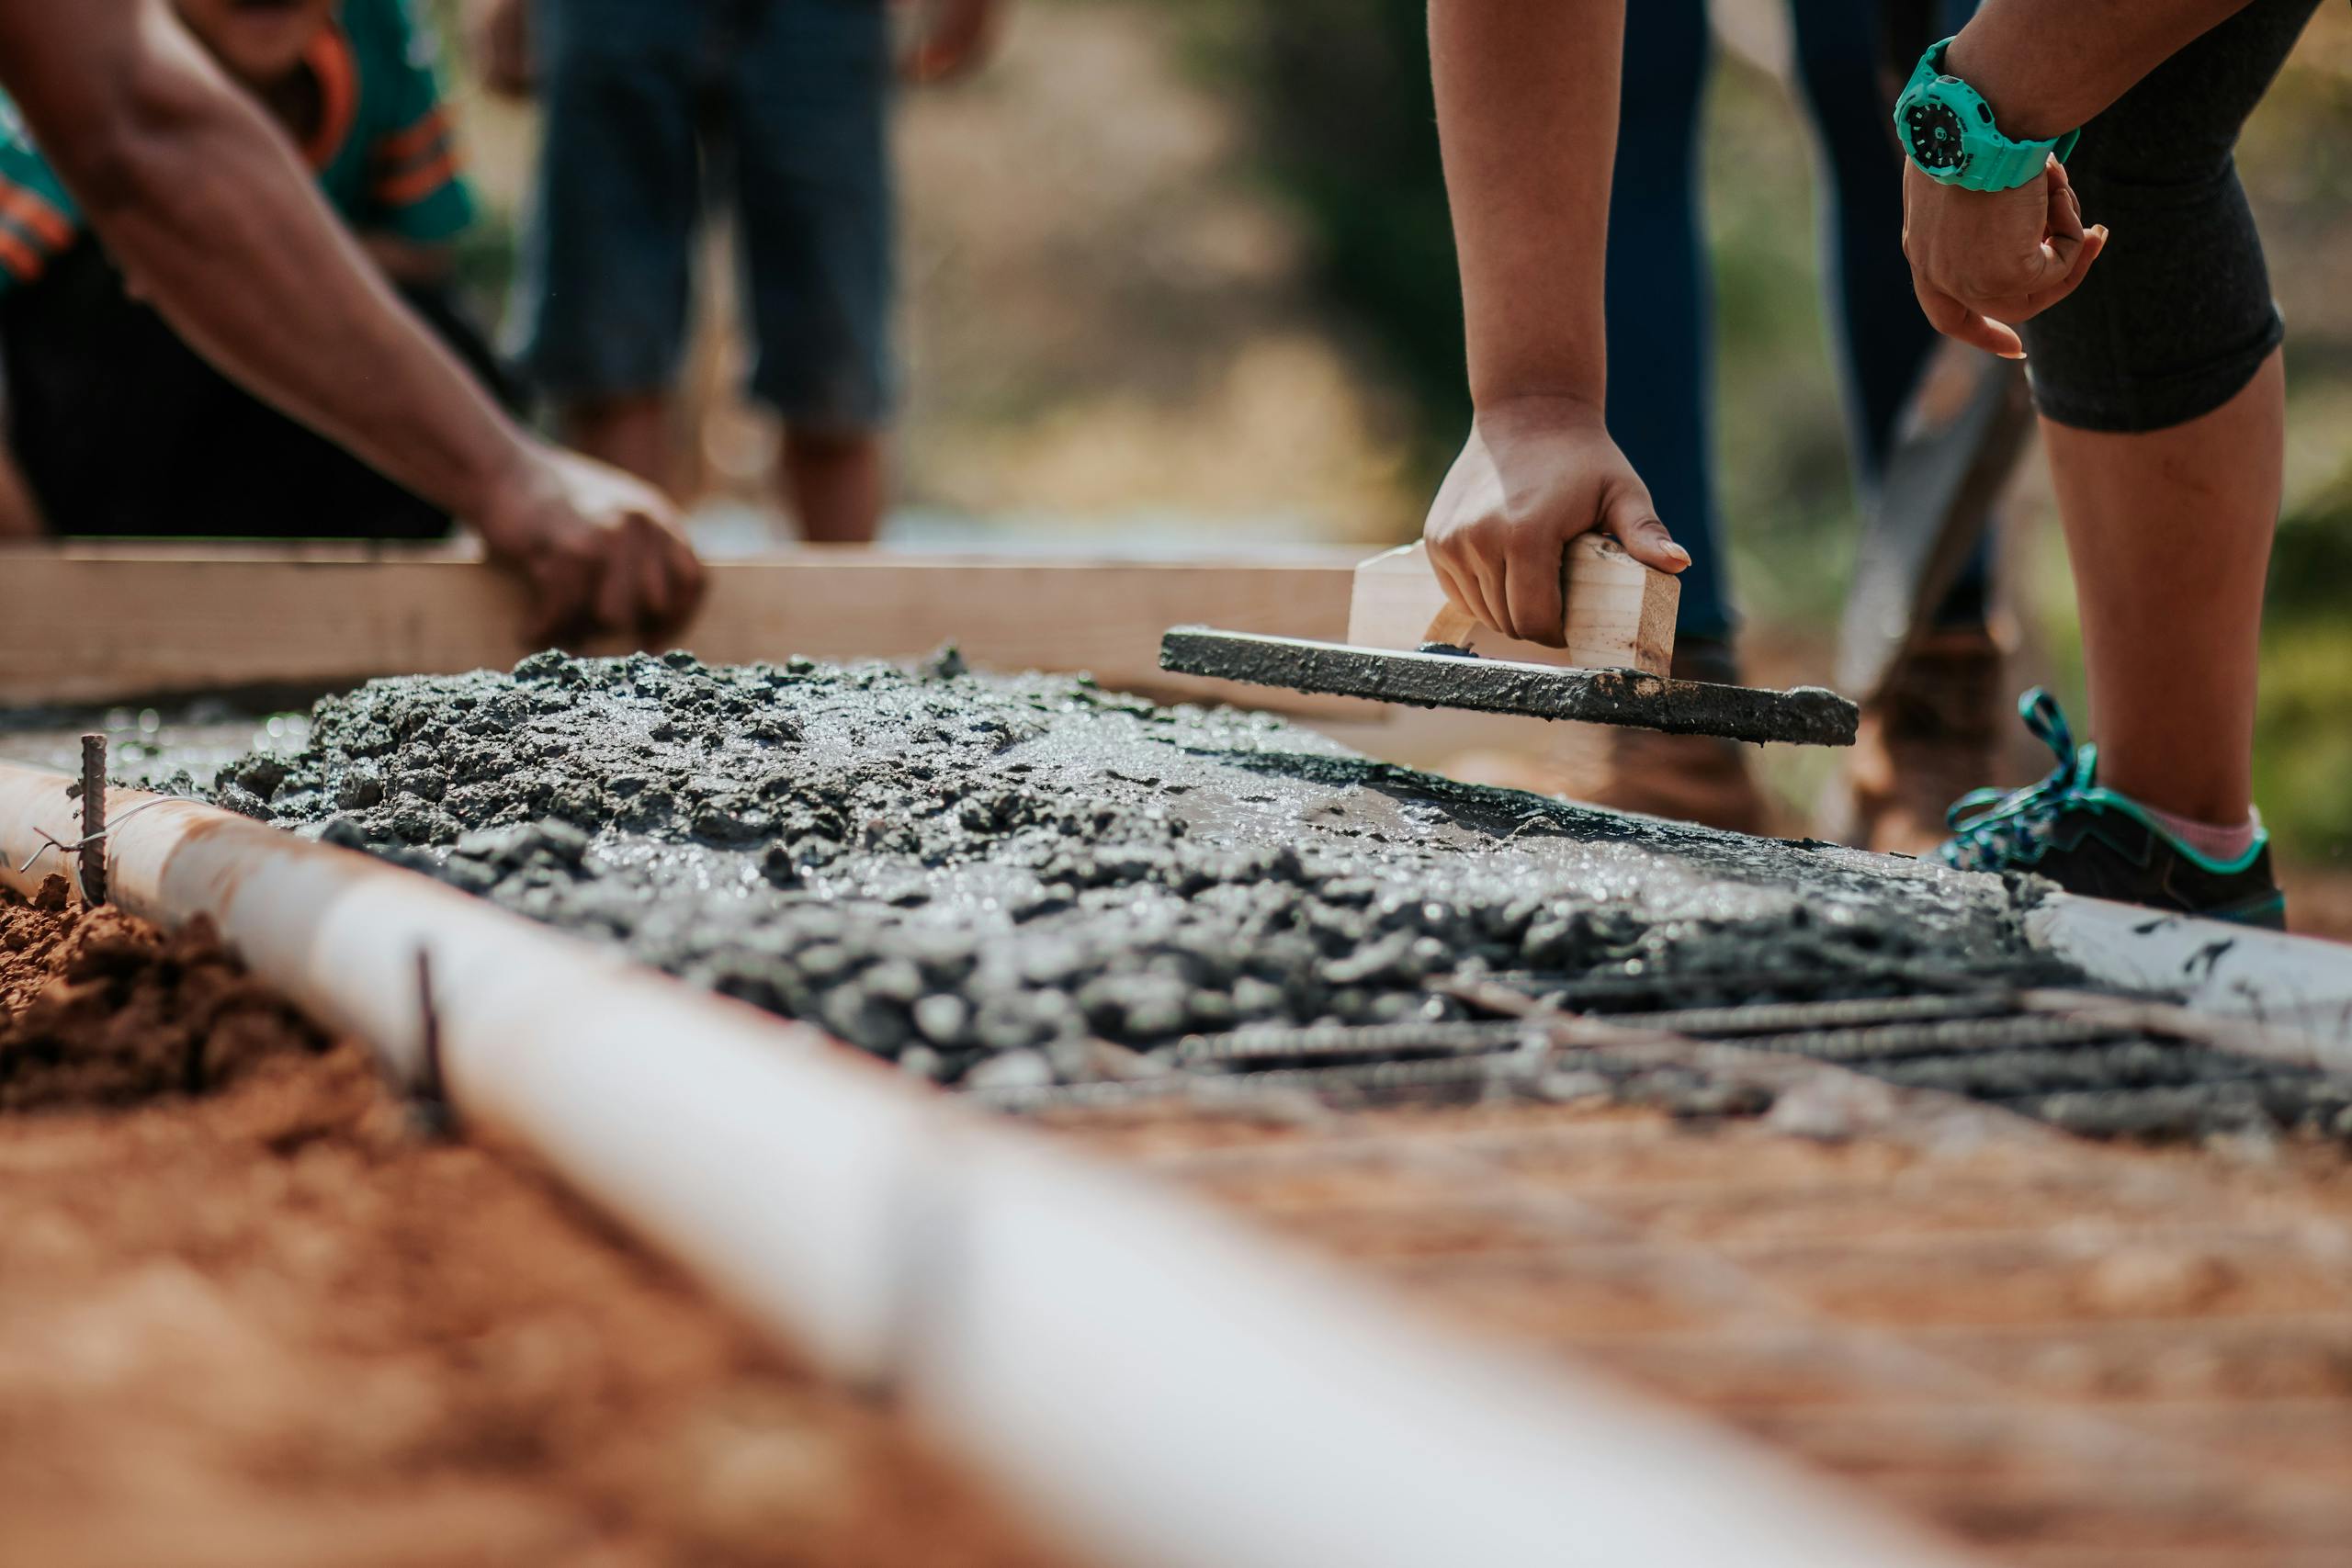
It’s often a good idea to top off the pad with a layer of finer, crushed gravel to fine-tune the level and provide a great surface for whatever comes next (be it a concrete slab, a set of deck posts, etc.). A 3/4-inch minus Crush Roadbase is ideal for this. Spread 2-4 inches of the crushed gravel over the compacted pit run. This will fill in any voids and let you get the surface perfectly level. Think of it as the icing on the cake – it’s easier to screed (scrape level) an even layer of roadbase than pit run with its bigger rocks. At Darby Pit, for example, the 3/4” Minus Crush (sometimes called small roadbase) is perfect to create that smooth, stable top surfac】.
After spreading the gravel, compact it well too. You can even vibrate a plate compactor on it to really set it. If it’s a future concrete slab area, some people like to moisten it and compact until it’s almost like a firm pavement.
7. Verify Level and Slope
Now check your work. Use a long straight board and a level, or better a laser level or builder’s level, to ensure the pad is flat and at correct grade. If it’s a pad for a structure like a garage, you typically want it level. If it’s for something like a patio or just under pavers, you might intentionally give a very slight slope for drainage. For example, a patio might slope 1/8 inch per foot away from a house. But a building like a shed or garage you’d keep flat (the concrete slab can incorporate a slight slope for drainage of spills).
Check multiple directions (front-to-back, side-to-side, diagonals). Address any high spots by raking down or low spots by adding a bit of extra crush and compacting again. Spring is a good time for this because the lighting is often such that you can see shadows on the surface highlighting imperfections, and the ground isn’t baked hard yet – easy to adjust.
8. Let it Sit (if possible)
If you have time, let the prepared pad sit for a few weeks before building. This isn’t strictly necessary if you’ve compacted well (construction crews often build on a pad immediately). But if you’re DIYing and not in a rush, letting it sit through a few rainfalls or a bit of use (drive your truck on it occasionally) can further stabilize things. Keep an eye out for any settling or soft spots after a rain – those could indicate an area that needs re-compaction. It’s easier to fix before the building goes up.
Local Structural Fill Materials: What to Use
Using local materials for fill is both cost-effective and logical. They match the conditions of your site and don’t have to be trucked far. Here are some common ones and their best uses:
- Pit Run (Bank Run) Gravel: Great for filling large volumes cheaply. It often has stones up to 3-4 inches and plenty of fines. It’s not pretty, but very functional. Use for deep fills. Our local pit run is a mix straight from the pit, known to be compactable and stron】.
- 4″ Minus or 3″ Minus Crushed Rock: Some pits offer a “minus” product that’s been run through a 4-inch or 3-inch screen, so everything is below that size and more uniform than raw pit run. This can be an excellent structural fill too, a bit easier to work with since the largest rocks are limited. Darby Pit lists a 4″ Minus Pit Run which is essentially structural fill screened to remove bigger chunk】, reducing labor when backfilling or building roads. That could be perfect if you want fewer boulders in the mix.
- Roadbase (3/4″ Minus Crush): This is more expensive per ton than pit run, but you’ll use less of it, usually as a top layer. It’s also useful if you need to fill only a shallow area (a few inches) and still need it strong – roadbase compacts much more tightly than pit run because of the smaller grain size. For a building pad, using it as the final layer is best practice.
- Sand: Coarse sand can be part of your plan, especially under concrete or under an area where you need very fine leveling. Masonry Sand or Crusher Sand can be screeded very flat. Some builders will set forms for a concrete slab and then use sand to fill the last couple of inches, screeding it level as a guide for pouring concrete. Sand also is good to embed utility lines or as a cushion under a plastic vapor barrier, etc. Locally, masonry sand is available and commonly used in projects (for instance, under pavers or pool pads). Arena sand (reject sand) could also be used if you need to improve drainage under the fill or mix into clay soil.
- Structural Fill Dirt: Sometimes you might hear “structural fill” referring to a type of dirt, not gravel, especially if a project calls for recompacted native soil. If you have a borrow area on your land with decent subsoil, you can use that. But often, gravel-based fills are superior in strength and drainage. If using clayey fill from on-site, be very diligent with moisture conditioning and thin lifts when compacting – clay can hold hidden pockets of moisture that cause trouble.
In our region, a combination of Pit Run for bulk and Crushed Roadbase for finish gives the best of both: economical filling and a solid, smooth top. Both are available through Darby Pit’s delivery, making it easy to get what you need to your site without multiple suppliers.
Final Tips for a Great Building Pad
- Overbuild then Cut Back: It’s often smart to build your fill pad a little larger and taller than needed, then trim to exact size and elevation. It’s easier to remove a bit of material than to add later. Once compacted, shaving off a high spot with a rake is simple, but adding and re-tamping a low spot can be more involved.
- Edge Transitions: If your pad is above the surrounding ground, consider the edges. A 2-foot high vertical drop of fill will erode in rain. Better to slope the sides of the pad at a gentle angle (say 3:1 or 2:1 slope). If space is limited and you need a more abrupt change (like a retaining wall), maybe install that – such as stacking some large rocks (riprap) or using retaining wall blocks at the edges. But if you have room, let the fill feather out. This also helps when you eventually landscape around the pad, giving gradual ground for plants or driving.
- Curing and Compacting the Surface: Right before construction, do one more pass of compaction on the surface, especially if a lot of time has passed. Just as a refresher. Wet it lightly if it’s gotten dusty dry. This ensures any minor disturbances that happened (like footprints, tire ruts) are taken care of.
- Inspection (if required): If this pad is for a permitted structure, sometimes an inspector or engineer might want to verify compaction or the type of fill used. Keeping delivery tickets or notes on what material you used can be helpful. They might do a probe test or just visually inspect the fill layers. Spring is usually the start of the inspection season, so scheduling them early can help avoid delays.
- Multiple Uses: Consider preparing multiple pads or areas with one big fill project. For example, if you have extra fill delivered, you could also level a spot for a water tank, an RV parking area, or a future greenhouse. If heavy equipment is already in use, take advantage by tackling more than one pad if you need it.
- Environmental Consideration: Using structural fill helps ensure water flows around your structures rather than pooling. But be mindful of where that runoff goes. Slope your pad so water sheds to safe areas (not towards a neighbor’s property or into your house foundation). You might need to incorporate a simple French drain or swale if diverting water. Using permeable fill like gravel means water will also infiltrate, which is good for reducing runoff, but you don’t want water accumulating under a building. Generally, the rule is to have the pad at least a few inches above surrounding grade and everything sloping away.
By using the right fill materials and proper techniques, you’ll create a building pad that stands the test of time. When you pour a concrete slab or set piers on a well-compacted pad, you can have confidence that your structure won’t suffer from uneven settling or shifting. There’s peace of mind in knowing the ground beneath is solid.
Spring is the perfect season to get this foundational work done. It sets the stage for all the exciting building to follow in summer. So, order that structural fill, fire up the skid-steer (or get a trusty contractor on site), and start moving earth. With local gravel and a bit of labor, you’ll craft a stronghold for your summer project – literally ground zero for your new construction, ready to support your dreams on a firm footing.