The Best Materials for Building a Durable Mountain Road
Building or improving a gravel road in a mountainous region presents unique challenges: steep grades, heavy runoff, freeze-thaw cycles, and the need…
Building or improving a gravel road in a mountainous region presents unique challenges: steep grades, heavy runoff, freeze-thaw cycles, and the need for traction during snow. The key to a durable mountain road is using the right combination of materials that can withstand these conditions – chiefly, a proper layered base and a surface aggregate that locks together. In this guide, we’ll discuss the best materials to use (from structural fill to road base gravel) and how to layer them to construct a road that won’t wash out or break apart when the going gets tough.
Understanding Mountain Road Needs
Mountain roads face:
- Steep Slopes: Gravity causes erosion; vehicles need grip going up/down.
- Runoff and Drainage: Intense rain or rapid snowmelt can quickly erode an improperly built road.
- Subzero Temperatures: Frost can heave and loosen materials if water is trapped in the roadbed.
- Remote Conditions: Often limited access for maintenance, so materials must be long-lasting to minimize frequent repair runs.
Given these, the road should have:
- A well-compacted, well-draining base layer (so it doesn’t turn to mud or slump).
- A crushed stone surface with fines that can be graded to shed water and provide a semi-solid driving surface.
- Possibly larger rock in some layers for strength on soft ground, and maybe geotextile fabric in persistent soft spots to separate soil from gravel.
- Traction aggregate: Angular stone gives better traction than round pebble gravel (tires grip the sharp edges rather than roll on smooth stones).
Let’s break down materials by layer:
1. Subgrade and Structural Fill
This is the ground beneath the road. If you’re fortunate, it’s firm native soil or rock. If it’s soft or wet, you should improve it with structural fill:
- Pit Run or “Bank Run” Gravel: This is raw fill from a gravel pit – typically a mix of sand, gravel, and cobbles. It’s excellent for bulk fill because it’s cheap and compacts well, forming a strong foundation. Our local pits offer Pit Run (Structural Fill) that is ideal for the bottom layer of road constructiondarbypit.com. Dumped and graded, pit run can be 6-18 inches thick (or more) depending on how poor the native soil is. Its big stones give strength and smaller particles fill gaps.
- Large Rock (Riprap): In very mushy spots (like a high mountain spring or bog crossing), people sometimes lay down a mattress of large angular rock (4-8 inch “cobbles” or even small boulders) to bridge the area, then cover with finer material. This isn’t needed for most road sections, but it’s useful in extreme cases as a puncture-resistant layer so vehicles don’t sink.
- Geotextile Fabric: A heavy woven road fabric can be a game-changer on marginal ground. You’d clear topsoil, roll out fabric, then add your structural fill on top. The fabric keeps the fill from mixing with soft mud below and adds tensile strength – it’s like giving your road a reinforcing net. Use it in spots that were historically muddy or where water tends to seep up.
Compact the subgrade and any structural fill added. Usually a bulldozer or grader will track over it, or a vibratory roller if available. Even driving your truck back and forth over a newly laid pit run layer helps seat it.
2. Base Course (Crushed Stone)
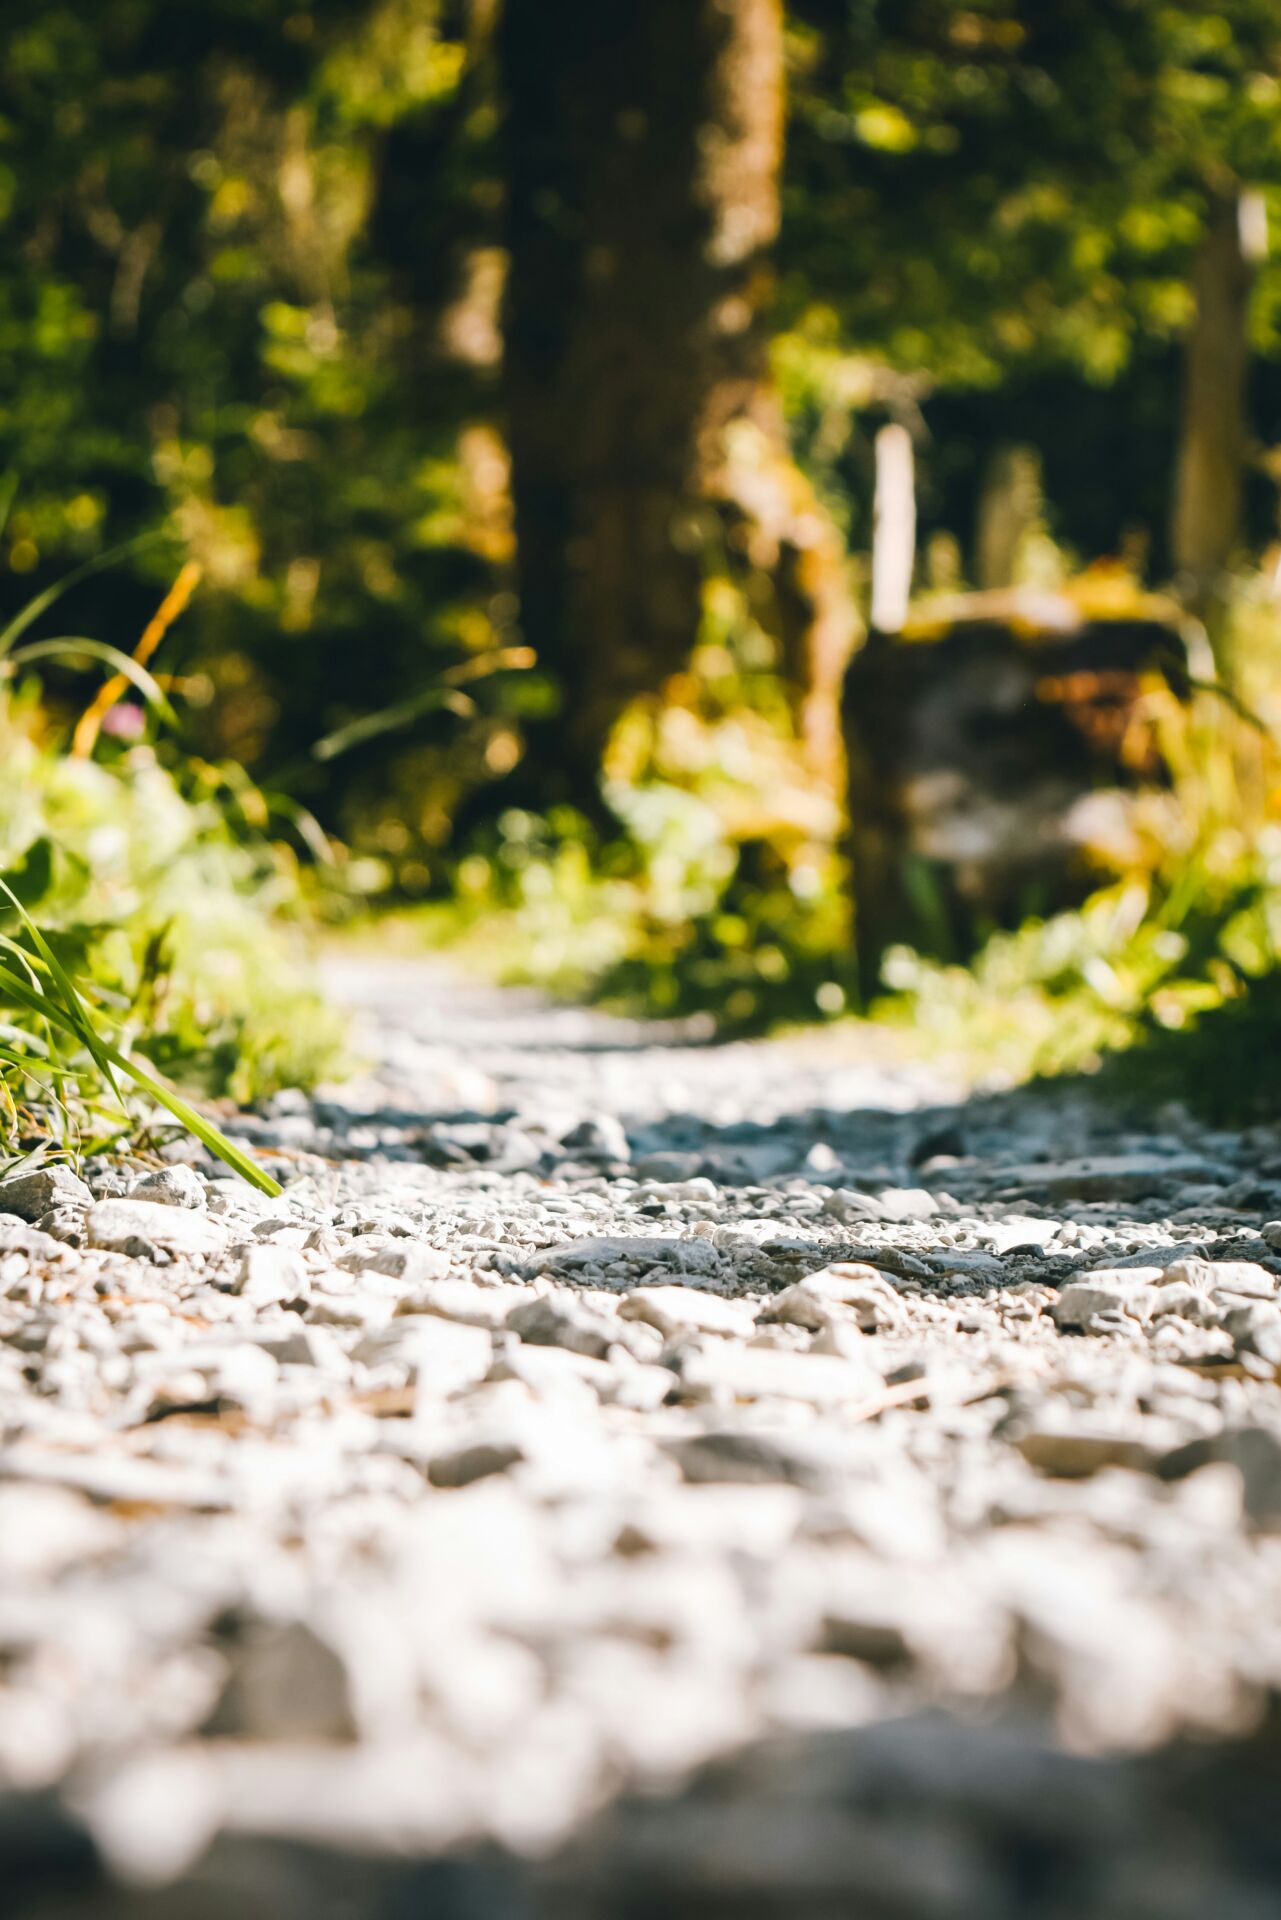
Above the structural fill (or directly on solid native ground if fill wasn’t needed) goes the base course. This is typically a crushed gravel about 1-3 inches in size with fines included. Commonly called “road base” or “3-inch minus” or “1.5-inch minus,” meaning it has stones up to that diameter and all smaller down to dust. This mix compacts into a tight, stable layer.
- 3” Minus Crushed Rock: On mountain roads that see heavy truck traffic or need extra depth, a layer of 3” minus (or 2” minus) crushed rock is often used. It has big pieces (2-3” stones) that provide a rough interlocking skeleton, and plenty of fine material to fill voids. This can be spread ~4-6 inches thick and well compacted. Because of the large stone, it’s very durable and not easily displaced. One of our local variants is a 3” minus with angular rock that’s essentially pit run run through a crusher – great for a primary basedarbypit.com.
- 3/4” or 1” Minus Gravel: Sometimes, after a larger 3” base, a second base layer of smaller 3/4” minus is added on top to further tighten the structure and prepare for the surface course. On lighter-duty roads, you might skip the 3” and just use 3/4” minus as the base if the subgrade was already pretty good. A product like Crush (Small) Roadbase (which is the 3/4” minus crushed gravel from our pit) works perfectly here – it’s often the same material used on the surface of driveways, but using it as a base means maybe 2-4 inches compacted.
- Thickness: Total base course thickness can range from 4 inches (for a driveway on strong soil) to 12+ inches (for a road on weaker soil or carrying heavy loads). For a mountain road accessing a few homes, 6 inches of well-compacted base gravel is a common target.
The goal with base layers is to create a dense, load-bearing layer that spreads vehicle weight and stands up to water and frost. By using crushed stone with fines, you get a material that can be graded to a smooth shape and will pack into a near-solid mass (yet still with enough frictional voids to let water percolate slowly rather than turning the roadbed into a sponge).
Compact the base course thoroughly. If you have a grader, shape the road with a crown (slight hump in middle) or with a proper slope to one side if it’s a hillside bench road. Then go over it multiple times with a roller or plate compactor (or even by driving heavy equipment on every square foot). A properly compacted base should feel almost like pavement to walk on.
3. Surface Gravel (Wear Course)
Finally comes the top layer that you actually drive on day-to-day. For mountain roads, the best surface material is typically a well-graded, angular gravel about 3/4-inch in size with fines – often the same as what we described for base if base was 3/4” minus, or sometimes a special “traffic-bound” gravel mix specified by local highway departments.
- 3/4” Minus Crushed Gravel: This is the go-to for most gravel roads and driveways because it packs well yet has enough small stone to resist becoming dusty mud. Our regional road mix at this size (sometimes called Grade ‘D’ or Class 5 gravel) will have gravel, sand, and clay all in one. When spread and rolled, it forms a tight surface that can support tires without rutting deeply. The fines in it help bind it together when moist (like natural cement)darbypit.com.
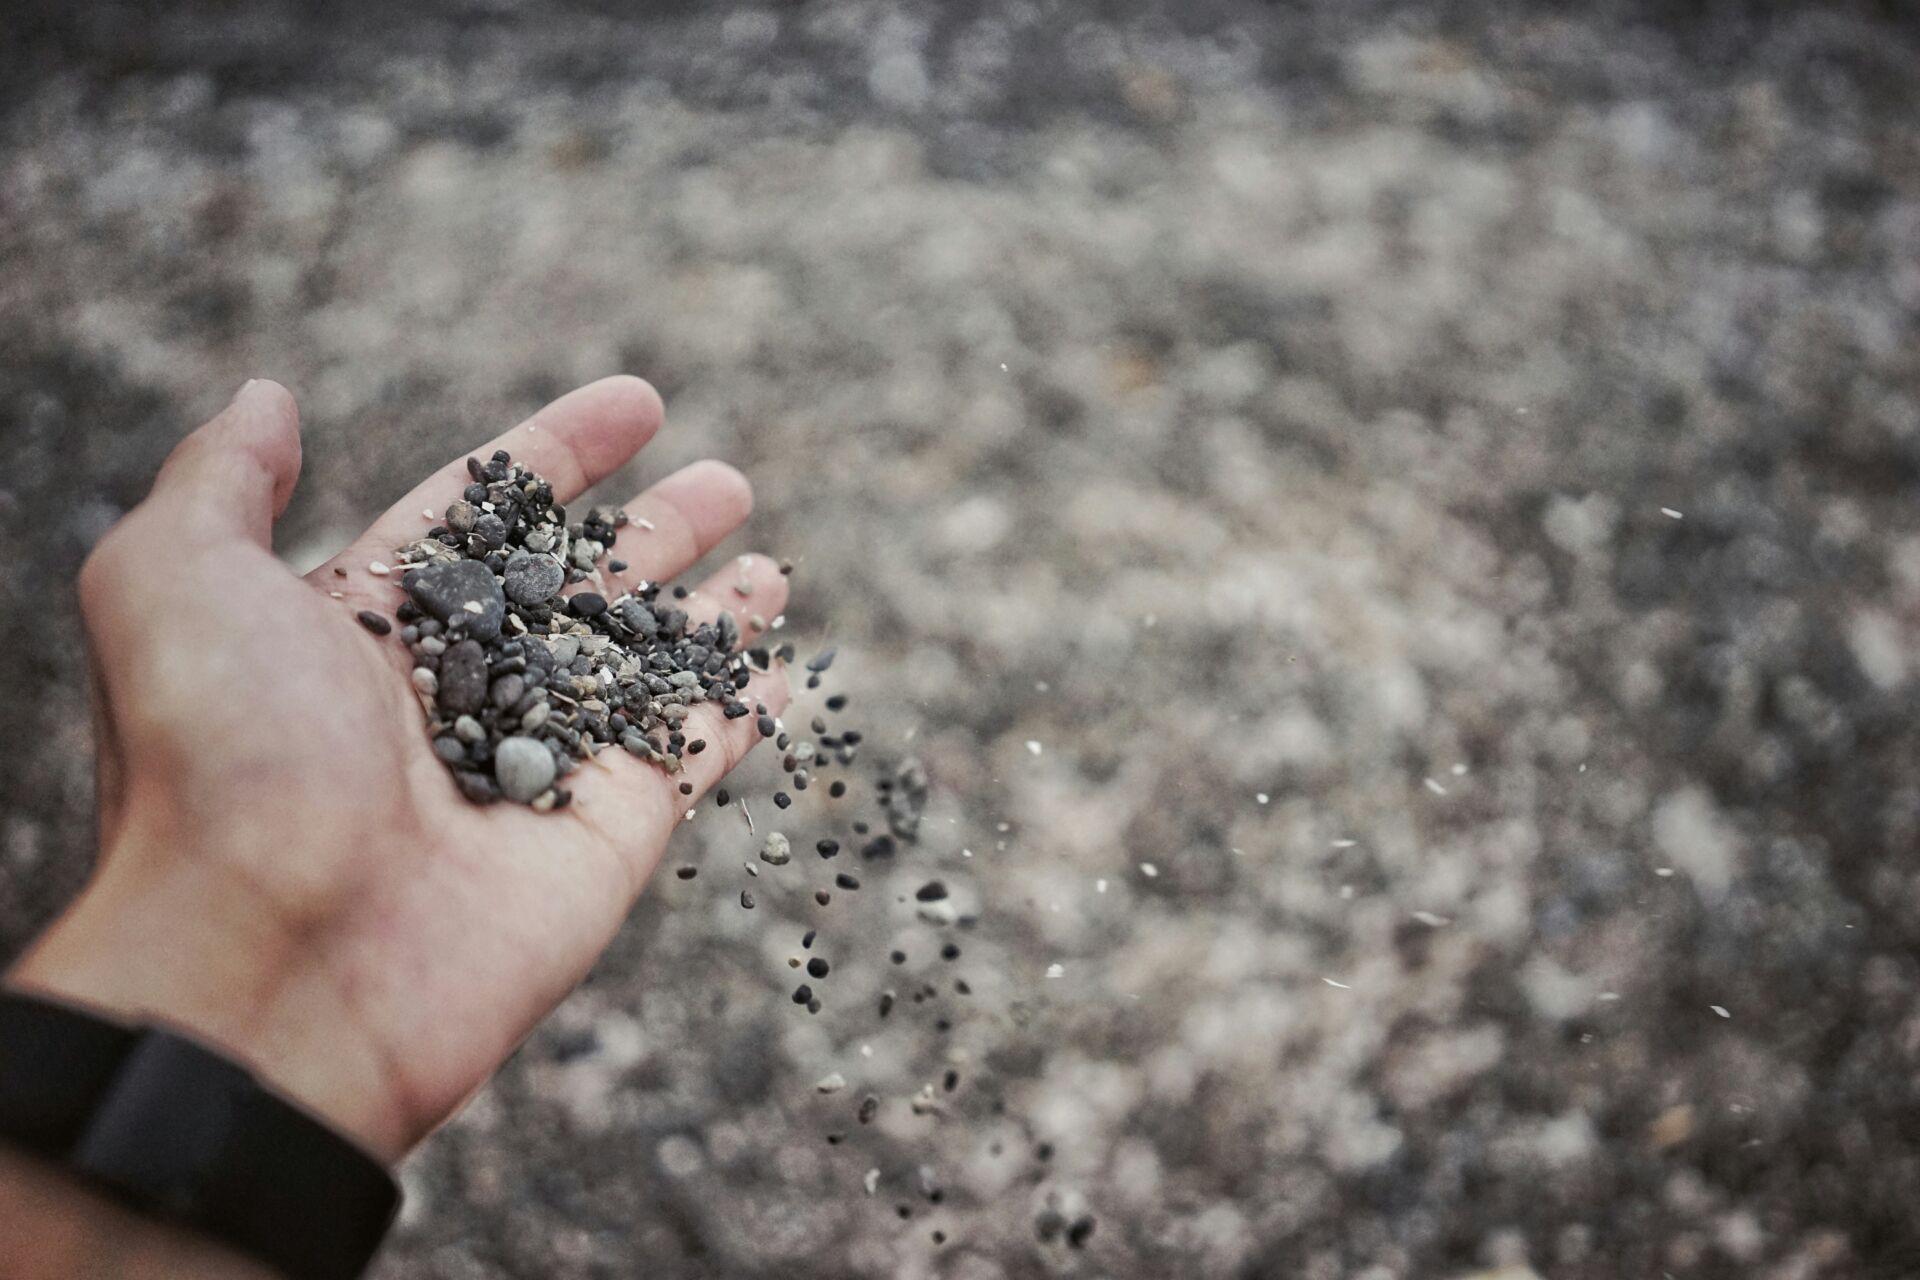
- Surface Considerations: Some mountain communities prefer adding a bit of crushed granite or shale to increase the hardness of the surface (especially if the local pit material is more limestone or softer). The key is angular, not round, stones – angular stones lock together. Rounded river gravel tends to roll aside under tires, especially on inclines – avoid using only round rock on the road. If using river gravel for color or availability, make sure it has a good fraction of fines and mix it with crushed so it’s not marbles on a slope.
- Traction Sand (for winter): While not part of building the road, it’s worth noting: keep some coarse sand or fine gravel (chat or crusher dust) handy to spread in winter on icy stretches. Because you used a good angular gravel, even when snow-packed it often gives decent traction, but a bit of extra sand (like leftover Arena Sand or crushed fines) can save the day on a slick morning. It’s wise to store a pile of this in fall.
Spread your surface gravel about 2-3 inches thick over the compacted base. Grade it with the desired crown or outslope. Then compact this layer as well as possible. If you don’t have heavy machinery, simply driving back and forth over the whole road with a loaded truck will do a fair job – you can even zigzag to cover the middle thoroughly. Ideally, a vibratory roller or plate compactor in sections will really set the surface.
After compaction, inspect the finish: The road should be smooth (aside from the intentional crown) with no loose deep piles of gravel – everything should be knit together. A common technique is wetting the surface lightly then rolling – the water helps fines migrate into voids and aids binding.
Additional Mountain Road Tips
- Erosion Control: Implement drainage features alongside the road. On the high side of a carved road, cut a ditch to catch hillside runoff. Line ditches with rock or plant grass to prevent them from eroding. On very steep segments, consider putting in water bars or cross-drains every so often to break up the length of slope water travels (this prevents washouts by diverting water off the road intermittently). Use durable materials for these: a buried culvert or a berm of compacted soil stabilized with riprap rocks.
- Retaining Structures: If your mountain road has fill embankments (outer edge built up), consider armoring those edges with rock (riprap) to protect from slide-offs and erosion, especially at culvert outlets or curve outer edges where water might spill. Large angular rock placed on slopes can significantly improve their stability.
- Maintenance Plan: Even the best-built gravel road needs upkeep. Plan a spring and late-summer grading each year. In spring, smooth out any winter damage and re-establish the crown (often snow plowing can flatten it or create secondary crowns in wheel tracks). In late summer or fall, patch any developing potholes and add a bit of fresh gravel to spots thinning out. Because you built a strong base, maintenance should be light – mostly surface dressing and reshaping.
- Winter Prep: Before snow, clear leaves and debris from ditches and culverts so they don’t freeze/clog. Mark the edges of the road with stakes if snow will cover them – this helps the plow stay on track and not gouge the shoulders or tear up that nice crown you built.
- Use the Right Equipment: If plowing, use a rubber-edged blade or keep the blade slightly above the gravel (half-inch or so) to avoid scraping too much surface gravel off. It’s easier to push a bit of snowpack off later or let it melt, than to scrape your road bald and have to re-gravel large sections in spring.
- Local Material Benefits: By using local pit gravel and fill, your road’s materials are well-suited to the local climate (and you save money on transport). For example, crushed stone from the area will have the right hardness and composition to handle the typical freeze-thaw patterns there. As noted, our regional 3/4” minus (often derived from crushed granite or tough rock) holds up excellently under mountain weather and traffic.
A Layered Example
Imagine you’re building a 1/4-mile driveway up to your mountain cabin:
- You clear the path, cut trees, and remove topsoil down to firm subsoil along the route (put that topsoil aside for future landscaping).
- In a low area that was marshy, you lay down geotextile and then dump pit run structural fill about 12 inches deep, creating a raised roadbed. You compact it with your dozer and track along it to press it down.
- Over the rest of the route, you spread 6 inches of 3” minus crushed rock (from a local quarry) and grade it to shape, including a gentle crown. You make several passes with a vibratory roller until it’s solid.
- Then a dump truck brings in a load of 3/4” minus road gravel. You tailgate spread it (the truck dumps slowly while driving forward) to roughly distribute, then use a grader to even it out to ~3 inches thick. You ensure there is a slight crown and that edges taper smoothly to the natural ground.
- You water and roll this surface gravel. After a day of drying, it looks and feels like a well-compacted dirt road – no unstable patches.
- At the sides, you dig shallow ditches and place a couple of 12” culverts at natural drainage crossings, covering them with fill and gravel.
- Finally, you line the steepest ditch with some leftover rock and seed the disturbed banks with grass.
Come the next big rainstorm, you watch water flow down the ditches and through the culverts, leaving your road surface largely intact. A few minor rivulets across the road are deflected by the crown and captured by the downhill swale. After the rain, the road is still drivable without issue – success! You may touch up a tiny washboard spot with a quick rake, but the major structures held firm.
By investing in the proper materials upfront – hefty structural fill, well-graded base gravel, and quality crushed surface stone – you’ve built a mountain road that can handle the elements. This layered approach ensures load distribution (so a heavy truck won’t punch through), drainage (so water flows off, not through, the road surface), and surface toughness (so tires mainly grip stone, not mud).
In summary, the best materials for a durable mountain road are those that create a strong, draining foundation (like pit run and large crushed rock) combined with a binding, angular gravel top layer (3/4” minus road mix)darbypit.com. Using local sources like Darby Pit for structural fill and road gravel not only cuts costs but also guarantees the material suits the local conditions. With careful construction using these materials – compacting each layer and shaping the road for water control – your mountain road will stand up to heavy rains, frosty winters, and daily wear with minimal maintenance. And that means reliable access and peace of mind in all seasons on your high-country highway.
